How to Implement Audio Player in React
- Create a Class Component to Implement Audio Player in React
- Create a Functional Component to Implement Audio Player in React

React applications are not exclusively for displaying visual content. Sometimes audio content is essential as well.
We can configure the React component to play music and have a button to pause and resume play when needed.
Create a Class Component to Implement Audio Player in React
In React, you can create a component using the ES6 class component syntax to play any music files. For that, we will utilize multiple features: state, the native Audio() constructor, lifecycle hooks, and so on.
Let’s look at the actual example of how to create a React class component that plays audio.
class PlayMusic extends React.Component {
  state = {
    songplaying: false
  };
  song = new Audio(
    "https://www.soundhelix.com/examples/mp3/SoundHelix-Song-1.mp3"
  );
  componentDidMount() {
    this.song.addEventListener("ended", () =>
      this.setState({ songplaying: false })
    );
  }

  componentWillUnmount() {
    this.song.removeEventListener("ended", () =>
      this.setState({ songplaying: false })
    );
  }

  switchPlay = () => {
    this.setState({ songplaying: !this.state.songplaying }, () => {
      this.state.songplaying ? this.song.play() : this.song.pause();
    });
  };

  render() {
    return (
      <div>
        <button onClick={this.switchPlay}>
          {this.state.songplaying ? "Pause" : "Play"}
        </button>
      </div>
    );
  }
}
Here, we have a PlayMusic component, where we initiate the state with one property called songplaying. When the users visit this website, we don’t want the audio to be playing, so by default, the songplaying state property will be false.
Then, we create an instance of the Audio() constructor and store it in the variable called song. This constructor takes one argument, the URL, to the audio file.
Then, we use the lifecycle methods, componentDidMount() and componentWillUnmount(), to set and remove event listeners for the ended event on the song variable, which is an instance of the Audio() constructor. We also set the function to handle the ended event.
We call the setState() method to change the value of the songplaying state property. Once the audio file has ended, the state variable should be set to false.
Finally, we return the <div> container with one button. Clicking on this button will trigger an onClick event, which will execute the switchPlay function.
The this.setState() method will set the value of the songplaying property to the opposite of its current value. If the state property is currently false, it will be set to true, and vice versa.
In addition, if the state value is true, the event handler will call the .play() method on the instance of the Audio() constructor. If the audio is false, it will instead call the .pause() method.
Finally, we conditionally display the button text. We show the Pause text if the song is currently playing; if it’s not, we indicate Play instead.
Check out the live demo of the example on this CodeSandbox.
Create a Functional Component to Implement Audio Player in React
Since React version 16.8, functional components in React have many of the same features as Class components. This is thanks to the introduction of hooks, such as useState(), useHook(), and other custom hooks.
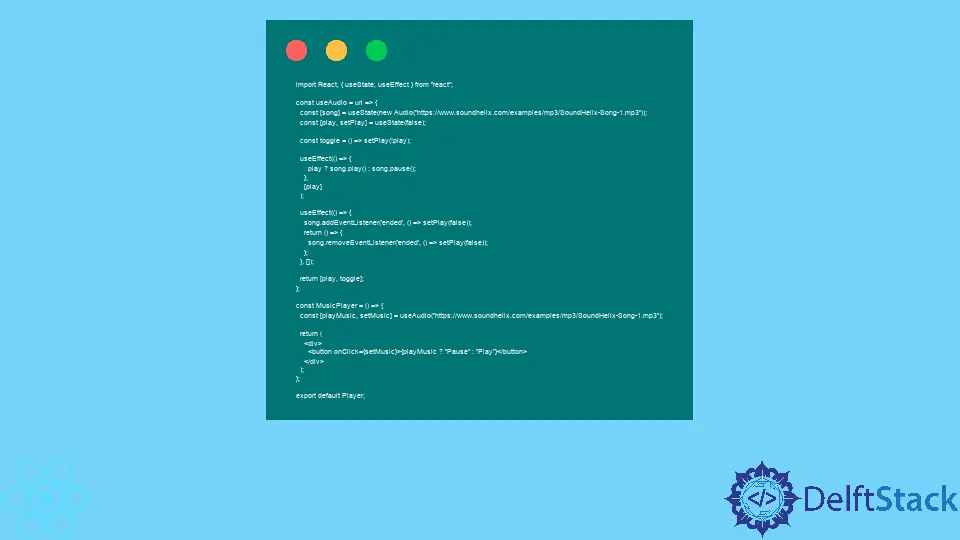
Let’s implement a music player in a functional component. First, we define a custom useAudio hook, then call it in the MusicPlayer component.
import React, { useState, useEffect } from "react";

const useAudio = url => {
  const [song] = useState(new Audio("https://www.soundhelix.com/examples/mp3/SoundHelix-Song-1.mp3"));
  const [play, setPlay] = useState(false);

  const toggle = () => setPlay(!play);

  useEffect(() => {
      play ? song.play() : song.pause();
    },
    [play]
  );

  useEffect(() => {
    song.addEventListener('ended', () => setPlay(false));
    return () => {
      song.removeEventListener('ended', () => setPlay(false));
    };
  }, []);

  return [play, toggle];
};

const MusicPlayer = () => {
  const [playMusic, setMusic] = useAudio("https://www.soundhelix.com/examples/mp3/SoundHelix-Song-1.mp3");

  return (
    <div>
      <button onClick={setMusic}>{playMusic ? "Pause" : "Play"}</button>
    </div>
  );
};

export default Player;
This works primarily according to the same principle as the previous example. The main difference is that instead of using lifecycle methods, we use the useEffect() hook to add and remove event listeners for the audio.
We also use the useState() hook to define state variables, such as song and play. The former stores a reference to the Audio() constructor, and the latter stores the status of the music.
The toggle function also switches the current value of the play state variable, allowing us to stop playing music and continue when needed.
This custom hook allows you to set the audio easily. Provide the link to the song file, and then use the ternary operator to check the value of the state variable and display the button text accordingly.
Irakli is a writer who loves computers and helping people solve their technical problems. He lives in Georgia and enjoys spending time with animals.
LinkedIn