How to Transfer File to Raspberry Pi Using Batch Script
This article will show a Batch command that transfers files to the Raspberry Pi environment from Windows and executes the file.
PuTTY is a third-party free tool that has a free implementation of Telnet and SSH for Windows and Unix platforms. It also features an xterm terminal emulator.
It also supports other networking protocols like SCP and some raw socket connections. It is also able to connect with a serial port.
This third-party software is mainly written for the Windows OS but is also ported to other operating systems.
This article will use a PSCP tool, a PuTTY secure copy client. This tool is mainly used for transferring between computers securely using an SSH connection.
There is another tool we will use named Plink, a command line interface to the back ends of the PuTTY. It can be used for SSH Tunneling.
It is also a tool similar to the UNIX ssh and is mostly used for automating operations.
Transfer File to Raspberry Pi Using Batch Script
-
First of all, you have to install
PuTTYin your Windows system. -
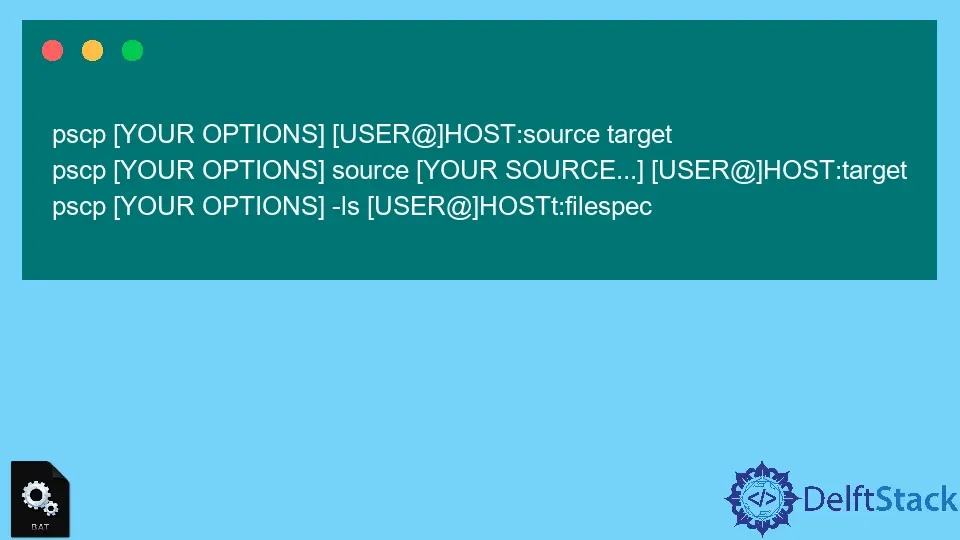
After that, use
PSCPto transfer the file by following the below syntaxes.pscp [YOUR OPTIONS] [USER@]HOST:source target pscp [YOUR OPTIONS] source [YOUR SOURCE...] [USER@]HOST:target pscp [YOUR OPTIONS] -ls [USER@]HOSTt:filespecBelow shared the available options for the command.
-VThis option will print the version information. -pgpfpThis option will print PGP key fingerprints. -pThis option will preserve file attributes. -qThis option tells us not to show statistics. -rThis option is for copying directories recursively. -vThis option is for showing verbose messages. -load sessnameThis option will load settings from the saved session. -P portThis option will connect to the specified port. -l userThis option will connect with a specified username. -pw passwThis option will log in with the specified password. -1 -2This option will force the use of a particular version of the SSH protocol. -4 -6This option will force the use of IPv4 or IPv6. -CThis option will enable compression. -i keyThis option will set a private key file for authentication. -noagentThis option will disable the use of Pageant. -agentThis option will enable the use of Pageant. -batchThis option will disable all interactive prompts. -unsafeThis option allows you with server-side wildcards, but it’s unsafe. -sftpThis option will force the use of the SFTP protocol. -scpThis option will force the use of SCP protocol. -
Lastly, use the
Plinkfor executing the script on the Raspberry Pi.

Aminul Is an Expert Technical Writer and Full-Stack Developer. He has hands-on working experience on numerous Developer Platforms and SAAS startups. He is highly skilled in numerous Programming languages and Frameworks. He can write professional technical articles like Reviews, Programming, Documentation, SOP, User manual, Whitepaper, etc.
LinkedIn