如何在 C++ 中列印陣列

本文將介紹將陣列元素列印到控制檯的 C++ 方法。
使用基於範圍的迴圈來列印出一個陣列
這個方法是一個典型的 for 迴圈,只是具有現代 C++11 基於範圍的風格。基於範圍的迭代提供了一個選項,可以通過自定義的指定符來訪問元素,比如:通過 const 引用(auto const& i),通過值(auto i),或者通過轉發引用(auto&& i)。與傳統的 for 迴圈相比,此方法的優勢是易用性和可讀性。
#include <iostream>
#include <vector>

using std::cin;
using std::copy;
using std::cout;
using std::endl;
using std::vector;

int main() {
  vector<int> arr = {1, 2, 3, 4, 5, 6, 7, 8, 9, 10};

  for (auto const& value : arr) cout << value << "; ";
  cout << endl;

  return EXIT_SUCCESS;
}
輸出:
1; 2; 3; 4; 5; 6; 7; 8; 9; 10;
使用 copy 函式列印出一個陣列
copy() 函式在 STL <algorithm> 庫中實現,為基於範圍的操作提供了一個強大的工具。copy() 將範圍的起始點和終點迭代器作為前兩個引數。在本例中,我們傳遞一個輸出流迭代器作為第三個引數,將 array 元素輸出到控制檯。
#include <algorithm>
#include <iostream>
#include <iterator>
#include <vector>

using std::cin;
using std::copy;
using std::cout;
using std::endl;
using std::vector;

int main() {
  vector<int> arr = {1, 2, 3, 4, 5, 6, 7, 8, 9, 10};

  copy(arr.begin(), arr.end(), std::ostream_iterator<int>(cout, "; "));
  cout << endl;

  return EXIT_SUCCESS;
}
輸出:
1; 2; 3; 4; 5; 6; 7; 8; 9; 10;
作為另一種選擇,我們可以很容易地重新實施上面的例子,以相反的順序輸出陣列元素。我們修改 copy() 方法的前兩個引數,並用 rbegin/rend 函式呼叫來代替它們,以實現這一目的。
#include <algorithm>
#include <iostream>
#include <iterator>
#include <vector>

using std::cin;
using std::copy;
using std::cout;
using std::endl;
using std::vector;

int main() {
  vector<int> arr = {1, 2, 3, 4, 5, 6, 7, 8, 9, 10};

  copy(arr.rbegin(), arr.rend(), std::ostream_iterator<int>(cout, "; "));
  cout << endl;

  return EXIT_SUCCESS;
}
輸出:
10; 9; 8; 7; 6; 5; 4; 3; 2; 1;
使用 for_each 演算法列印出陣列
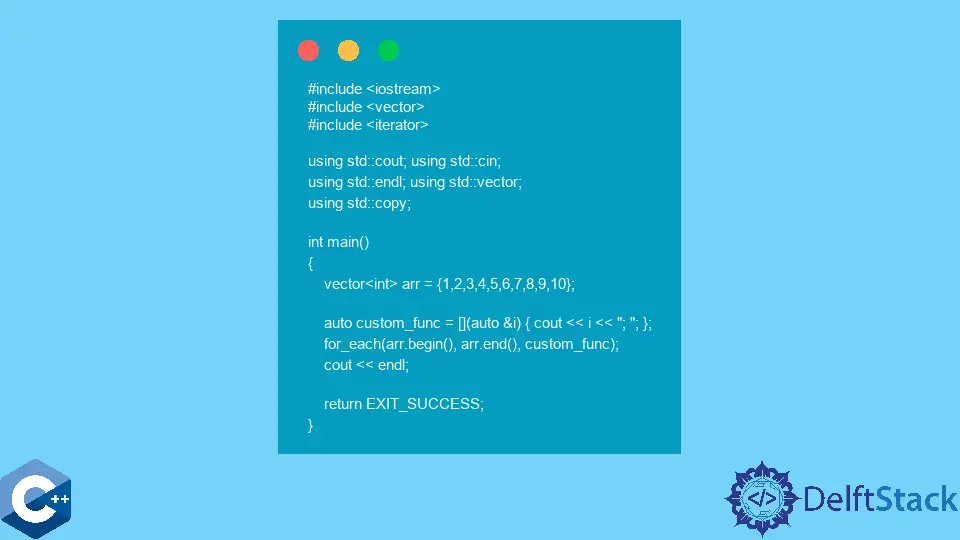
for_each 是 STL 庫中另一個強大的演算法。它可以將給定的函式物件應用於範圍內的每個元素。在這種情況下,我們定義一個 lambda 表示式作為 custom_func 變數,並將其傳遞給 for_each 方法,對給定的陣列元素進行操作。
#include <iostream>
#include <iterator>
#include <vector>

using std::cin;
using std::copy;
using std::cout;
using std::endl;
using std::vector;

int main() {
  vector<int> arr = {1, 2, 3, 4, 5, 6, 7, 8, 9, 10};

  auto custom_func = [](auto &i) { cout << i << "; "; };
  for_each(arr.begin(), arr.end(), custom_func);
  cout << endl;

  return EXIT_SUCCESS;
}
輸出:
1; 2; 3; 4; 5; 6; 7; 8; 9; 10;
Enjoying our tutorials? Subscribe to DelftStack on YouTube to support us in creating more high-quality video guides. Subscribe
作者: Jinku Hu
