TypeScript에서 Angular 2용 console.log 래퍼 작성

로깅은 애플리케이션에 매우 중요하며 디버그 목적을 돕고 프로덕션에서 애플리케이션 문제를 파악하는 데 도움이 됩니다. Angular는 서비스에 관한 모든 것이며 console.log 기능의 래퍼 역할을 하는 로깅 서비스를 생성할 수 있도록 다른 구성 요소에 주입될 수 있습니다.
로깅 서비스는 분석 또는 데이터베이스를 위해 원격 서버로 로그를 보내는 것과 같이 로그를 사용하여 추가 작업으로 확장될 수 있습니다. 이 튜토리얼은 Angular의 서비스를 사용하여 TypeScript의 console.log 기능에 대한 래퍼를 만드는 방법을 보여줍니다.
TypeScript에서 Angular 2용 console.log 래퍼 쓰기
Angular는 서비스로 구성되어 있으므로 새로운 로깅 서비스를 만들 수 있습니다. 이 서비스는 나중에 분석 및 관찰 가능성과 같은 추가 사용 사례를 위해 확장될 수 있습니다.
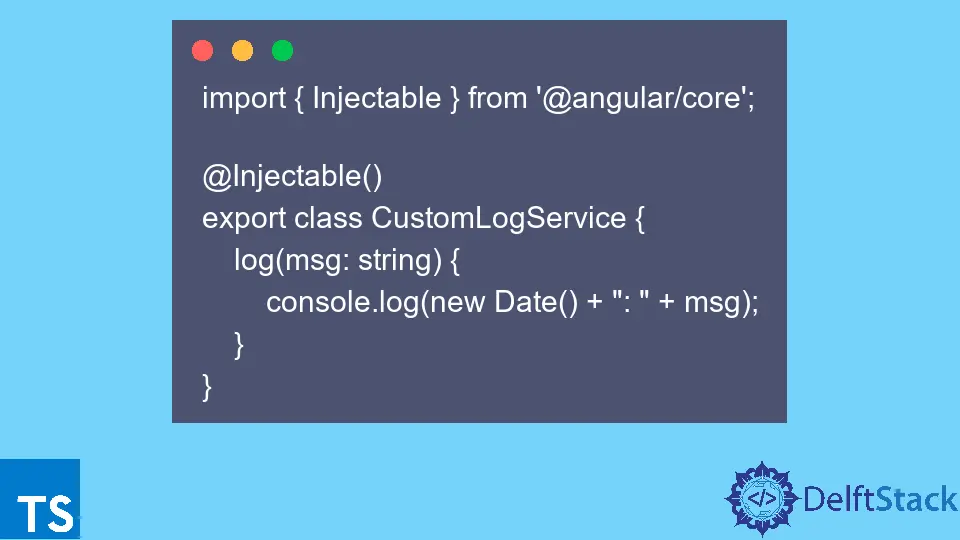
서비스/log.service.ts
import { Injectable } from '@angular/core';

@Injectable()
export class CustomLogService {
    log(msg: string) {
        console.log(new Date() + ": " + msg);
    }
}
따라서 CustomLogService는 console.log 주변의 래퍼 역할을 하며 다른 Angular 구성 요소에서 사용할 수 있습니다. CustomLogService 클래스를 주입하기 위해 HTML 파일이 사용할 수 있는 구성 요소를 정의할 수 있습니다.
테스트/log.component.html
<button (click)="wrapLog()">Log</button>
테스트/log.component.ts
import { Component } from "@angular/core";
import { CustomLogService } from "../services/log.service";

@Component({
  selector: "log-comp",
  templateUrl: "./log.component.html"
})
export class LogComponent {
  constructor(private logger: CustomLogService) {}

  wrapLog(): void {
    this.logger.log("A custom log method");
  }
}
추가 app.module.ts를 정의해야 합니다.
app.module.ts
import { NgModule } from "@angular/core";
import { BrowserModule } from "@angular/platform-browser";

import { AppComponent } from "./app.component";
import { CustomLogService } from "./services/log.service";
import { LogComponent } from "./tests/log.component";

@NgModule({
  imports: [BrowserModule],
  declarations: [AppComponent, LogComponent],
  bootstrap: [AppComponent, LogComponent],
  providers: [CustomLogService]
})
export class AppModule {}
이제 tests/log.component.ts에 정의된 선택기 log-comp를 <log-comp></log-comp>로 사용하여 클릭하면 콘솔에 기록되는 HTML 버튼을 표시할 수 있습니다. - tests/log.component.ts에 정의된 사용자 정의 로그 방법.
출력:

다음은 전체 소스 코드에 대한 데모입니다.
