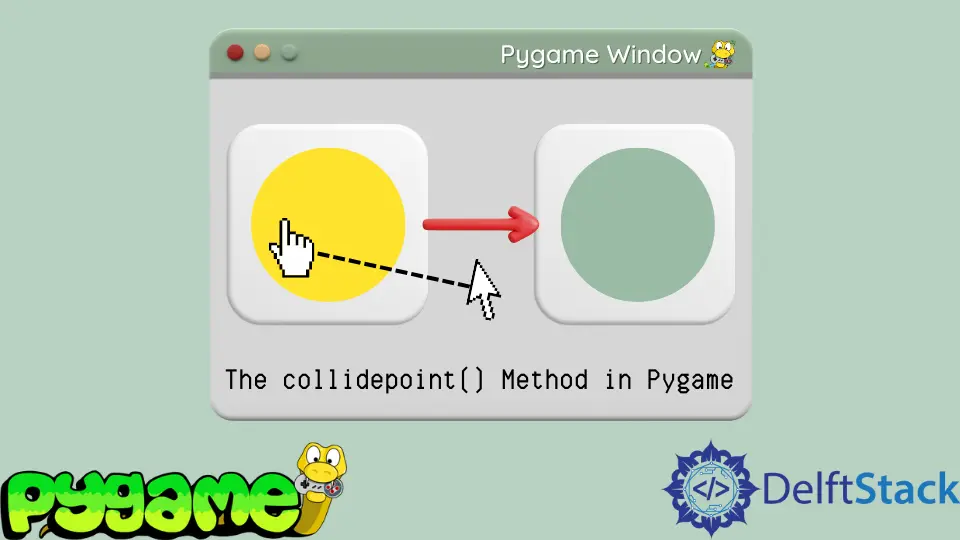
파이게임의 collidepoint() 메서드
Maxim Maeder
2023년6월21일
Pygame
Pygame Function

이 기사에서는 파이게임을 사용하여 Python에서 텍스트를 그리는 방법을 보여줍니다. 이것은 작동하는 Python 게임 창에 대한 완전한 코드가 아닙니다.
베어본 작업 프레임워크에 관심이 있다면 이 문서를 확인하십시오.
Pygame에서 collidepoint() 메서드 사용
rect 클래스의 collidepoint() 메서드에서 주어진 점이 rect 내부에 있는지 테스트합니다. 다음으로 마우스를 가져가면 색상이 변경되는 버튼을 만듭니다.
함수에 x 및 y 좌표를 별도로 제공하거나 튜플 또는 목록과 같은 반복 가능 항목에 제공할 수 있습니다.
통사론:
rect.collidepoint(x, y)
rect.collidepoint((x, y))
이제 collidepoint()를 사용하여 마우스를 가져갈 때 표면의 색상을 변경합니다. 이를 설정하기 위해 다음 작업을 수행합니다.
collidepoint()메서드를 사용하여rect를 정의하여 시작합니다.- 지정된
정사너비와 높이로 표면을 계속 만듭니다. - 메인 루프 전에 마지막으로 할 일은 두 개의 변수를 만드는 것입니다. 하나는 일반 색상을 나타내고 다른 하나는 호버 색상을 나타냅니다.
# Before Main loop
rect = pygame.Rect(10, 10, 100, 60)
btn_surface = pygame.Surface((rect.width, rect.height))

normal_color = (200, 100, 100)
hover_color = (100, 200, 100)
메인 루프에서 마우스 위치를 가져와 rect 내부에 있는지 확인합니다.
- 마우스 위치를 가져와 위에서 만든
rect의collidepoint()메서드에 전달합니다. - 마우스가 위에 있는 것으로 판명되면 호버 색상으로 버튼 표면을 채웁니다. 다른 모든 경우에는 일반 색상으로 채웁니다.
- 마지막으로 표면을 화면에 블리팅합니다.
# In the Main loop
if rect.collidepoint(pygame.mouse.get_pos()):
    btn_surface.fill(hover_color)
else:
    btn_surface.fill(normal_color)

screen.blit(btn_surface, rect)
완전한 코드:
# Imports
import sys
import pygame

# Configuration
pygame.init()
fps = 60
fpsClock = pygame.time.Clock()
width, height = 640, 480
screen = pygame.display.set_mode((width, height))

# Before Main loop
rect = pygame.Rect(10, 10, 100, 60)
print(rect.width)
btn_surface = pygame.Surface((rect.width, rect.height))

normal_color = (200, 100, 100)
hover_color = (100, 200, 100)

# Game loop.
while True:
    screen.fill((20, 20, 20))
    for event in pygame.event.get():
        if event.type == pygame.QUIT:
            pygame.quit()
            sys.exit()

    # In the Main loop
    if rect.collidepoint(pygame.mouse.get_pos()):
        btn_surface.fill(hover_color)
    else:
        btn_surface.fill(normal_color)

    screen.blit(btn_surface, rect)

    pygame.display.flip()
    fpsClock.tick(fps)
출력:
%60-Method-in-Pygame.webp)
튜토리얼이 마음에 드시나요? DelftStack을 구독하세요 YouTube에서 저희가 더 많은 고품질 비디오 가이드를 제작할 수 있도록 지원해주세요. 구독하다
작가: Maxim Maeder
Hi, my name is Maxim Maeder, I am a young programming enthusiast looking to have fun coding and teaching you some things about programming.
GitHub