C에서 문자열 연결
이 기사에서는 C에서 문자열을 연결하는 방법에 대한 몇 가지 방법을 설명합니다.
strcat 및strcpy 함수를 사용하여 C에서 문자열 연결
strcat은<string.h>헤더에 정의 된 C 표준 라이브러리 문자열 기능의 일부입니다. 이 함수는 두 개의char *인수를 취하고 두 번째 포인터에 저장된 문자열을 첫 번째 포인터의 문자열에 추가합니다. C 스타일 문자열은\0 문자로 끝나므로strcat은 널 문자부터 시작하는 대상 문자열에 추가하기 시작합니다. 마지막으로 새로 구성된 문자열의 끝은 \0문자로 끝납니다. 프로그래머는 두 문자열을 모두 저장하기 위해 대상 포인터에 충분한 메모리를 할당해야합니다.
이 솔루션에서 사용할 두 번째 함수는 strcpy로, 비슷하게 두 개의 char *매개 변수를 취하고 두 번째 포인터의 문자열을 첫 번째 포인터에 복사합니다. strcpy는 첫 번째 문자열을 지정된char 버퍼에 복사 한 다음strcat 함수에 대상 포인터를 전달하는 데 사용됩니다.
두 함수 모두 대상 문자열에 대한 포인터를 반환하므로 체인 호출이 가능합니다.
#include <stdio.h>
#include <stdlib.h>
#include <string.h>

#ifndef MAX
#define MAX 100
#endif

int main() {
  const char* str1 = "hello there 1";
  const char* str2 = "hello there 2";

  char buffer[MAX];
  strcat(strcpy(buffer, str1), str2);
  printf("%s\n", buffer);

  char buffer2[MAX];
  strcat(strcpy(buffer2, "Hello there, "), "Josh");
  strcat(buffer2, "!\nTemporary...");
  printf("%s\n", buffer2);

  exit(EXIT_SUCCESS);
}
출력:
hello there 1hello there 2
Hello there, Josh!
Temporary...
memccpy 함수를 사용하여 C에서 문자열 연결
이전 메서드의 가장 큰 단점은strcpy 함수에 저장된 첫 번째 문자열에 대해 중복 반복을 수행하는 비효율적 인 구현입니다.
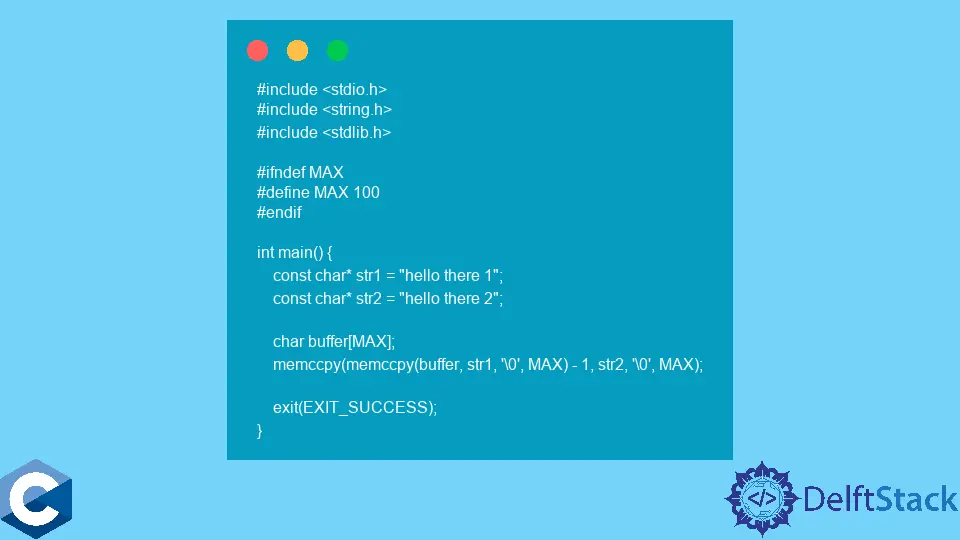
반면memccpy는이 문제를 해결하고 두 문자열을 모두 효율적으로 처리합니다. memccpy는 소스 char *에서 지정된 문자가 소스 문자열에서 발견 될 때만 중지되는 대상 포인터로 사용자가 지정한 바이트 수만큼만 복사합니다. memccpy는 대상 버퍼에 마지막으로 저장된 문자에 대한 포인터를 반환합니다. 따라서 두 개의 memccpy호출을 이전 방법과 유사하게 연결할 수 있습니다. 첫 번째 문자열은 사용자가 미리 할당 된 버퍼에 복사하고 두 번째 문자열은 memccpy에 대한 첫 번째 호출에서 반환 된 포인터에 추가됩니다.
#include <stdio.h>
#include <stdlib.h>
#include <string.h>

#ifndef MAX
#define MAX 100
#endif

int main() {
  const char* str1 = "hello there 1";
  const char* str2 = "hello there 2";

  char buffer[MAX];
  memccpy(memccpy(buffer, str1, '\0', MAX) - 1, str2, '\0', MAX);

  exit(EXIT_SUCCESS);
}
출력:
hello there 1hello there 2
사용자 정의 함수를 사용하여 C에서 문자열 리터럴 연결
또는 플랫폼에서memccpy를 사용할 수없는 경우 동일한 루틴을 구현하는 사용자 정의 함수를 정의 할 수 있습니다. concatStrings는 지정된 문자를 찾을 때까지 한 포인터에서 다른 포인터로 한 문자를 복사하는 구현의 예입니다. 두 예제 모두에서 중지 할 문자로 null 바이트 \0을 지정합니다.
#include <stdio.h>
#include <stdlib.h>
#include <string.h>

#ifndef MAX
#define MAX 100
#endif

void* concatStrings(void* restrict dst, const void* restrict src, int c,
                    size_t n) {
  const char* s = src;
  for (char* ret = dst; n; ++ret, ++s, --n) {
    *ret = *s;
    if ((unsigned char)*ret == (unsigned char)c) return ret + 1;
  }
  return 0;
}

int main() {
  const char* str1 = "hello there 1";
  const char* str2 = "hello there 2";

  char buffer[MAX];

  concatStrings(concatStrings(buffer, str1, '\0', MAX) - 1, str2, '\0', MAX);
  printf("%s\n", buffer);

  exit(EXIT_SUCCESS);
}

Founder of DelftStack.com. Jinku has worked in the robotics and automotive industries for over 8 years. He sharpened his coding skills when he needed to do the automatic testing, data collection from remote servers and report creation from the endurance test. He is from an electrical/electronics engineering background but has expanded his interest to embedded electronics, embedded programming and front-/back-end programming.
LinkedIn Facebook