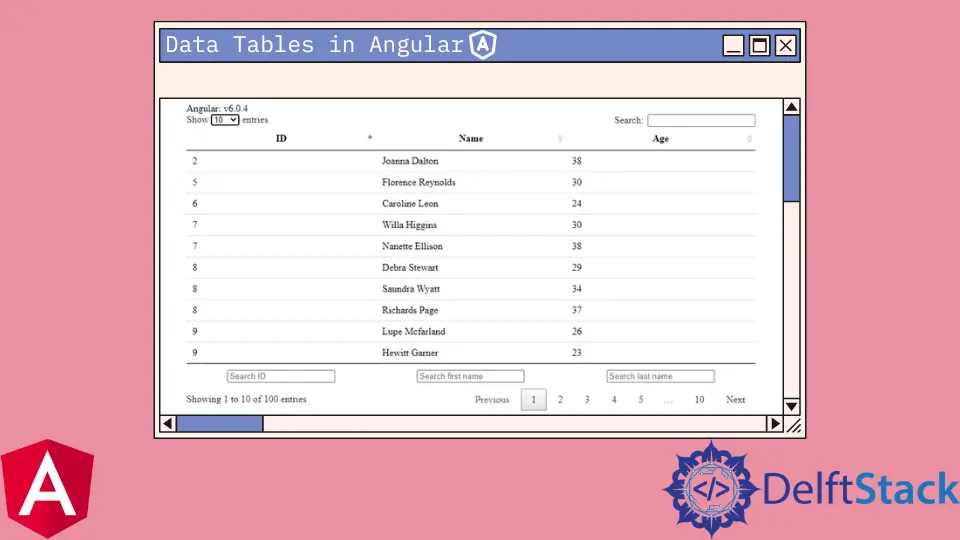
Angular의 데이터 테이블
Rana Hasnain Khan
2024년2월15일
Angular
Angular Data Table

Angular에서 데이터 테이블을 사용하고 JSON 응답을 데이터 테이블로 변환하는 방법을 소개합니다.
Angular의 데이터 테이블
Angular에서 복잡한 데이터 테이블을 표시하는 데 사용할 수 있는 사전 빌드된 angular-datatables 라이브러리가 있습니다.
다음 명령을 사용하여 쉽게 설치할 수 있습니다.
# terminal
ng add angular-datatables
또는 npm을 사용하여 수동으로 설치할 수 있습니다.
# terminal
npm install jquery --save
npm install datatables.net --save
npm install datatables.net-dt --save
npm install angular-datatables --save
npm install @types/jquery --save-dev
npm install @types/datatables.net --save-dev
그런 다음 스크립트 및 스타일 속성의 종속성을 angular.json 파일에 추가해야 합니다.
# angular
"projects": {
    "your-app-name": {
      "architect": {
        "build": {
          "options": {
            "styles": [
              "node_modules/datatables.net-dt/css/jquery.dataTables.css"
            ],
            "scripts": [
              "node_modules/jquery/dist/jquery.js",
              "node_modules/datatables.net/js/jquery.dataTables.js"
            ],
            ...
          }
}
이제 앱의 적절한 수준에서 DataTablesModule을 가져와야 합니다.
# angular
import { NgModule } from "@angular/core";
import { BrowserModule } from "@angular/platform-browser";

import { DataTablesModule } from "angular-datatables";

import { AppComponent } from "./app.component";

@NgModule({
  declarations: [AppComponent],
  imports: [BrowserModule, DataTablesModule],
  providers: [],
  bootstrap: [AppComponent],
})
export class AppModule {}
Angular에서 JSON을 데이터 테이블로 변환
JSON 응답을 DataTables로 변환하려는 경우 다음 예를 사용할 수 있습니다.
app.component.ts에 다음 코드를 추가해야 합니다.
# angular
import { AfterViewInit, VERSION, Component, OnInit, ViewChild } from '@angular/core';
import { DataTableDirective } from 'angular-datatables';
import { Subject } from 'rxjs';
import 'rxjs/add/operator/map';
import { HttpParams, HttpClient, HttpHeaders } from '@angular/common/http';

@Component({
  selector: 'app-root',
  templateUrl: './app.component.html',
})
export class AppComponent implements OnInit, AfterViewInit {
  version = 'Angular: v' + VERSION.full;
  @ViewChild(DataTableDirective)
  datatableElement: DataTableDirective;
  dtOptions: DataTables.Settings = {};
  persons: any = [];
  // We use this trigger because fetching the list of persons can be quite long,
  // thus we make sure the data gets fetched before rendering
  dtTrigger: Subject<any> = new Subject();

  constructor(private http: HttpClient) { }

  ngOnInit(): void {
    const dataUrl = 'https://raw.githubusercontent.com/Inventico-Sol/test-json/main/data.json';

    this.http.get(dataUrl)
      .subscribe(response => {
        setTimeout(() => {
          this.persons = response.data;
          console.log(response);
          // Calling the DT trigger to manually render the table
          this.dtTrigger.next();
        });
      });

  }

  ngAfterViewInit(): void {

    this.datatableElement.dtInstance.then((dtInstance: DataTables.Api) => {
      dtInstance.columns().every(function () {
        const that = this;
        $('input', this.footer()).on('keyup change', function () {
          if (that.search() !== this['value']) {
            that
              .search(this['value'])
              .draw();
          }
        });
      });
    });

  }
}
그런 다음 app.component.html에 다음 코드를 추가해야 합니다.
# angular
{{ version }}
<table
  datatable
  [dtOptions]="dtOptions"
  [dtTrigger]="dtTrigger"
  class="row-border hover"
>
  <thead>
    <tr>
      <th>ID</th>
      <th>Name</th>
      <th>Age</th>
    </tr>
  </thead>
  <tbody>
    <tr *ngFor="let person of persons">
      <td>{{ person.id }}</td>
      <td>{{ person.name }}</td>
      <td>{{ person.age }}</td>
    </tr>
  </tbody>
  <tfoot>
    <tr>
      <th><input type="text" placeholder="Search ID" name="search-id" /></th>
      <th>
        <input
          type="text"
          placeholder="Search first name"
          name="search-first-name"
        />
      </th>
      <th>
        <input
          type="text"
          placeholder="Search last name"
          name="search-last-name"
        />
      </th>
    </tr>
  </tfoot>
</table>
출력:

튜토리얼이 마음에 드시나요? DelftStack을 구독하세요 YouTube에서 저희가 더 많은 고품질 비디오 가이드를 제작할 수 있도록 지원해주세요. 구독하다
Rana is a computer science graduate passionate about helping people to build and diagnose scalable web application problems and problems developers face across the full-stack.
LinkedIn