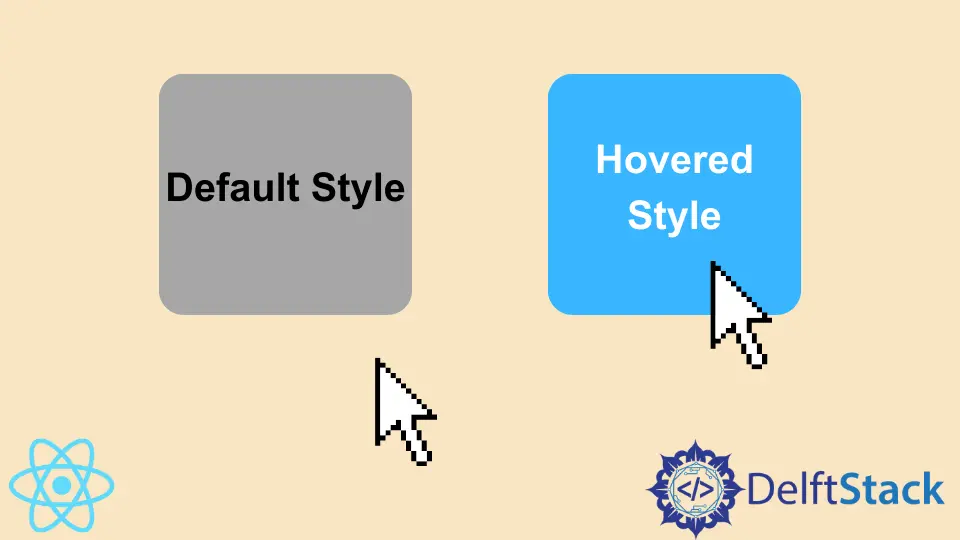
React のスタイルホバー

React でホバー効果をスタイリングする複数の方法を紹介します。
React のホバー効果にホバー効果を使用してスタイルを設定する
ホバー効果は、Web アプリケーションを改善し、ユーザーフレンドリーにするための優れた方法です。これらの視覚効果は素晴らしく、ユーザーを満足させるのに役立ちます。
また、React アプリケーションでホバー効果を使用して、簡単な手順でユーザーフレンドリーで興味深いものにすることもできます。ホバー効果を使用してホバー効果のスタイルを設定する方法を理解するための例から始めましょう。
次のコマンドを使用して、新しいアプリケーションを作成しましょう。
# react
npx create-react-app my-app
React で新しいアプリケーションを作成した後、このコマンドを使用してアプリケーションディレクトリに移動します。
# react
cd my-app
それでは、アプリを実行して、すべての依存関係が正しくインストールされているかどうかを確認しましょう。
# react
npm start
アプリケーションにホバー効果を実装するために、いくつかのライブラリをインストールする必要があります。
次のコマンドを実行して、ホバー用の react-hook をインストールします。
# react
npm i @react-hook/hover
次のコマンドを実行して、dash-ui/styles をインストールします。
# react
npm i @dash-ui/styles
ライブラリをインストールしたら、App.js ファイルに useHover と styles をインポートする必要があります。
# react
import useHover from "@react-hook/hover";
import { styles } from "@dash-ui/styles";
次に、export default function App() 内に Hovertarget 要素と Hovered 要素を定義します。そして、ホバーされたときにクラス名を変更し、Hovertarget の ref を持つ div を返します。誰かがホバーした場合はホバースタイルを出力し、誰もホバーしていない場合はデフォルトスタイルを出力します。
# react
export default function App() {
  const Hovertarget = React.useRef(null);
  const Hovered = useHover(Hovertarget);
  return (
    <div className={hoverStyle({ Hovered })} ref={Hovertarget}>
      {Hovered ? "Hovered Style" : "Default Style"}
    </div>
  );
}
次に、Hovered クラスと default クラスの CSS スタイルを定義します。したがって、App.js のコードは次のようになります。
# react
import React from "react";
import useHover from "@react-hook/hover";
import { styles } from "@dash-ui/styles";

export default function App() {
  const Hovertarget = React.useRef(null);
  const Hovered = useHover(Hovertarget);
  return (
    <div className={hoverStyle({ Hovered })} ref={Hovertarget}>
      {Hovered ? "Hovered Style" : "Default Style"}
    </div>
  );
}

const hoverStyle = styles({
  default: `
    background-color: lightblue;
    width: 100px;
    height: 100px;
    display: flex;
    justify-content: center;
    align-items: center;
  `,
  Hovered: `
    background-color: lightgreen;
    color: white;
  `
});
出力:

次に、Instyle 要素の代わりに style.css を使用してホバー効果のスタイルを設定してみてください。まず、New.js として新しいファイルを作成し、その中にクラス New を持つ div を返します。この新しいファイルに style.css もインポートします。したがって、コードは次のようになります。
# react
import "./styles.css"

export default function New() {
  return <div className="New">CSS Style</div>;
}
次に、この新しいファイルを index.js にインポートして、React のメインページに表示し、App コンポーネントの後に New コンポーネントを表示します。コードは次のようになります。
# react
import { StrictMode } from "react";
import ReactDOM from "react-dom";
import New from "./New.js";

import App from "./App";

const rootElement = document.getElementById("root");
ReactDOM.render(
  <StrictMode>
    <App />
    <New />
  </StrictMode>,
  rootElement
);
それでは、CSS を使用して新しい div とホバー効果のスタイルを設定しましょう。
# react
.New{
  background-color: lightgreen;
    width: 100px;
    height: 100px;
    display: flex;
    justify-content: center;
    align-items: center;
    margin-top: 10px;
}
.New:hover{
  background-color: lightblue;
    color: white;
}
出力:

ホバー出力:

Rana is a computer science graduate passionate about helping people to build and diagnose scalable web application problems and problems developers face across the full-stack.
LinkedIn