MongoDB のプリティ プリント

この記事では、MongoDB でプリティ プリントを使用して書式設定された結果を表示する方法について説明します。
MongoDB のプリティ プリント
cursor は、プログラマーが Mongo の世界で Mongo コレクション内のドキュメントを反復処理できるようにするオブジェクトです。 開発者は cursor オブジェクトで返された項目を明示的にトラバースできますが、cursor の機能により、クエリ結果全体を自動的に反復できます。
Mongo ユニバースの pretty() メソッドは cursor オブジェクトを定義して、Mongo クエリの結果を読みやすく魅力的なレイアウトで表示します。 この戦略は、データベースが大きい場合に非常に役立ちます。
構文:
> db.collectionName.find(queryString).pretty()
queryString は、指定された選択基準に従ってコレクションからドキュメントを取得するために使用できる選択入力引数です。
cursor.pretty() メソッドを使用すると、Mongo Shell 内の JSON ドキュメントまたはコレクションをより魅力的にすることができます。 Mongo Shell は、常にこのアプローチを好むわけではありません。
.pretty() ドキュメントの詳細については、.pretty() を参照してください。 次の例を使用して、前述のアイデアを理解してみましょう。
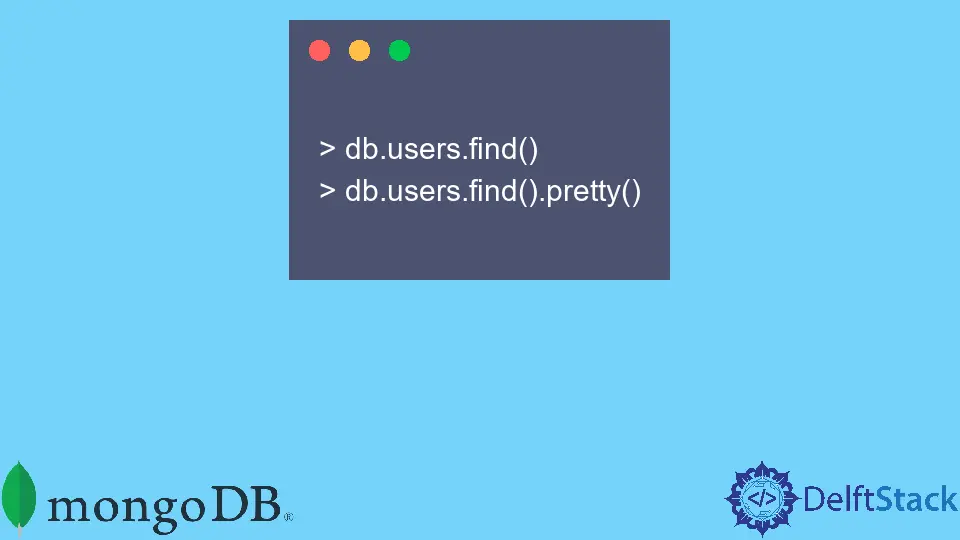
コード:
> db.users.find()
> db.users.find().pretty()
前のサンプルでは、プリティ アプローチかどうかに関係なく、すべてのユーザーを特定しています。 2つのクエリの主な違いは、後者はより読みやすい形式でデータを返し、前者はより高密度の形式でデータを配信することです。
MongoDB と互換性のある MongoShell で上記のコード行を実行します。 次の結果が表示されます。
出力:
{ "_id" : ObjectId("54f612b6029b47909a90cesd"), "email" : "johndoe@example.com", "comment" : "This is the first user in the collection.", "country" : "United Kingdom" }

{
  "_id" : ObjectId("54f612b6029b47909a90cesd"),
  "email" : "johndoe@example.com",
  "comment" : "This is the first user in the collection.",
  "country" : "United Kingdom"
}
Shraddha is a JavaScript nerd that utilises it for everything from experimenting to assisting individuals and businesses with day-to-day operations and business growth. She is a writer, chef, and computer programmer. As a senior MEAN/MERN stack developer and project manager with more than 4 years of experience in this sector, she now handles multiple projects. She has been producing technical writing for at least a year and a half. She enjoys coming up with fresh, innovative ideas.
LinkedIn