C# でのボタンの無効化と有効化

このガイドでは、C# でボタンを無効および有効にする方法を示します。 それらを作成して使用する方法は?
C# でボタンを作成する
ボタンを作成する方法は 2つあります。 どちらも以下で説明します。
Toolbox を使用して C# でボタンを作成する
Windows フォームのツールボックスを使用してボタンを作成し、そのフォーム上の好きな場所にドラッグできます。 次に、ボタンのプロパティに移動して、ボタンで切り替えることができます。
フォームのボタンの色、サイズ、形状を変更できます。
buttonBase クラスを使用して C# でボタンを作成する
このメソッドは、buttonBase クラスを使用して、ボタン操作を作成および割り当てます。 そして、実行時に作成します。
ツールボックスを使用してボタンを作成できることを覚えておく必要がありますが、それ以上の変更はできません。
許可される唯一の変更は、ボタンを true または false として有効にすることです。 したがって、条件を記述するなど、これらのさらなる変更を行うには。
ボタンに実行方法を伝えるコードを記述します。
これら 2つのメソッドを組み合わせて、C# でボタンを作成する
ボタンを作成する最も簡単な方法は、ツールボックスを使用し、コードを使用してそのボタンを変更することです。 ボタンはフォームに作成されます。
形状、サイズ、フォント、色などのプロパティを使用して、必要な変更を加えることができます。 コードでさらに条件を追加することもできます。
この例では、この手法を使用します。
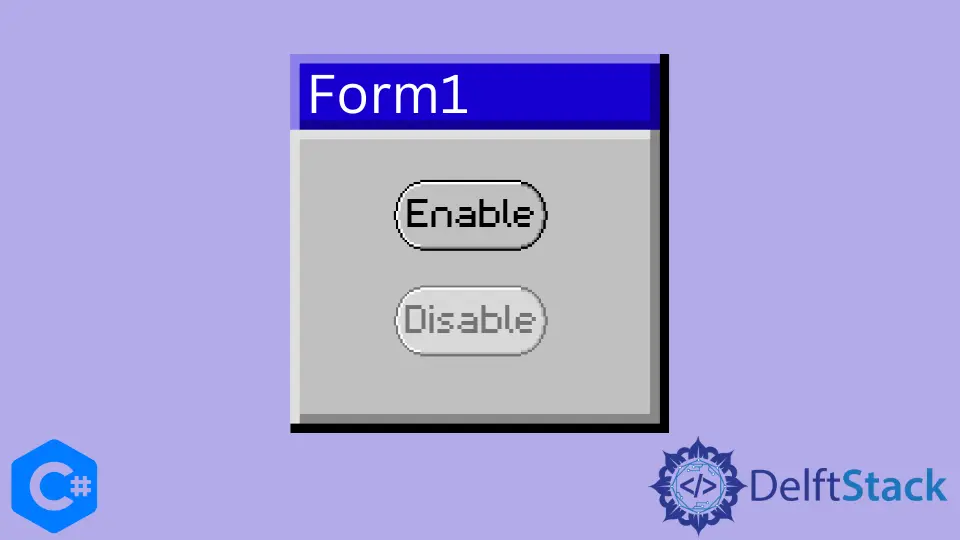
C# でのボタンの有効化と無効化
実行時のボタンの有効化と無効化は、そのプロパティを 1つずつ追加し、Button クラスのインスタンスを追加して Windows フォームにボタンを追加することによって行われます。 デフォルトでは、ボタンは true です。
以下のコードを見る前に、これをすべて機能させるために含めるライブラリがSystem.Windows.Formsであることを知っておく必要があります。
ここに例があります。
using System.Windows.Forms;

public partial class FormOne : Form {
  public FormOne() {
    InitializeComponent();
  }

  public void FormOne_Load(object sender, EventArgs e) {
    Mybutton.Enabled = true;    // to enable the button
    Label first = new Label();  // adding a label to the button
    first.Text = "this is the first button, it is enabled";

    // Mybutton.Enabled=false; // to disable the button
    // Label first=new Label(); //adding a label to the button
    // first.Text="this is the first button, it is now disabled";
  }
}
Haider specializes in technical writing. He has a solid background in computer science that allows him to create engaging, original, and compelling technical tutorials. In his free time, he enjoys adding new skills to his repertoire and watching Netflix.
LinkedIn