ReactDOM Render in React
- What is ReactDOM.render?
- Setting Up Your React Environment
- Rendering Multiple Components
- Updating the Rendered Component
- Conclusion
- FAQ
React is a powerful JavaScript library for building user interfaces, and one of its core functionalities is rendering components. At the heart of this process is the ReactDOM.render method, which allows you to mount React components into the DOM.
This tutorial will guide you through the essentials of using ReactDOM.render to render components effectively. Whether you are a beginner or an experienced developer, understanding this function is crucial for creating dynamic web applications with React. Let’s dive into the details and explore how to leverage ReactDOM.render to its fullest potential.
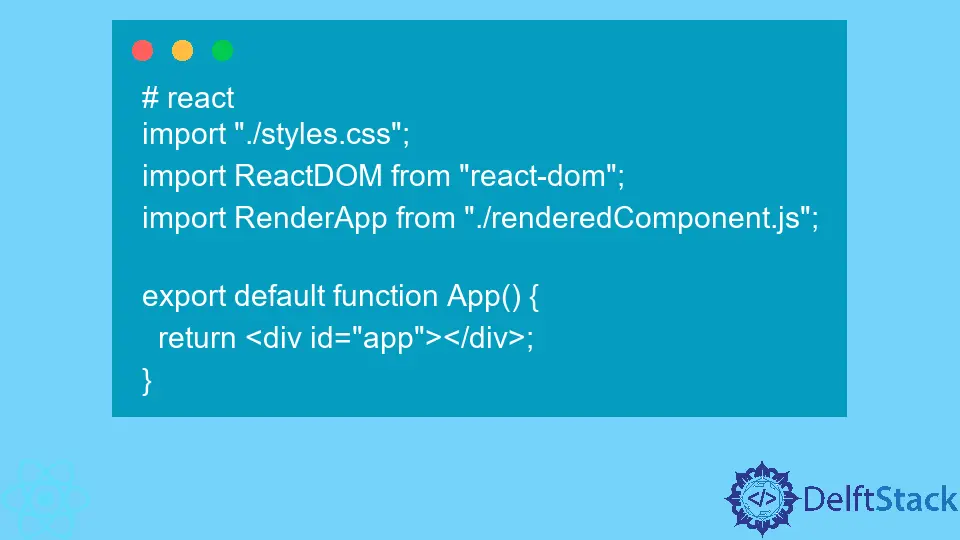
What is ReactDOM.render?
ReactDOM.render is a method provided by the ReactDOM package that allows you to render a React element into the DOM. This function takes two arguments: the React element you want to render and the DOM node where you want to render it. By using this method, you can create interactive and dynamic web applications that respond to user input and changes in state.
The basic syntax looks like this:
ReactDOM.render(element, container)
Here, element is the React component or element you want to render, and container is the DOM node where the component will be inserted. For example, if you have a simple component called HelloWorld, you could render it like this:
import React from 'react';
import ReactDOM from 'react-dom';

function HelloWorld() {
  return <h1>Hello, World!</h1>;
}

ReactDOM.render(<HelloWorld />, document.getElementById('root'));
Output:
Hello, World!
In this example, the HelloWorld component is rendered inside the DOM element with the ID of root. This is a fundamental operation in React, enabling you to build complex UIs by composing smaller components.
Setting Up Your React Environment
Before you can use ReactDOM.render, you need to set up a React environment. This typically involves using a package manager like npm or yarn to install React and ReactDOM. Here’s how you can do it:
-
Create a new React application using Create React App. Open your terminal and run:
npx create-react-app my-app
-
Navigate into the project directory:
cd my-app -
Start the development server:
npm start
Once your environment is set up, you can start creating components and rendering them using ReactDOM.render. The create-react-app command initializes a new React application with all the necessary configurations, allowing you to focus on coding.
Rendering Multiple Components
One of the powerful features of React is the ability to render multiple components simultaneously. You can achieve this by using an array of components or wrapping them in a parent component. Here’s an example of rendering multiple components:
import React from 'react';
import ReactDOM from 'react-dom';

function FirstComponent() {
  return <h2>This is the First Component</h2>;
}

function SecondComponent() {
  return <h2>This is the Second Component</h2>;
}

function App() {
  return (
    <div>
      <FirstComponent />
      <SecondComponent />
    </div>
  );
}

ReactDOM.render(<App />, document.getElementById('root'));
Output:
This is the First Component
This is the Second Component
In this example, the App component serves as a parent, rendering both FirstComponent and SecondComponent. This approach not only organizes your code but also allows you to manage state and props more effectively.
Updating the Rendered Component
React is designed to handle updates efficiently. When the state of a component changes, React automatically re-renders the component to reflect those changes. You can see this in action with a simple counter example:
import React, { useState } from 'react';
import ReactDOM from 'react-dom';

function Counter() {
  const [count, setCount] = useState(0);

  return (
    <div>
      <h1>{count}</h1>
      <button onClick={() => setCount(count + 1)}>Increment</button>
    </div>
  );
}

ReactDOM.render(<Counter />, document.getElementById('root'));
Output:
0
When you click the “Increment” button, the count state updates, and React re-renders the Counter component to display the new count. This seamless update mechanism is one of the reasons why React is such a popular choice for building user interfaces.
Conclusion
In this tutorial, we explored the fundamental aspects of using ReactDOM.render to render components in React. We covered the basic syntax, how to set up a React environment, rendering multiple components, and handling updates efficiently. By mastering ReactDOM.render, you’ll be well-equipped to create dynamic and interactive web applications. Remember, practice is key, so experiment with different components and see how they interact with each other. Happy coding!
FAQ
-
What is ReactDOM.render used for?
ReactDOM.render is used to render a React component into the DOM. -
Can I render multiple components at once?
Yes, you can render multiple components by wrapping them in a parent component or using an array. -
How does React handle updates to components?
React automatically re-renders components when their state or props change, ensuring the UI is always up to date. -
What do I need to set up a React environment?
You need Node.js and npm or yarn installed, and you can use Create React App to initialize your project. -
Is it necessary to use ReactDOM.render in every React application?
Yes, you need to use ReactDOM.render to mount your root component to the DOM.

Rana is a computer science graduate passionate about helping people to build and diagnose scalable web application problems and problems developers face across the full-stack.
LinkedIn