How to Use Plex Media Player on Raspberry Pi
- Use Plex Media Player on Raspberry Pi
- Installing Snap Store
- Installing Plex Server
- Setup Plex Media Server

This tutorial will discuss installing and using the plex media player on Raspberry Pi.
Use Plex Media Player on Raspberry Pi
Plex media player is used to organize audio, videos, and pictures present in a device or from online services like Netflix. For example, if we want to combine our media files from our device and online services into a single platform, we can use plex and get all our media in a single platform.
We can follow the below steps to install and set up the plex media player on Raspberry Pi.
Installing Snap Store
We can install the plex media player using the snap store package, which we can easily install on Raspberry Pi. Before installing anything, we have to update the installed packages of Raspberry Pi, and then we can install the snap store.
We can use the below commands to update our Raspberry Pi and install the snap store.
sudo apt update
sudo apt upgrade
sudo apt install snapd -y
We have to run the above commands one by one, and if permission is required, we can enter y to install a package.
Installing Plex Server
After installing the snap store, we can use it to install the plex server using the below command.
sudo snap install plexmediaserver
The above command will install the plex media server. We can now run our plex media server using the IP address of our Raspberry Pi, which we can get using the below command.
hostname -I
After finding the IP address, we can enter the below address inside a browser to open the plex media server.
http://ip-address:32400/web/
Note that we have to replace the ip-address in the above address with the IP address of our Raspberry Pi.
Setup Plex Media Server
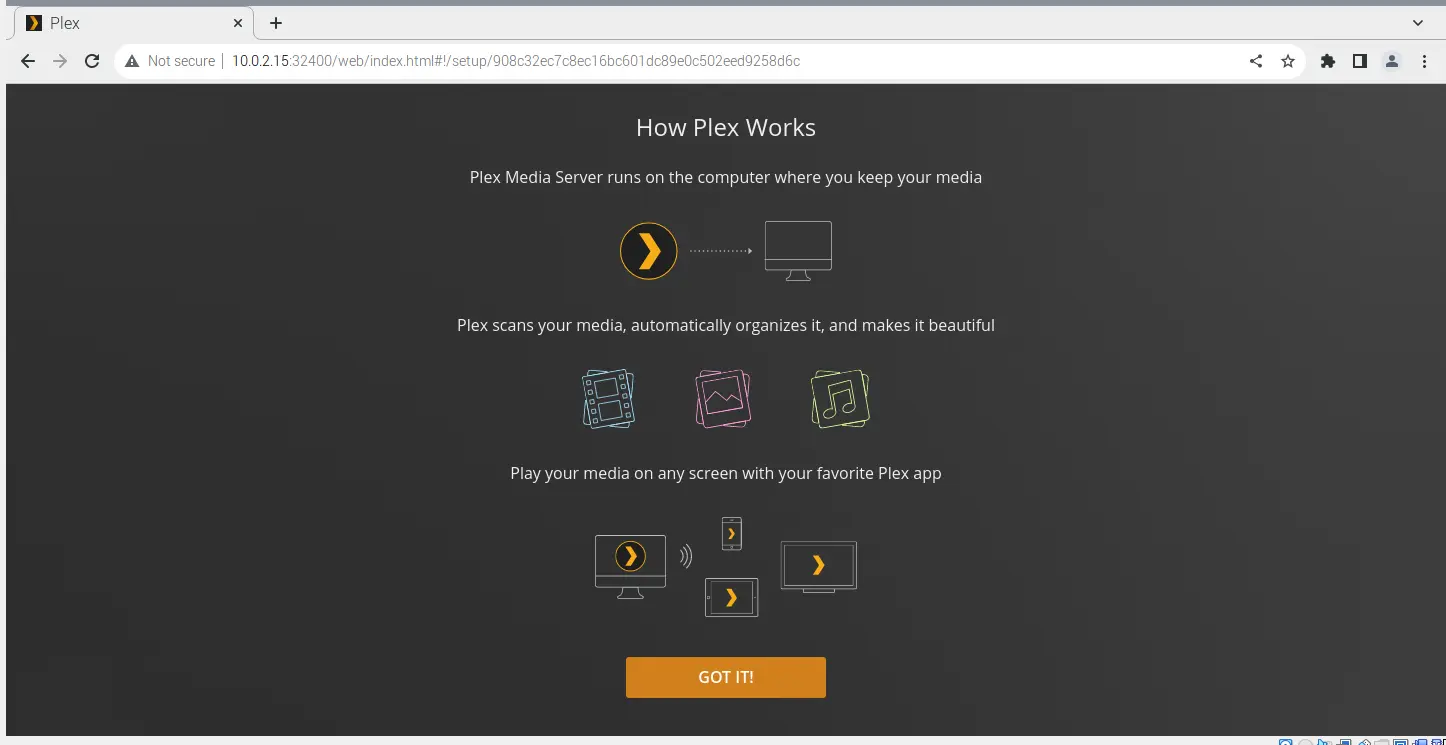
When we enter the above web address inside a browser, the plex media server will open, as shown below.

This screen displays the working of the plex media server, and we can click on the GOT IT button to proceed to the next page, which will loop like the below page.

This page shows the premium plans of the plex server, which we can purchase if we want to enjoy the premium features. We can skip it by clicking on the cross present at the top-right corner of the page, showing us the below page.

On this page, we can enter a name for our plex media server, which will also be used in plex apps. We can also use plex media outdoors, but the computer should be on to access the plex media server.
We can check the box if we want to use the plex media server on other devices to access the media files in our Raspberry Pi. We can press the next button to go to the next page, which will look like the page below.

The above page will ask us if we want to synchronize our watch stats and ratings with the entire plex platform to check the stats from any device. We can press yes or no on the above page, and the below page will open.

On the above page, we can add a media library from our device if we want to and then press next to proceed to the below page.

The above page will show a link to the plex apps, which we can download if we want to and then press done to finish the setup, and the below page will show up.

On the above page, we can customize the media we want to show on the plex home page. If we don’t want to show a source on the plex home page, we can uncheck it on the above page and then press the finish setup button to finish the setup process, and the below page will open up.

On the above page, a popup will also appear, asking us to select our favorite streaming services like Netflix and more. We can see on the above page our plex media server is set up and running on our Raspberry Pi.
