OpenCV Remap

This tutorial will discuss transforming an image according to a map using the remap() function of OpenCV in Python.
Use the remap() Function of OpenCV to Transform an Image According to a Map in Python
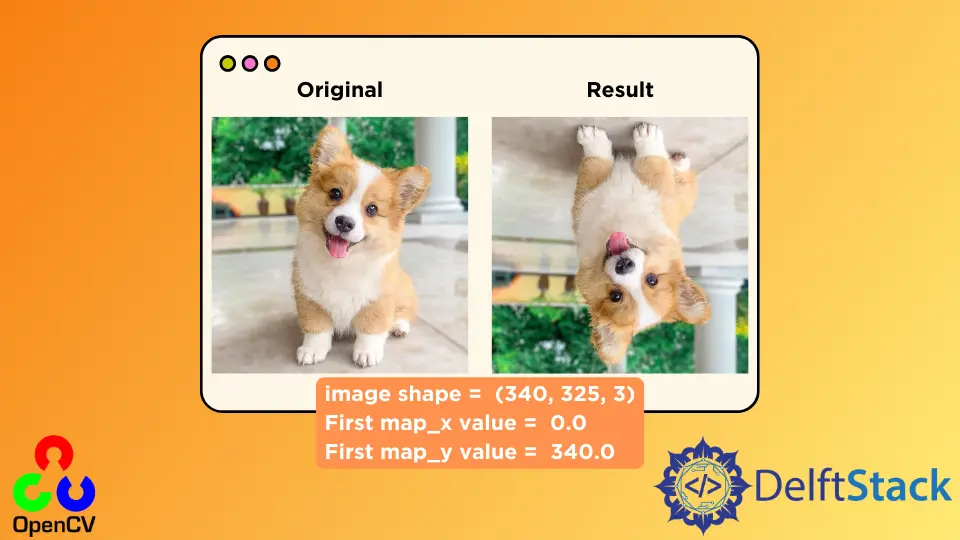
We can use the remap() function of OpenCV to transform an image according to a map. For example, if we want to flip an image vertically, we have to change the location or position of its pixels.
To vertically flip an image, we can replace the first row of the image with the last row, the second row with the second-last row, etc. In the remap() function, we provide the new map on which we want to transform the given image.
The remap() function will move each image pixel according to the given map and save it in a variable. For example, let’s vertically flip an image using the remap() function.
We have to create the x and y-axis maps of the same size as the source image. To initialize the map, we can use the zeros() function of NumPy to create two empty maps.
After that, we need to fill the two maps with position values on which we want to move each pixel of the given image. For example, if we want to flip the image, the first pixel should be vertically moved to last.
In other words, we must move the pixel located at (0,0) to (0, last). That means we only have to change the values of the y-axis or rows to vertically flip the image.
In the x-axis map, the first column should contain all zero values, and the last column should contain values equal to the length of columns of the given image.
In the y-axis map, all values of the first row should be equal to the length of rows of the given image, and the values of the last row should be equal to 0.
See the code below.
import cv2
import numpy as np

src_img = cv2.imread("cat.jpg")
print("image shape = ", src_img.shape)
Img_map_x = np.zeros((src_img.shape[0], src_img.shape[1]), dtype=np.float32)
Img_map_y = np.zeros((src_img.shape[0], src_img.shape[1]), dtype=np.float32)

for i in range(Img_map_x.shape[0]):
    Img_map_x[i, :] = [x for x in range(Img_map_x.shape[1])]
for j in range(Img_map_y.shape[1]):
    Img_map_y[:, j] = [Img_map_y.shape[0] - y for y in range(Img_map_y.shape[0])]

print("First map_x value = ", Img_map_x[0, 0])
print("First map_y value = ", Img_map_y[0, 0])

dst_img = cv2.remap(src_img, Img_map_x, Img_map_y, cv2.INTER_LINEAR)

cv2.imshow("Original", src_img)
cv2.imshow("Result", dst_img)
cv2.waitKey(0)
Output:
image shape =  (340, 325, 3)
First map_x value =  0.0
First map_y value =  340.0

We can see the shape of the given image in the output and the first value of the x and y-axis maps. The first value of the map is (0, 340) means that the first pixel of the image located at (0, 0) will be moved to the position (0, 340).
The first argument of the remap() function is the image we want to remap. The function’s second argument is the x-axis map, and the third is the y-axis map.
The fourth argument of the function is the method used to remap the values. We used the cv2.INTER_LINEAR method, the nearest-neighbor interpolation method, but we can change it to any supported methods like cv2.INTER_LINEAR for bilinear interpolation and so on.
Check this link for more details about the interpolation methods. There are also two more optional arguments that we can set in the remap() function.
The first optional argument is the borderMode, which is used to set the border of the output image. By default, the value of the border mode is set to the constant border, but we can change it to any supported border mode.
Check this link for more details about the border types.
If the borderMode is set to cv2.BORDER_TRANSPARENT, the function will not modify outliers of the output image. The second optional argument sets the border value in constant border mode.
By default, its value is 0, but we can set it to any numeric value.
