How to Normalize Images in Python OpenCV
- Method 1: Normalizing an Image with Default Parameters
- Method 2: Normalizing an Image with Custom Parameters
- Method 3: Normalizing Grayscale Images
- Conclusion
- FAQ
Normalizing images is a crucial step in many computer vision applications, as it helps enhance the quality of images by adjusting their pixel intensity values.
This article will guide you through the process of normalizing images using the normalize() function available in OpenCV, a powerful library widely used in Python for image processing. Whether you’re working on a machine learning project or simply looking to improve your image quality, understanding how to effectively normalize images can significantly impact your results. Let’s explore the methods you can use to achieve this with practical code examples.
Image normalization is the process of adjusting the pixel values of an image to a common scale. This is particularly important in scenarios where images may have different lighting conditions or contrasts. By normalizing images, we can ensure that the intensity values are consistent, which can lead to better performance in image analysis tasks. OpenCV provides a straightforward way to normalize images using the normalize() function, which can be applied in various ways depending on your specific needs.
Method 1: Normalizing an Image with Default Parameters
In this method, we will use OpenCV’s normalize() function with its default parameters. This is a simple approach that scales the pixel values of the image to the range of 0 to 255.
import cv2

image = cv2.imread('input_image.jpg')
normalized_image = cv2.normalize(image, None, 0, 255, cv2.NORM_MINMAX)

cv2.imwrite('normalized_image.jpg', normalized_image)
Output:
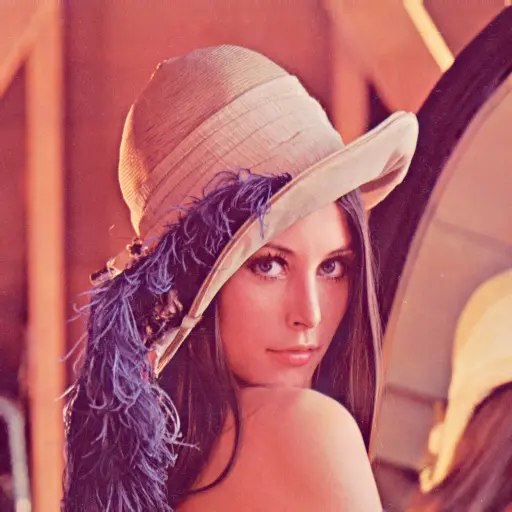
Original Image:
Normalized Image:
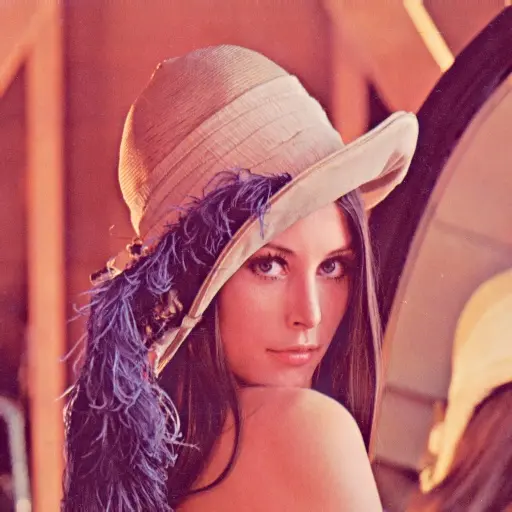
This code snippet begins by importing the OpenCV library and reading an input image. The normalize() function is then called, where the first argument is the source image, and the second is set to None because we want to create a new output image. The third and fourth arguments specify the desired range of pixel intensity values, which in this case is from 0 to 255. The last parameter, cv2.NORM_MINMAX, indicates that we want to scale the pixel values based on the minimum and maximum values found in the image.
The result is a new image that has been normalized, making it suitable for further processing or analysis.
Method 2: Normalizing an Image with Custom Parameters
If you need more control over the normalization process, you can specify your own minimum and maximum values. This method allows for greater flexibility and can be particularly useful when working with images that have specific intensity ranges.
import cv2

image = cv2.imread('input_image.jpg')
normalized_image = cv2.normalize(image, None, alpha=50, beta=200, norm_type=cv2.NORM_MINMAX)

cv2.imwrite('custom_normalized_image.jpg', normalized_image)
In this example, we again start by reading the input image. The normalize() function is called with custom values for the alpha and beta parameters. Here, alpha is set to 50 and beta to 200, which means that the pixel values will be scaled to fit within this range. This can be particularly useful if you know the expected range of pixel values in your images and want to ensure that they are represented accurately.
Utilizing custom parameters can lead to better results in specific applications, especially in cases where images may have been captured under varying conditions.
Method 3: Normalizing Grayscale Images
When working with grayscale images, normalization can help enhance contrast and improve visibility. The process is similar to normalizing color images, but we will focus on a single channel.
import cv2

image = cv2.imread('input_image.jpg', cv2.IMREAD_GRAYSCALE)
normalized_image = cv2.normalize(image, None, alpha=0, beta=255, norm_type=cv2.NORM_MINMAX)

cv2.imwrite('grayscale_normalized_image.jpg', normalized_image)
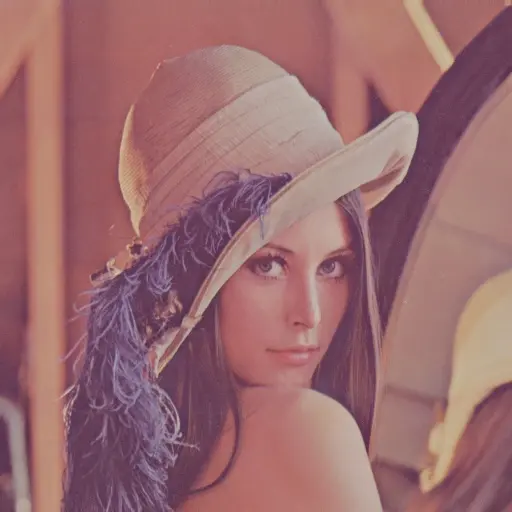
Output:
In this code, we read the input image as a grayscale image by using the cv2.IMREAD_GRAYSCALE flag. The normalization process is the same as before, but now we are working with a single channel. The output image will have enhanced contrast, making it easier to analyze features in the image.
Normalizing grayscale images is particularly useful in tasks such as edge detection, where the clarity of the image can significantly influence the results.
Conclusion
Normalizing images using OpenCV in Python is a straightforward yet powerful technique that can greatly enhance the quality of your image data. By utilizing the normalize() function, you can adjust pixel intensity values to fit within a desired range, improving the performance of various image processing tasks. Whether you choose to use default parameters or customize your normalization settings, understanding how to normalize images is a vital skill for anyone working in computer vision. With these methods at your disposal, you can ensure your images are ready for analysis and interpretation.
FAQ
-
what is image normalization?
Image normalization is the process of adjusting the pixel values of an image to a common scale, improving consistency and quality. -
why is normalization important in image processing?
Normalization helps enhance image quality, making it easier to analyze and process images, especially in varying lighting conditions.
-
can I normalize images in color and grayscale formats?
Yes, you can normalize both color and grayscale images using OpenCV’s normalize() function. -
how do I choose the right normalization parameters?
The choice of parameters depends on your specific application and the intensity range of your images. Experimenting with different values can help achieve optimal results. -
does normalization affect the original image?
No, normalization creates a new image with the adjusted pixel values, leaving the original image unchanged.
