How to Use the imshow() Function From OpenCV in Python
- Setting Up OpenCV in Python
-
Using
imshow()to Display an Image - Handling Multiple Images
- Resizing Images Before Display
- Conclusion
- FAQ
If you’re diving into the world of computer vision with Python, one of the first functions you’ll encounter is imshow() from the OpenCV library. This powerful function allows you to display images in a window, making it an essential tool for anyone working with image processing. Whether you’re analyzing images, building machine learning models, or just experimenting with visual data, understanding how to use imshow() can significantly enhance your workflow.
In this tutorial, we’ll explore the ins and outs of this function, providing you with clear examples and explanations to help you get started. Let’s unlock the potential of OpenCV and visualize your images effortlessly!
OpenCV, short for Open Source Computer Vision Library, is an open-source computer vision and machine learning software library. It contains over 2500 optimized algorithms, making it a staple for tasks such as image processing, object detection, and even facial recognition. With its extensive functionalities, OpenCV enables developers to create robust applications in real-time. In this section, we’ll briefly discuss the significance of the imshow() function within this powerful library.
Setting Up OpenCV in Python
Before we can use the imshow() function, you need to ensure that OpenCV is installed in your Python environment. You can easily install OpenCV using pip. Here’s how you can do it:
pip install opencv-python
After running this command, OpenCV will be installed, and you’ll be ready to start displaying images. The imshow() function is typically used in conjunction with other functions for reading and manipulating images. Once you have OpenCV installed, let’s see how to use imshow() effectively.
Using imshow() to Display an Image
Now that you have OpenCV installed, let’s jump right into using the imshow() function. The basic syntax of the imshow() function is straightforward: it takes two parameters—the name of the window and the image you want to display. Here’s a simple example to demonstrate how to use it:
import cv2

image = cv2.imread('path_to_image.jpg')
cv2.imshow('Image Window', image)
cv2.waitKey(0)
cv2.destroyAllWindows()
In this code, we first import the OpenCV library using import cv2. Then we read an image file using cv2.imread(), which loads the image into memory. The imshow() function is then called with two arguments: the name of the window (‘Image Window’) and the image itself. The waitKey(0) function waits indefinitely for a key press, allowing you to view the image until you close the window. Finally, destroyAllWindows() closes any windows opened by OpenCV.
Output:
.webp)
This simple example shows how easy it is to display images using OpenCV’s imshow(). You can replace 'path_to_image.jpg' with the path to any image file on your system.
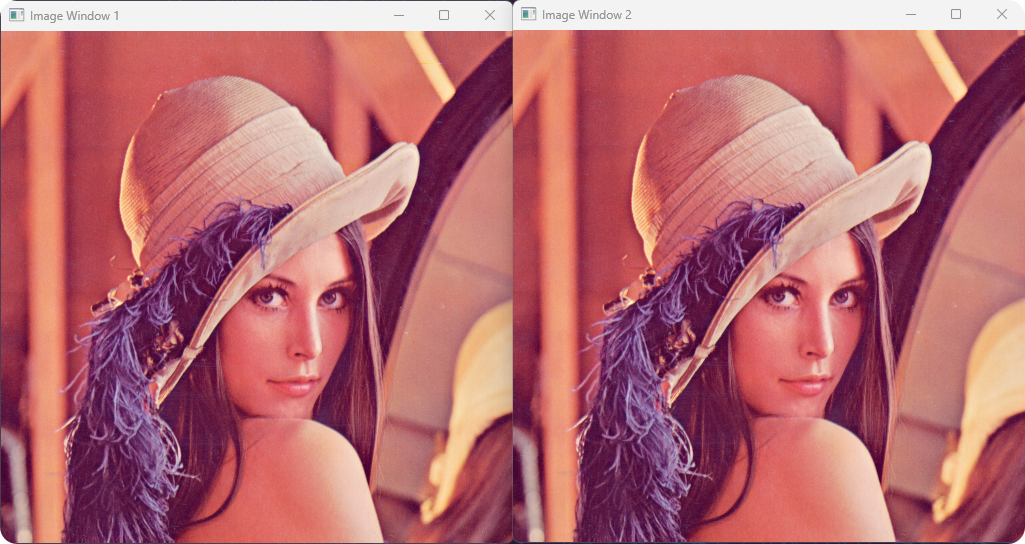
Handling Multiple Images
Displaying multiple images is a common requirement in image processing tasks. Thankfully, imshow() can handle this seamlessly. By creating multiple windows, you can visualize several images side by side. Here’s how you can do it:
import cv2

image1 = cv2.imread('path_to_image1.jpg')
image2 = cv2.imread('path_to_image2.jpg')

cv2.imshow('Image Window 1', image1)
cv2.imshow('Image Window 2', image2)
cv2.waitKey(0)
cv2.destroyAllWindows()
In this example, we load two images and display them in separate windows. Each call to imshow() creates a new window with its respective title. The process remains the same; you simply call imshow() multiple times with different image variables. This approach is particularly useful when you want to compare images or visualize different stages of image processing.
Output:
Handling multiple images with imshow() allows for effective visual comparisons, which is crucial in many computer vision applications.
Resizing Images Before Display
Sometimes, images may be too large or too small for effective viewing. OpenCV provides a convenient way to resize images before displaying them using the resize() function. Here’s how you can implement this:
import cv2

image = cv2.imread('path_to_image.jpg')
resized_image = cv2.resize(image, (600, 400))  # Resize to 600x400 pixels
cv2.imshow('Resized Image', resized_image)
cv2.waitKey(0)
cv2.destroyAllWindows()
In this code, we first read the image and then resize it to a width of 600 pixels and a height of 400 pixels using cv2.resize(). The resized image is then displayed using imshow(). Resizing images can be particularly useful when dealing with high-resolution images that may not fit well on your screen.
By resizing images before displaying them, you can ensure that they fit nicely within your viewing area, enhancing your overall experience.
Conclusion
The imshow() function from OpenCV is a powerful tool for displaying images in Python. Whether you’re working with a single image or multiple images, OpenCV makes it easy to visualize your data effectively. By understanding how to use this function, you can enhance your image processing projects and gain valuable insights from your visual data. As you continue your journey into computer vision, mastering tools like imshow() will undoubtedly serve you well.
FAQ
-
what is the purpose of the imshow() function in OpenCV?
The imshow() function is used to display images in a window. -
can I display multiple images using imshow()?
Yes, you can call imshow() multiple times to display different images in separate windows. -
how can I resize an image before displaying it?
You can use the resize() function from OpenCV to resize an image before passing it to imshow(). -
do I need to close the image window manually?
No, you can use destroyAllWindows() to close all OpenCV windows programmatically. -
what happens if I pass an incorrect image path to imshow()?
If the image path is incorrect, imshow() will not display anything, and you may encounter an error when trying to read the image.

Manav is a IT Professional who has a lot of experience as a core developer in many live projects. He is an avid learner who enjoys learning new things and sharing his findings whenever possible.
LinkedIn