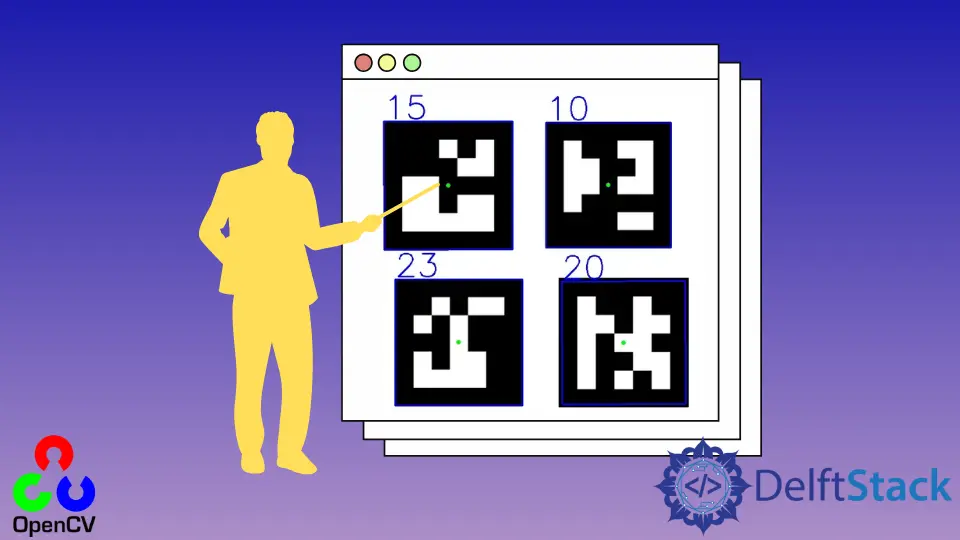
OpenCV ArUco Markers

This tutorial will discuss detecting ArUco markers using the cv2.aruco.detectMarkers() function of OpenCV.
ArUco Marker Detection Using OpenCV
ArUco markers are binary images for pose estimation, camera calibration, robot navigation, and augmented reality applications. In computer vision applications, pose estimation is very important and difficult, but we can use the ArUco markers to make it easy.
ArUco markers are binary square images with a black border, and the inner body has white color, which changes according to the marker. For example, an ArUco marker is shown below.

The above ArUco marker is generated using a website. We must select the dictionary, marker ID, and marker size to generate an ArUco marker using this website.
An ArUco maker consists of an ArUco dictionary, marker size, and marker ID. For example, a 4x4_100 dictionary consists of 100 markers with a 4x4 marker size means that the marker is composed of 25 bits, and each marker will have a unique ID.
If we use the predefined dictionary of ArUco markers, the marker ID will start from 0 and end at the maximum number of markers supported by the dictionary. The detection process will return the four corners of the ArUco maker and the marker ID.
In the first step, the algorithm will analyze the given images to find square shape images. The algorithm will get the counters of all the shapes present in the given image, which will give information about the corners of a shape, and the shapes which are not square will be discarded.
In the second step, the algorithm will analyze the inner codification of the remaining shapes. The marker bits will be calculated using thresholding, and white and black bits will be separated.
The algorithm will check if the bits belong to any of the ArUco dictionaries or not. If the bits belong to a specific ArUco dictionary, the ID of the marker will be returned.
We can use the detectMarkers() function of OpenCV to detect ArUco markers. The first argument of the detectMarkers() function is the input image which contains the ArUco markers.
The second argument of the detectMarkers() function is the dictionary we want to search to find the ArUco marker. The third argument is the detection parameters, and we can use the cv2.aruco.DetectorParameters_create() function to create default parameters for detecting ArUco markers.
The detectMarkers() function returns three output arguments: marker corners, marker ID, and rejected markers. After finding the corners of the ArUco markers, we will use a loop to draw a square around the detected marker using the cv2.line() function.
We will also put the marker ID on top of the detected marker using the cv2.putText() function. We can also mark the center of the marker using the cv2.circle() function.
For example, let’s detect ArUco markers present in an image using the cv2.aruco.detectMarkers() function. See the code below.
import imutils
import cv2

aruco_image = cv2.imread("aruco markers.png")
aruco_image = imutils.resize(aruco_image, width=600)
cv2.imshow("img", aruco_image)
cv2.waitKey(0)
Aruco_Dict = cv2.aruco.Dictionary_get(cv2.aruco.DICT_5X5_100)
Aruco_Params = cv2.aruco.DetectorParameters_create()
(marker_corners, marker_id, rejected_markers) = cv2.aruco.detectMarkers(
    aruco_image, Aruco_Dict, parameters=Aruco_Params
)

if len(marker_corners) > 0:
    marker_id = marker_id.flatten()

    for (markerCorner, markerID) in zip(marker_corners, marker_id):
        marker_corners = markerCorner.reshape((4, 2))
        (top_Left, top_Right, bottom_Right, bottom_Left) = marker_corners
        top_Right = (int(top_Right[0]), int(top_Right[1]))
        bottom_Right = (int(bottom_Right[0]), int(bottom_Right[1]))
        bottom_Left = (int(bottom_Left[0]), int(bottom_Left[1]))
        top_Left = (int(top_Left[0]), int(top_Left[1]))

        cv2.line(aruco_image, top_Left, top_Right, (255, 0, 0), 2)
        cv2.line(aruco_image, top_Right, bottom_Right, (255, 0, 0), 2)
        cv2.line(aruco_image, bottom_Right, bottom_Left, (255, 0, 0), 2)
        cv2.line(aruco_image, bottom_Left, top_Left, (255, 0, 0), 2)
        cX = int((top_Left[0] + bottom_Right[0]) / 2.0)
        cY = int((top_Left[1] + bottom_Right[1]) / 2.0)
        cv2.circle(aruco_image, (cX, cY), 4, (0, 255, 0), -1)
        cv2.putText(
            aruco_image,
            str(markerID),
            (top_Left[0], top_Left[1] - 5),
            cv2.FONT_HERSHEY_SIMPLEX,
            2,
            (255, 0, 0),
            2,
        )
        print("Aruco Marker ID: {}".format(markerID))
        cv2.imshow("Image", aruco_image)
        cv2.waitKey(0)
cv2.destroyAllWindows()
Output:

In the above code, we used the cv2.aruco.Dictionary_get() function to get the restored ArUco marker dictionary. We will loop over the corners of the detected markers to draw a box around them and put their ID on top of them.
We also used an if statement to check if marker corners are available or not. The first argument of the cv2.line() function is the image on which we want to draw the line.
The second and third arguments are endpoints of the line, and the fourth argument is the color of the line in RGB triplet format. The fifth argument is the width of the line.
The first argument of the cv2.circle() function is the input image on which we want to draw the circle, the second argument is the center of the circle, the third argument is the radius of the circle, the fourth argument is the color of the circle, and the fifth argument is used to fill the circle.
The first argument of the cv2.putText() function is the input image on which we want to put the text.
The second argument is the text, the third argument is the point on which we want to put the text, the fourth argument is the font style, the fifth argument is the font scale, the sixth argument is the color of the text, and the seventh argument is the line width of the text. We have to use the same dictionary to create and detect the markers.
