How to Capture and Save Video Using OpenCV
- Setting Up Your Environment
- Capturing Video from Webcam
- Saving Video to a File
- Processing Video Frames
- Conclusion
- FAQ
Capturing and saving video from a webcam using OpenCV with Python is a fascinating journey into the world of computer vision. Whether you’re looking to create a simple video recording application or delve into more complex image processing tasks, OpenCV provides a robust framework to achieve these goals.
In this article, we’ll explore how to set up your environment, write the necessary Python code, and understand the underlying concepts that make video capture possible. By the end, you’ll be equipped with the skills to capture live video, process it, and save it for later use. So, let’s dive into the exciting world of OpenCV and video capture!
Setting Up Your Environment
Before you start capturing video with OpenCV, you need to ensure that your development environment is ready. First, you need to install OpenCV if you haven’t already. You can easily do this using pip, which is the package installer for Python.
Open your terminal or command prompt and run the following command:
pip install opencv-python
This command will download and install the OpenCV library and its dependencies. Once the installation is complete, you can verify it by opening a Python shell and typing:
import cv2
print(cv2.__version__)
If the version number appears without any errors, congratulations! You’re all set to start capturing video. Remember, having a working webcam is essential for this process. If you’re using a virtual environment, make sure it’s activated before running the pip command.
Capturing Video from Webcam
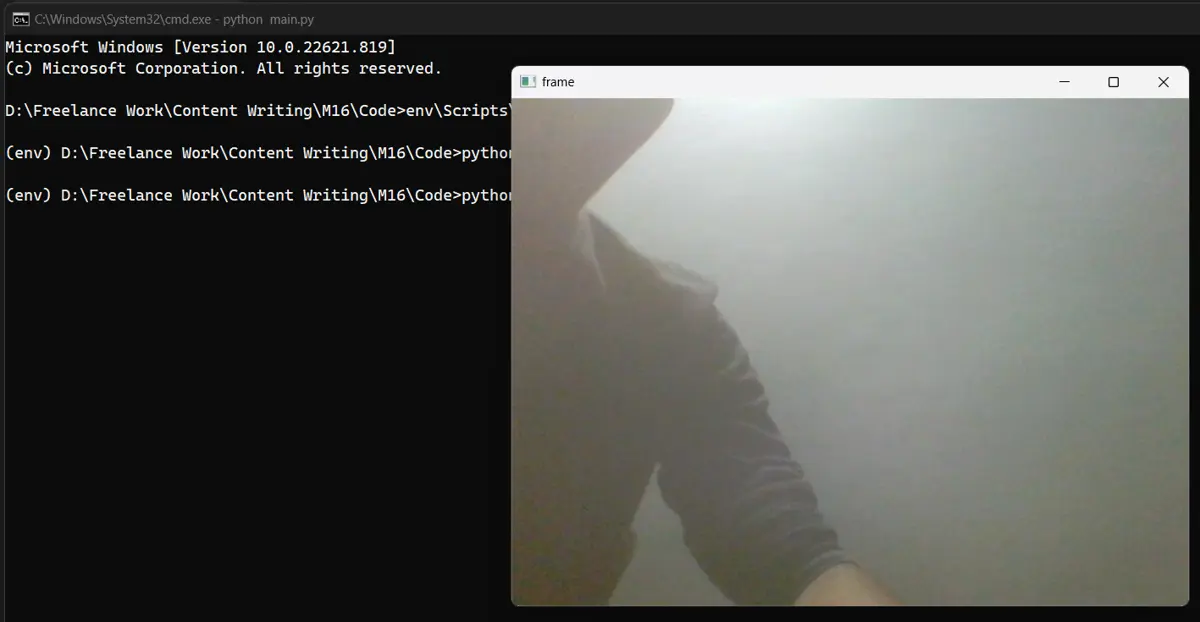
Now that your environment is set up, let’s jump into capturing video from your webcam. The following code snippet demonstrates how to open your webcam and display the video feed in a window.
import cv2

cap = cv2.VideoCapture(0)

while True:
    ret, frame = cap.read()
    if not ret:
        break

    cv2.imshow('Webcam Feed', frame)

    if cv2.waitKey(1) & 0xFF == ord('q'):
        break

cap.release()
cv2.destroyAllWindows()
In this code, we first import the OpenCV library. We then create a VideoCapture object that captures video from the default camera (index 0). Inside a loop, we read frames from the webcam and display them in a window titled “Webcam Feed.” The loop continues until the user presses the ‘q’ key, at which point we release the camera and close all OpenCV windows.
This simple code serves as the foundation for any video processing application. You can modify it further to include image processing techniques or integrate it into larger projects. The use of cv2.waitKey(1) allows the loop to run smoothly, checking for user input every millisecond.
Saving Video to a File
Capturing video is great, but saving that video for future use is even better. To save the video feed, we can extend the previous code. Here’s how you can do it:
import cv2

cap = cv2.VideoCapture(0)
fourcc = cv2.VideoWriter_fourcc(*'XVID')
out = cv2.VideoWriter('output.avi', fourcc, 20.0, (640, 480))

while True:
    ret, frame = cap.read()
    if not ret:
        break

    out.write(frame)
    cv2.imshow('Webcam Feed', frame)

    if cv2.waitKey(1) & 0xFF == ord('q'):
        break

cap.release()
out.release()
cv2.destroyAllWindows()
In this updated code, we introduce the VideoWriter class, which allows us to save video frames to a file. We specify the codec (in this case, XVID), the frames per second (20.0), and the frame size (640x480). Each frame captured from the webcam is written to the output file using out.write(frame). As before, the loop continues until the ‘q’ key is pressed.
This method is particularly useful for applications where you want to record sessions, like surveillance or creating tutorials. You can adjust the codec and parameters to suit your needs, ensuring the saved video meets your quality requirements.
Processing Video Frames
Capturing and saving video is just the beginning. OpenCV allows you to perform various processing tasks on each frame before saving it. Let’s take a look at an example where we convert the video feed to grayscale before saving it.
import cv2
cap = cv2.VideoCapture(0)
fourcc = cv2.VideoWriter_fourcc(*'XVID')
out = cv2.VideoWriter('output_gray.avi', fourcc, 20.0, (640, 480))
while True:
ret, frame = cap.read()
if not ret:
break
gray_frame = cv2.cvtColor(frame, cv2.COLOR_BGR2GRAY)
out.write(gray_frame)
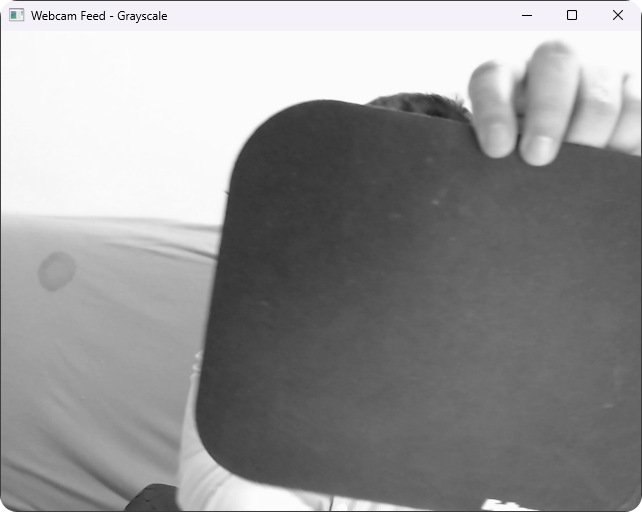
cv2.imshow('Webcam Feed - Grayscale', gray_frame)
if cv2.waitKey(1) & 0xFF == ord('q'):
break
cap.release()
out.release()
cv2.destroyAllWindows()
In this code, we use cv2.cvtColor() to convert each frame to grayscale. The grayscale frames are then saved to a file named output_gray.avi. This technique is particularly useful in applications where color information is unnecessary, such as certain types of image analysis.
Output:
Processing video frames opens a world of possibilities. You can apply filters, detect edges, recognize faces, and much more. The versatility of OpenCV makes it an excellent choice for developers looking to explore computer vision.
Conclusion
Capturing and saving video using OpenCV in Python is a rewarding experience that combines programming with real-time image processing. By following the steps outlined in this article, you can easily set up your environment, capture video from your webcam, save it to a file, and even process frames in real time. Whether you’re building a project for fun or developing a serious application, OpenCV provides the tools you need to succeed. Now that you have a solid foundation, it’s time to explore further and unleash your creativity in the world of computer vision!
FAQ
-
How do I install OpenCV?
You can install OpenCV using pip with the commandpip install opencv-python. -
Can I capture video from multiple cameras?
Yes, you can capture video from multiple cameras by changing the index incv2.VideoCapture(index). -
What video formats can I save with OpenCV?
OpenCV supports various formats, including AVI and MP4, depending on the codec used. -
How can I process images in real time?
You can apply image processing functions within the video capture loop, allowing you to manipulate frames as they are captured. -
What are some common applications of OpenCV?
OpenCV is used in various applications, including facial recognition, object detection, and video surveillance.

Vaibhav is an artificial intelligence and cloud computing stan. He likes to build end-to-end full-stack web and mobile applications. Besides computer science and technology, he loves playing cricket and badminton, going on bike rides, and doodling.