Tkinter Drag and Drop
- Drag and Drop Files in Tkinter
- Download and Setup the Essential Packages for Drag and Drop in Tkinter
-
Use
TkinterDnD2Library to Drag and Drop Files in Tkinter -
Use
TkinterDnD2Library to Drag and Drop File and Folder in Listbox in Tkinter -
Use
TkinterDnD2Library to Drag and Drop the Image in Tkinter

This tutorial will demonstrate how to drag and drop objects using the TkinterDnD2 library on the Tkinter GUI. The TkinterDnD2 is an external tool that helps drag and drop an object.
Drag and Drop Files in Tkinter
Drag and drop help move files, folders and objects while pressing the left click. One can drag an object to the x-axis or to the y-axis per the official documentation to allow the object to be dragged.
We need a callback method to create an event. The method should call Tkdnd.dnd_start (source, event), where the source is the object to be dragged, and the event is the requested call.
We tried this way, but it just didn’t work. So we found a way to do this.
Dragging and dropping involve three tasks.
- You have to press the mouse button.
- You have to move the mouse.
- You have to release the mouse button.
And all of these activities can be done by setting up an event. We’ll use the mouse button event to drag and drop an item.
Before proceeding, let us install the essential packages needed to drag and drop.
Download and Setup the Essential Packages for Drag and Drop in Tkinter
To download the tkdnd2.8 external library, please click here. To download the TkinterDnD2 external library, please click here.
Extract both folders and find the location where the Python is installed.
Move the tkdnd2.8 extracted folder to the tcl folder placed in the Python folder. In our case, the tcl folder is located here C:\python\tcl.
Move the TkinterDnD2 extracted folder to the site-packages folder.
In our case, the site-packages folder is located here C:\python\Lib\site-packages.
After following these steps, we are ready to develop an application.
If you have problems with the setup, you can follow this link.
Use TkinterDnD2 Library to Drag and Drop Files in Tkinter
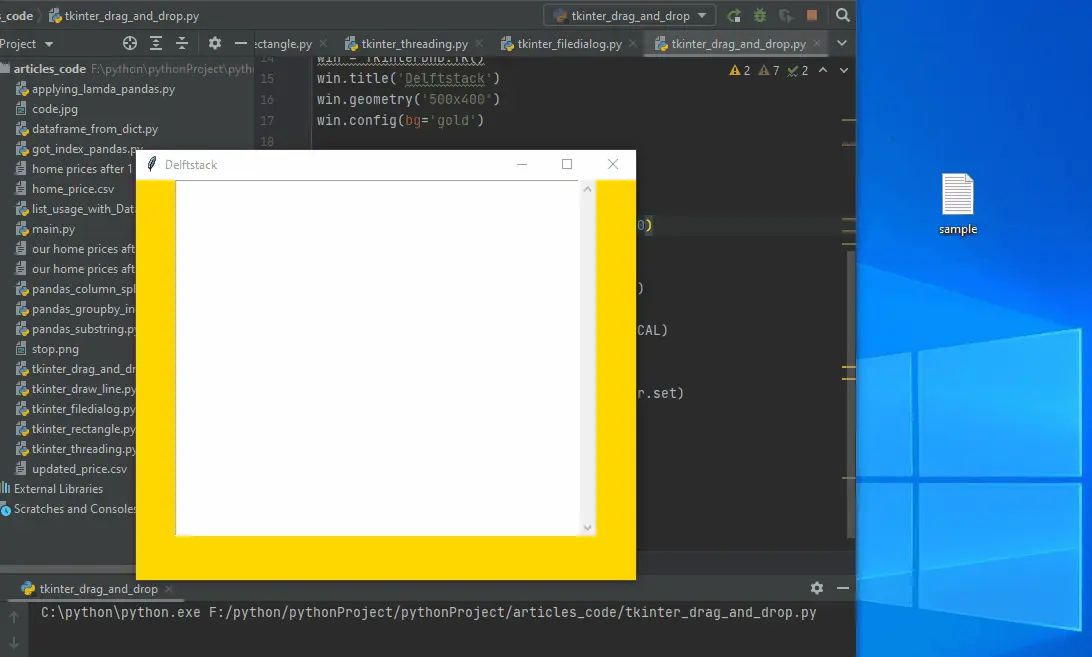
We drag a file and drop it in the Text() widget placed in the frame in this example. This program can only read text files, but you can use other extensions.
from tkinter import *
from TkinterDnD2 import *


def DisplayText(event):
    # delete entire existing content
    textbox.delete("1.0", "end")
    # check the file holds txt extension
    if event.data.endswith(".txt"):
        with open(event.data, "r") as f:
            # getting content in a variable
            for text_line in f:
                text_line = text_line.strip()
                textbox.insert("end", f"{text_line}\n")


win = TkinterDnD.Tk()
win.title("Delftstack")
win.geometry("500x400")
win.config(bg="gold")

frame = Frame(win)
frame.pack()

textbox = Text(frame, height=22, width=50)
textbox.pack(side=LEFT)
textbox.drop_target_register(DND_FILES)
textbox.dnd_bind("<<Drop>>", DisplayText)

scrolbar = Scrollbar(frame, orient=VERTICAL)
scrolbar.pack(side=RIGHT, fill=Y)

textbox.configure(yscrollcommand=scrolbar.set)
scrolbar.config(command=textbox.yview)

win.mainloop()
We created an object of the TK() class using TkinterDnD.Tk(). After this, we created a frame that holds a text box. We can declare a text box using the Text() widget.
The drop_target_register(DND_FILES) method makes space in a text box to accept the dragged file.
The dnd_bind('<<Drop>>', DisplayText) method bind an event and function; the first argument is an event, and the second is a function.
The DisplayText() function will be called when we drag the file and release it in the text box. The function will delete the entire existing content from a text box check if the extension is .txt or not.

Use TkinterDnD2 Library to Drag and Drop File and Folder in Listbox in Tkinter
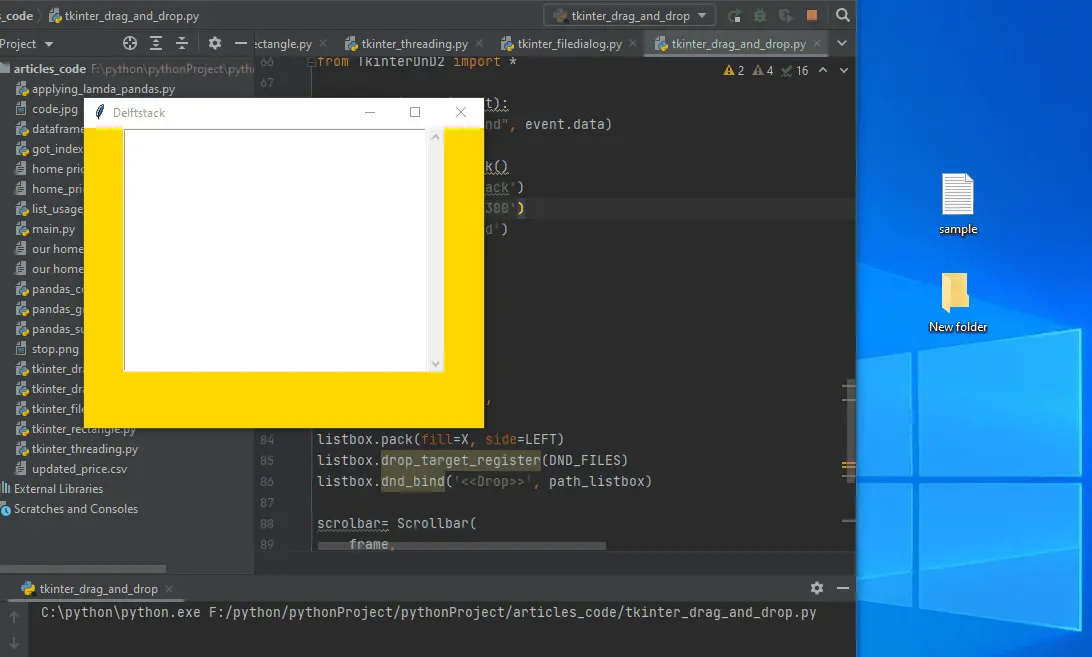
In this code, we created a Listbox() widget. This widget displays multiple items and lets you select multiple items.
In our case, the Listbox() widget holds multiple locations using drag and drop.
from tkinter import *
from TkinterDnD2 import *


def path_listbox(event):
    listbox.insert("end", event.data)


window = TkinterDnD.Tk()
window.title("Delftstack")
window.geometry("400x300")
window.config(bg="gold")
frame = Frame(window)
frame.pack()

listbox = Listbox(
    frame,
    width=50,
    height=15,
    selectmode=SINGLE,
)
listbox.pack(fill=X, side=LEFT)
listbox.drop_target_register(DND_FILES)
listbox.dnd_bind("<<Drop>>", path_listbox)

scrolbar = Scrollbar(frame, orient=VERTICAL)
scrolbar.pack(side=RIGHT, fill=Y)
# displays the content in listbox
listbox.configure(yscrollcommand=scrolbar.set)
# view the content vertically using scrollbar
scrolbar.config(command=listbox.yview)

window.mainloop()
The path_listbox() function will be called when an object is dragged. The insert() method will help insert the data in the Listbox in this function.

Use TkinterDnD2 Library to Drag and Drop the Image in Tkinter
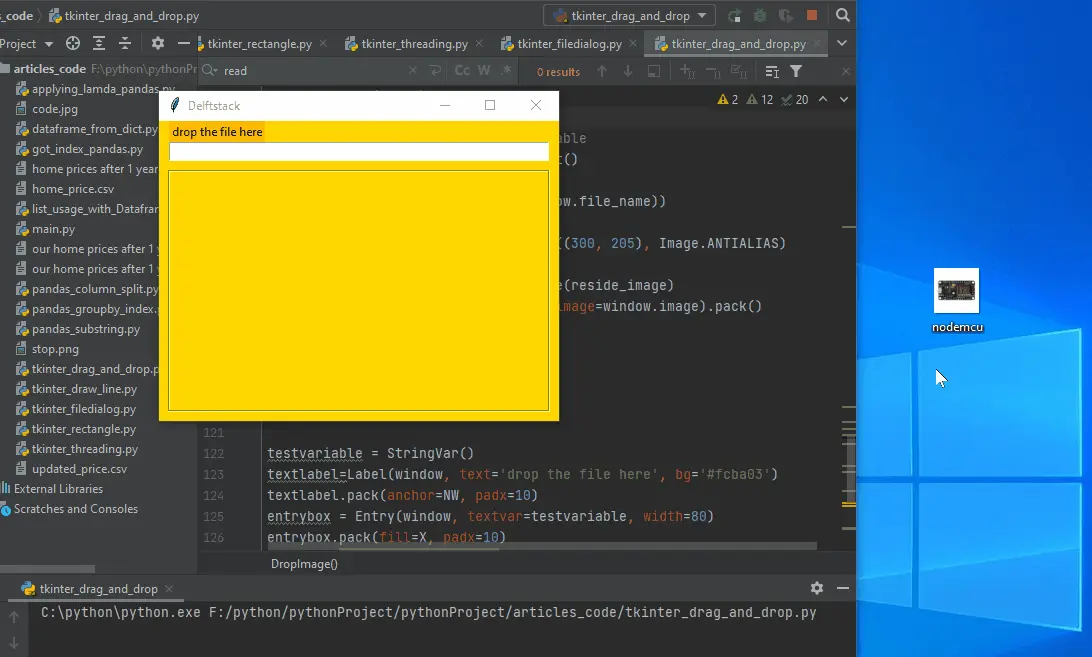
We use the TkinterDnD2 library to drag and drop an image. We created a string object using the StringVar() class and set it on this code’s Entry() widget.
When the file is dragged on the entry widget, the DropImage() function is called. This function helps to get the file path and display an image.
from tkinter import *
from TkinterDnD2 import *
from PIL import ImageTk, Image


def DropImage(event):
    testvariable.set(event.data)
    # get the value from string variable
    window.file_name = testvariable.get()
    # takes path using dragged file
    image_path = Image.open(str(window.file_name))
    # resize image
    reside_image = image_path.resize((300, 205), Image.ANTIALIAS)
    # displays an image
    window.image = ImageTk.PhotoImage(reside_image)
    image_label = Label(labelframe, image=window.image).pack()


window = TkinterDnD.Tk()
window.title("Delftstack")
window.geometry("400x300")
window.config(bg="gold")

testvariable = StringVar()
textlabel = Label(window, text="drop the file here", bg="#fcba03")
textlabel.pack(anchor=NW, padx=10)
entrybox = Entry(window, textvar=testvariable, width=80)
entrybox.pack(fill=X, padx=10)
entrybox.drop_target_register(DND_FILES)
entrybox.dnd_bind("<<Drop>>", DropImage)

labelframe = LabelFrame(window, bg="gold")

labelframe.pack(fill=BOTH, expand=True, padx=9, pady=9)

window.mainloop()
Output:

Click here to read official docs.
Hello! I am Salman Bin Mehmood(Baum), a software developer and I help organizations, address complex problems. My expertise lies within back-end, data science and machine learning. I am a lifelong learner, currently working on metaverse, and enrolled in a course building an AI application with python. I love solving problems and developing bug-free software for people. I write content related to python and hot Technologies.
LinkedIn