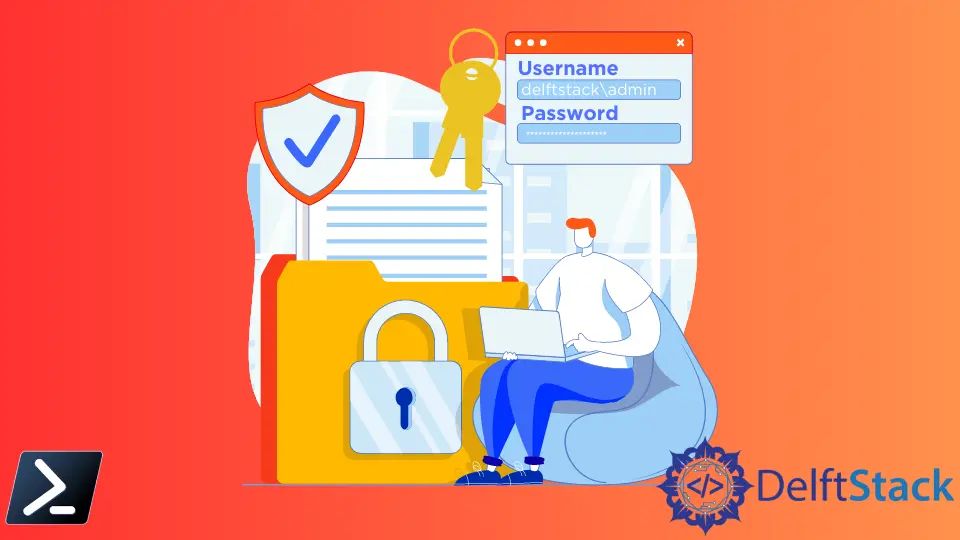
How to Rename Computer and Join to Domain With PowerShell
- Understanding PowerShell Basics
- Renaming the Computer and Joining the Domain
- Ensuring Successful Domain Join
- Troubleshooting Common Issues
- Conclusion
- FAQ
Renaming a computer and joining it to a domain can sometimes feel like a daunting task, especially for those who are not well-versed in IT. However, with PowerShell, this process can be simplified into a single command.
In this tutorial, we’ll walk you through the steps to rename your computer and join it to a domain efficiently. Whether you’re managing multiple machines or just one, knowing how to do this with PowerShell can save you time and effort. Let’s dive into the details and get your computer set up just the way you want it!
Understanding PowerShell Basics
Before we get into the command itself, it’s important to understand what PowerShell is and how it works. PowerShell is a task automation framework that consists of a command-line shell and an associated scripting language. It allows users to automate tasks and manage configurations across various systems. By using PowerShell, you can easily rename your computer and join it to a domain in a streamlined manner.
To perform these tasks, you’ll need to run PowerShell with administrative privileges. This ensures that you have the necessary permissions to make changes to the system settings.
Renaming the Computer and Joining the Domain
Now, let’s get into the meat of the matter. The command you’ll use to rename your computer and join it to a domain is quite straightforward. Here’s how you can do it:
Rename-Computer -NewName "NewComputerName" -DomainName "YourDomainName" -Credential "Domain\User" -Restart
Output:
Renaming computer to "NewComputerName"...
Joining domain "YourDomainName"...
Restarting computer...
In this command, you need to replace "NewComputerName" with the desired name for your computer, and "YourDomainName" with the name of the domain you want to join. The -Credential parameter is where you will specify the domain user account that has permission to join the computer to the domain. The -Restart flag ensures that your computer restarts automatically after the changes are made.
When you execute this command, PowerShell will first rename the computer. After a successful renaming, it will attempt to join the specified domain. If everything goes well, your computer will restart, and upon reboot, it will be part of the domain with the new name.
Ensuring Successful Domain Join
After running the command, it’s crucial to verify that the computer has successfully joined the domain. You can do this by using the following command:
Get-ComputerInfo | Select-Object -Property CsName, Domain
Output:
CsName         Domain
-------        -------
NewComputerName YourDomainName
This command retrieves the computer’s information, showing the current name and the domain it’s joined to. If the output reflects your new computer name and the correct domain, you’ve successfully completed the task!
In cases where the domain join fails, check your network connection and ensure that the domain controller is reachable. Additionally, confirm that the credentials provided have the necessary permissions to add computers to the domain.
Troubleshooting Common Issues
While the process is generally straightforward, you might encounter some issues along the way. Here are a few common problems and their solutions:
- Invalid Credentials: Ensure that the username and password provided in the
-Credentialparameter are correct and have the necessary permissions. - Network Issues: If the computer cannot reach the domain controller, check your network settings and ensure that the computer is connected to the correct network.
- Firewall Settings: Sometimes, firewall settings can block communication with the domain controller. Ensure that the necessary ports are open for domain communication.
By keeping these troubleshooting tips in mind, you can quickly resolve any issues that may arise during the renaming and domain-joining process.
Conclusion
Renaming a computer and joining it to a domain using PowerShell is not only efficient but also a great way to manage your systems effectively. With just a few commands, you can streamline your workflow and ensure that your machines are properly configured. Whether you’re managing a single computer or a fleet of devices, mastering PowerShell can significantly enhance your productivity. Remember to verify your changes and troubleshoot any potential issues to ensure a smooth transition. Happy computing!
FAQ
-
How do I open PowerShell with administrative privileges?
Right-click on the Start menu and select “Windows PowerShell (Admin)” or search for PowerShell in the Start menu, right-click it, and select “Run as administrator.” -
Can I rename the computer without joining a domain?
Yes, you can use theRename-Computercommand without the domain parameters to simply rename your computer. -
What should I do if the domain join fails?
Check your network connection, verify the credentials, and ensure that your firewall settings allow communication with the domain controller. -
Is it necessary to restart the computer after renaming it?
Yes, a restart is required for the changes to take effect. -
Can I run these commands remotely?
Yes, you can use PowerShell remoting to execute these commands on remote computers if you have the necessary permissions.
