How to Take a Screenshot Using PowerShell
- Method 1: Using PowerShell to Capture Full Screen
- Method 2: Capturing a Specific Window
- Method 3: Using Scheduled Tasks for Automated Screenshots
- Conclusion
- FAQ
Taking a screenshot is often a fundamental task for many computer users, whether for work, education, or personal use. While most people rely on traditional methods like keyboard shortcuts or built-in applications, did you know that you can also take screenshots using PowerShell? PowerShell, a powerful command-line tool, provides a flexible way to automate tasks, including capturing your screen.
In this tutorial, we will explore how to take a screenshot using PowerShell, providing you with easy-to-follow steps and examples. By the end, you’ll be equipped with the knowledge to efficiently capture your screen without relying on third-party applications.
Method 1: Using PowerShell to Capture Full Screen
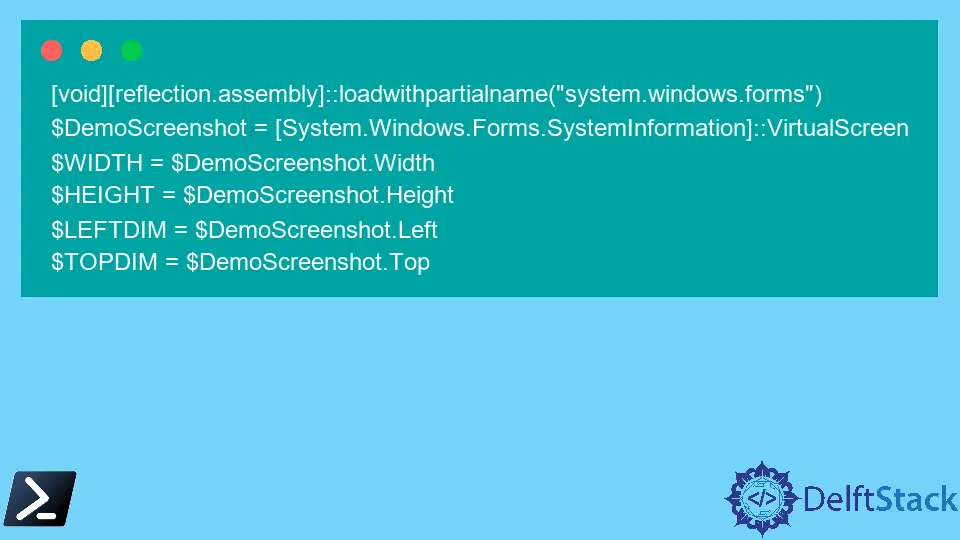
One of the simplest ways to take a screenshot using PowerShell is by leveraging the .NET framework’s capabilities. This method allows you to capture the entire screen and save it as an image file. Below is a straightforward PowerShell script that accomplishes this task.
Add-Type -AssemblyName System.Drawing
$bitmap = New-Object System.Drawing.Bitmap -ArgumentList (Get-Host).UI.RawUI.WindowSize.Width, (Get-Host).UI.RawUI.WindowSize.Height
$graphics = [System.Drawing.Graphics]::FromImage($bitmap)
$graphics.CopyFromScreen(0, 0, 0, 0, $bitmap.Size)
$bitmap.Save("C:\screenshot.png", [System.Drawing.Imaging.ImageFormat]::Png)
Output:
A screenshot of the full screen is saved as screenshot.png in C:\
This script begins by adding the necessary .NET assembly for drawing. It then creates a bitmap object that matches the dimensions of your screen. The CopyFromScreen method captures the screen’s content and stores it in the bitmap. Finally, the script saves the captured image as a PNG file to your specified directory. You can change the file path to suit your preferences. This method is efficient for capturing everything displayed on your screen.
Method 2: Capturing a Specific Window
If you want to capture a specific window rather than the entire screen, PowerShell can help you with that too. This method involves selecting a particular window by its title. Below is an example of how to achieve this.
Add-Type -AssemblyName System.Drawing
$window = Get-Process | Where-Object { $_.MainWindowTitle -like "*Your Window Title*" }
$bounds = $window.MainWindowHandle
$bitmap = New-Object System.Drawing.Bitmap -ArgumentList $bounds.Width, $bounds.Height
$graphics = [System.Drawing.Graphics]::FromImage($bitmap)
$graphics.CopyFromScreen($bounds.X, $bounds.Y, 0, 0, $bitmap.Size)
$bitmap.Save("C:\screenshot_window.png", [System.Drawing.Imaging.ImageFormat]::Png)
Output:
A screenshot of the specified window is saved as screenshot_window.png in C:\
In this script, we first retrieve the process of the window you want to capture by its title. Make sure to replace “Your Window Title” with the actual title of the window you wish to capture. The script then obtains the window’s bounds and creates a bitmap of the same size. The CopyFromScreen method is again used to capture the content of the specified window, which is then saved as a PNG file. This method is particularly useful for focusing on specific applications or documents.
Method 3: Using Scheduled Tasks for Automated Screenshots
For those who need to take screenshots at regular intervals, you can set up a scheduled task using PowerShell. This method allows you to automate the screenshot process without manual intervention. Below is an example of how to create a scheduled task that captures a screenshot every hour.
$action = New-ScheduledTaskAction -Execute "PowerShell.exe" -Argument "-Command Add-Type -AssemblyName System.Drawing; $bitmap = New-Object System.Drawing.Bitmap -ArgumentList (Get-Host).UI.RawUI.WindowSize.Width, (Get-Host).UI.RawUI.WindowSize.Height; $graphics = [System.Drawing.Graphics]::FromImage($bitmap); $graphics.CopyFromScreen(0, 0, 0, 0, $bitmap.Size); $bitmap.Save('C:\screenshot_$(Get-Date -Format 'yyyyMMdd_HHmmss').png', [System.Drawing.Imaging.ImageFormat]::Png)"
$trigger = New-ScheduledTaskTrigger -AtStartup
$trigger.Repetition.Interval = New-TimeSpan -Hours 1
$trigger.Repetition.Duration = New-TimeSpan -Days 1
Register-ScheduledTask -Action $action -Trigger $trigger -TaskName "AutoScreenshot"
Output:
A scheduled task named AutoScreenshot has been created to capture screenshots every hour.
This script creates a scheduled task named “AutoScreenshot” that executes a PowerShell command to take a screenshot every hour. The Add-Type and bitmap creation processes are similar to previous methods. However, the file name includes a timestamp, ensuring each screenshot is unique. The scheduled task runs at startup and repeats every hour. This method is perfect for monitoring applications or capturing changes over time without needing to remember to take screenshots manually.
Conclusion
Taking screenshots using PowerShell is not only efficient but also a great way to automate the process. Whether you need to capture the entire screen, a specific window, or set up a scheduled task for regular screenshots, PowerShell offers the flexibility to meet your needs. The methods outlined in this tutorial provide a comprehensive approach to screen capturing, allowing you to harness the power of PowerShell in your daily tasks. With these techniques, you can now easily document your screen activities, share information, or keep records without any hassle.
FAQ
-
How do I run a PowerShell script?
You can run a PowerShell script by opening PowerShell, navigating to the script’s directory, and typing.\scriptname.ps1. -
Can I change the screenshot file format?
Yes, you can change the file format by modifying theImageFormatparameter in theSavemethod to formats like JPEG or BMP. -
Is it possible to take screenshots on a remote machine?
Yes, using PowerShell remoting, you can execute the screenshot command on a remote machine if you have the necessary permissions. -
What permissions do I need to run these scripts?
You need to have the appropriate permissions to execute scripts in PowerShell, which may require adjusting the execution policy.
- Can I automate the screenshot process to run daily?
Yes, you can modify the scheduled task frequency to run daily instead of hourly by adjusting theRepetition.Intervalproperty in the script.

Sheeraz is a Doctorate fellow in Computer Science at Northwestern Polytechnical University, Xian, China. He has 7 years of Software Development experience in AI, Web, Database, and Desktop technologies. He writes tutorials in Java, PHP, Python, GoLang, R, etc., to help beginners learn the field of Computer Science.
LinkedIn Facebook