settimeout in Node JS
- What is setTimeout?
- Basic Example of setTimeout
- Using setTimeout for Repeated Execution
- Clearing a Timeout
- Conclusion
- FAQ

Node.js is a powerful JavaScript runtime that allows developers to build scalable network applications. One of the essential features of Node.js is its ability to handle asynchronous operations, and the setTimeout function plays a crucial role in this.
In this tutorial, we will dive into how to use the setTimeout method in Node.js, providing you with practical examples and a clear understanding of how it works. Whether you’re building a simple application or a complex web server, mastering setTimeout will enhance your programming skills and improve the performance of your applications. Let’s get started!
What is setTimeout?
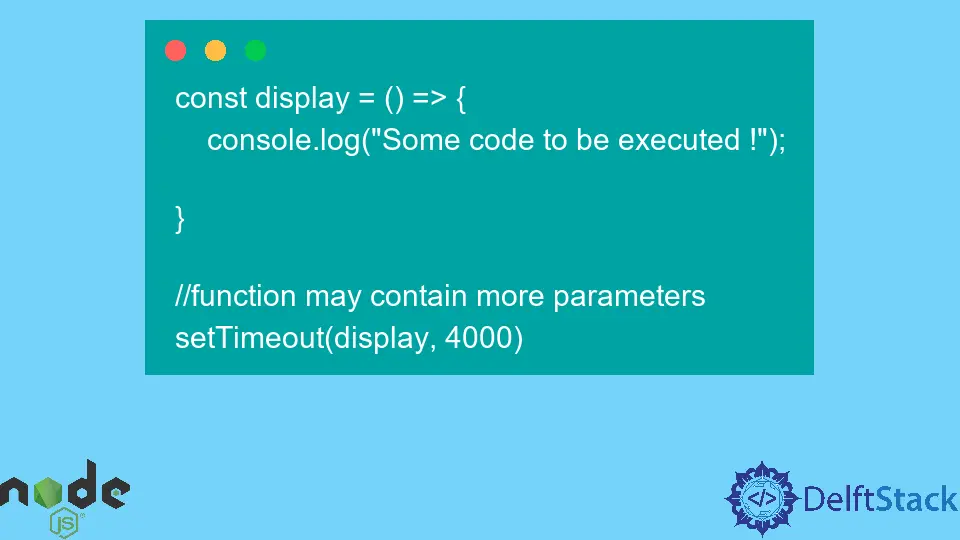
The setTimeout function is part of the global scope in Node.js and is used to execute a specified function after a designated amount of time. This method is particularly useful when you want to delay the execution of code, allowing other operations to run in the meantime. The syntax for setTimeout is straightforward:
setTimeout(callback, delay);
- callback: The function to be executed after the delay.
- delay: The time in milliseconds to wait before executing the callback.
By using setTimeout, you can create non-blocking code, which is a fundamental concept in Node.js. This allows your application to remain responsive while performing time-consuming tasks.
Basic Example of setTimeout
Let’s start with a simple example that demonstrates the basic usage of setTimeout.
console.log("Start");

setTimeout(() => {
    console.log("This message is delayed by 2 seconds");
}, 2000);

console.log("End");
Output:
Start
End
This message is delayed by 2 seconds
In this example, you can see the order of execution. The “Start” and “End” messages are logged immediately, while the message inside the setTimeout function is delayed by 2 seconds. This illustrates how setTimeout allows for asynchronous execution, enabling other code to run while waiting.
The ability to run code asynchronously is one of the key features of Node.js. It can significantly improve the performance of your applications, especially when dealing with operations like I/O tasks, network requests, or database queries.
Using setTimeout for Repeated Execution
While setTimeout is commonly used for a one-time delay, it can also be combined with recursion to create repetitive tasks. Here’s how you can achieve that:
function repeatMessage() {
    console.log("This message will repeat every 2 seconds");
    setTimeout(repeatMessage, 2000);
}

repeatMessage();
Output:
This message will repeat every 2 seconds
This message will repeat every 2 seconds
This message will repeat every 2 seconds
...
In this example, the repeatMessage function calls itself after a 2-second delay. This creates a loop that continuously logs the message. However, it’s important to note that without a stopping condition, this will run indefinitely, which could lead to performance issues. Always ensure that you have a way to stop the repetitive execution when needed.
Clearing a Timeout
Sometimes, you may want to cancel a timeout that has been set. This can be done using the clearTimeout function. Here’s an example:
const timeoutId = setTimeout(() => {
    console.log("You won't see this message");
}, 2000);

clearTimeout(timeoutId);
console.log("Timeout cleared");
Output:
Timeout cleared
In this case, the setTimeout function is set to log a message after 2 seconds. However, before the timeout completes, we call clearTimeout with the timeoutId, which prevents the callback from executing. This is particularly useful when you want to manage your delays dynamically.
Conclusion
The setTimeout method is a powerful tool in Node.js that allows developers to execute code after a specified delay. By understanding how to use setTimeout, you can enhance the performance of your applications and implement asynchronous programming effectively. Whether you need to delay a function call, create repetitive tasks, or clear a timeout, mastering setTimeout will greatly benefit your Node.js development journey. As you continue to explore the capabilities of Node.js, keep in mind the importance of non-blocking operations and how they can improve the responsiveness of your applications.
FAQ
-
What is the purpose of setTimeout in Node.js?
setTimeout is used to execute a function after a specified delay, allowing for asynchronous operations. -
Can I cancel a timeout once it is set?
Yes, you can use clearTimeout to cancel a timeout before it executes. -
How does setTimeout improve performance in Node.js?
By allowing non-blocking code execution, setTimeout helps keep the application responsive while waiting for operations to complete. -
Can I use setTimeout for repetitive tasks?
Yes, by using recursion with setTimeout, you can create functions that execute repeatedly after a specified interval. -
What happens if I don’t clear a timeout?
If you don’t clear a timeout, the callback will execute after the delay, which may lead to performance issues if not managed properly.
Isaac Tony is a professional software developer and technical writer fascinated by Tech and productivity. He helps large technical organizations communicate their message clearly through writing.
LinkedIn