How to Create New Database in MySQL Workbench
-
Create New Database Using
MySQL Workbench -
Create New Database Using
MySQL Workbench- Using Menu Bar -
Create New Database Using
MySQL Workbench- UsingSQLQuery -
Create New Database Using
MySQL Workbench- UsingNavigator -
Create New Database Using
MySQL Workbench- Using Command Prompt - Conclusion

MySQL Workbench is a visual tool for programmers and database architects to make their job easy. The Graphical User Interface of MySQL Workbench saves time and effort and lets the user focus on productivity rather than struggling with queries.
It is important to know that database is also known as Schema in MySQL Workbench. We will see different ways to have a new database using a navigator, SQL query, and menu bar.
This article will also show you how you can create a new database using Command Prompt. We are using MySQL Workbench Version 8.27 for this tutorial (you may get the latest version from here)
Create New Database Using MySQL Workbench
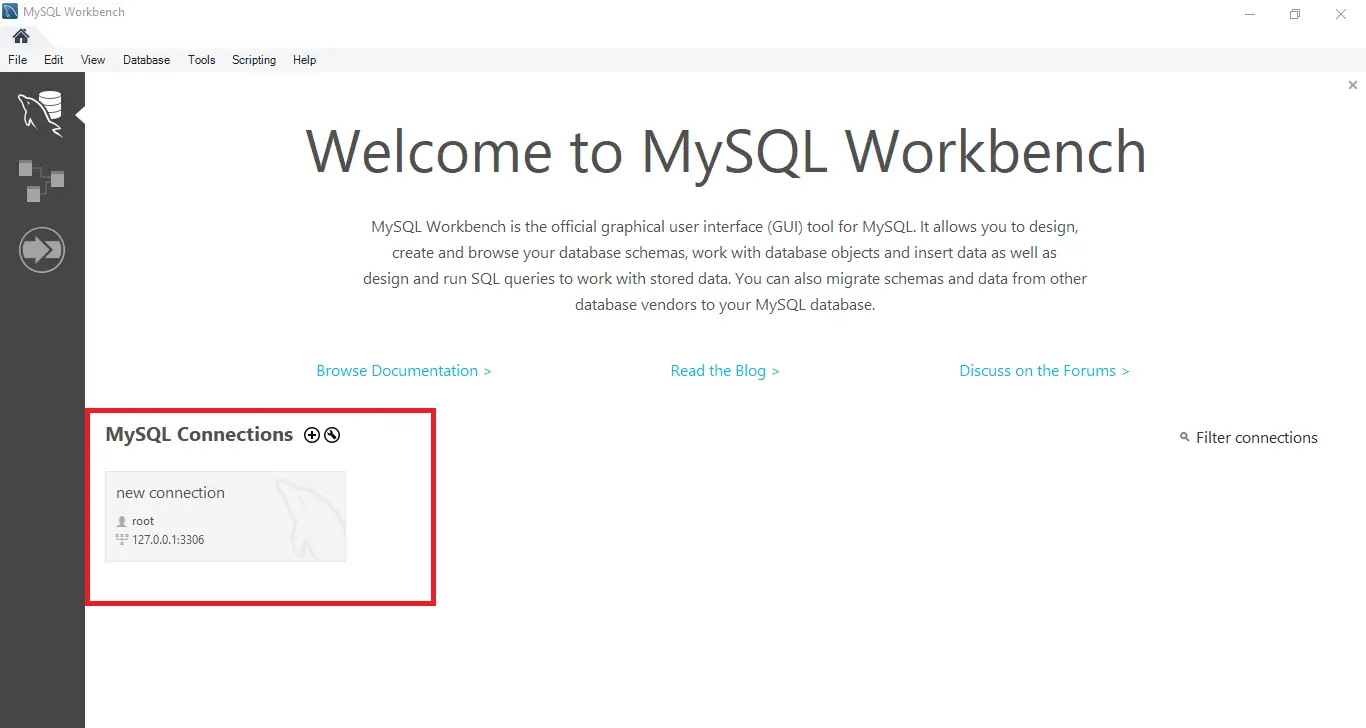
To create a new database, you have to launch the MySQL Workbench first.

There can be multiple connections if you have created them. If there is no connection, then click on ‘+’ (Plus sign) highlighted in the red box and create a connection as follows.

Write the connection name of your choice. Default Port number is 3306 for MySQL, but you can change it in case if it is already occupied, then click on Test Connection. The following screen will appear.

Enter the password that you used during MySQL Workbench installation and click OK. You will see the following message; click OK again.

Now, you can see your connection as follows.

Create New Database Using MySQL Workbench - Using Menu Bar
Click on your connection; it will open the window as follows. Click on the Database icon in the menu bar (highlighted in red in the following screenshot).

You will see the following screen, name your schema, and click Apply button.

The following window will open; click Apply. Please note that you can also write more SQL queries in the red box.

The following window will show up; click on Finish.

Now, you can see your Schema a.k.a. Database under the Navigator window (see the following screenshot). Please note that the other database named sys is the default database.

Create New Database Using MySQL Workbench - Using SQL Query
To create a new database using SQL query, follow the steps given in the following screenshot. First, create a SQL file (red box number 1 in the following screenshot), write the commands (red box number 2), press the refresh button (red box number 3), and see the recently created schemas (red box number 4).
You may have noticed that the database can be created using both commands CREATE SCHEMA DB_name; and CREATE DATABASE DB_name; in MySQL Workbench.

Create New Database Using MySQL Workbench - Using Navigator
You can also create a database from the Navigator pane. Right click in the Navigator pane, select Create Schema, name your database, and click apply (as we already did in method 1).

Create New Database Using MySQL Workbench - Using Command Prompt
Open your command prompt as an administrator. Go to the path where MySQL is installed and use the following command to login:
mysql -u root -p 12345
Here -u means username, -p means password. Our username is the root, and the password is 12345, yours may be different.

Right now, we have the following databases.

Write the SQL command for creating a new database and make sure whether it is created or not.

The newly created database named db_creating_from_cmd is listed in the above screenshot. Let’s see in MySQL Workbench as well, and it is there (see the following screenshot).

Conclusion
We have concluded that working in MySQL Workbench is so easy. It just needs a little bit of practice.
There are different options within the MySQL Workbench to create a new database. It includes creating a database using navigator pane, menu bar and SQL command. You can also create a new schema using the command prompt as well.
