How to Upload File AJAX in jQuery

An object-like configuration mainly defines the AJAX with multiple key-value pairs. These keys and values guide the server side and let you read from the server and send data to the server.
With jQuery, we can easily implement an example where we can post data or files to the server and see if it was uploaded fully.
In the following section, we will try to cover an instance that will take input values from the user and then post it to the server later. We will also examine if the data are being updated without reloading the page.
We will also read the data updated or posted. Let’s jump to the code segment to better view the words.
Use AJAX and jQuery to Upload Files and Input
Generally, the upload of a file will be easier to visualize the post action. So, in this instance, we will have a text input field and a file input field.
After a successful post in the fields, we will receive an assertive message, and the data added.
For this task, we will take an HTML part, a jQuery part, and, lastly, a PHP file. Each file has its specification.
The HTML will showcase the UI, where we will initiate the task of uploading. Next, the jQuery segment will take the reference of the input fields via the id.
Also, AJAX will be added here, and we will connect the PHP file in the AJAX as the URL. The PHP file will have the directory path where the data will be posted, and we will see the results in the output.
We will use the Apache software via the XAMMP server.
- First, you must install XAMMP and start Apache.
- Also, you will require to install PHP and add the path of PHP to the environment variables > systems variable’s path.
- Go to the XAMMP folder and find the
htdocsdirectory. - In the
htdocsdirectory, create a folder where yourindex.html,index.js, andupload.phpfiles will be kept. - Create a folder named
imagein this new folder.
Code Snippet:
index.html:
<!DOCTYPE html>
<html lang="en">
<head>
    <meta charset="UTF-8">
    <meta http-equiv="X-UA-Compatible" content="IE=edge">
    <meta name="viewport" content="width=device-width, initial-scale=1.0">
    <title>Upload file</title>
    <!-- CSS only -->
    <link href="https://cdn.jsdelivr.net/npm/bootstrap@5.2.0/dist/css/bootstrap.min.css" rel="stylesheet" integrity="sha384-gH2yIJqKdNHPEq0n4Mqa/HGKIhSkIHeL5AyhkYV8i59U5AR6csBvApHHNl/vI1Bx" crossorigin="anonymous">
    <!-- JavaScript Bundle with Popper -->
    <script src="https://cdn.jsdelivr.net/npm/bootstrap@5.2.0/dist/js/bootstrap.bundle.min.js" integrity="sha384-A3rJD856KowSb7dwlZdYEkO39Gagi7vIsF0jrRAoQmDKKtQBHUuLZ9AsSv4jD4Xa" crossorigin="anonymous"></script>
    <script src="https://code.jquery.com/jquery-3.6.0.min.js" integrity="sha256-/xUj+3OJU5yExlq6GSYGSHk7tPXikynS7ogEvDej/m4=" crossorigin="anonymous"></script>
    <script src="https://cdnjs.cloudflare.com/ajax/libs/popper.js/2.9.2/umd/popper.min.js" integrity="sha512-2rNj2KJ+D8s1ceNasTIex6z4HWyOnEYLVC3FigGOmyQCZc2eBXKgOxQmo3oKLHyfcj53uz4QMsRCWNbLd32Q1g==" crossorigin="anonymous" referrerpolicy="no-referrer"></script>
    <script src="https://cdnjs.cloudflare.com/ajax/libs/jquery/3.6.0/jquery.min.js" integrity="sha512-894YE6QWD5I59HgZOGReFYm4dnWc1Qt5NtvYSaNcOP+u1T9qYdvdihz0PPSiiqn/+/3e7Jo4EaG7TubfWGUrMQ==" crossorigin="anonymous" referrerpolicy="no-referrer"></script>
    <script src="index.js"></script>

</head>
<body style="background-color: gray">
    <div class="container" style="width:50%;margin:25%;background:white;border:2px solid white">
        <div style="padding: 10px">
            <form id="myform" method="post" enctype="multipart/form-data">
                <div class="form-group">
                    <label for="Name"></label>
                    <input type="text" class="form-control" id="name" name="name" placeholder="Name">
                </div>
                <div class="form-group">
                    <label for="Image"></label>
                    <input type="file" id="image" class="form-control" name="image" placeholder="Image">
                </div>
                <div class="form-group" style="height:10px"></div>
                <div class="form-group">
                    <input type="submit" class="btn btn-primary" id="submit" name="submit" value="Send">
                </div>
            </form>
        </div>
    </div>

</body>
</html>
index.js:
$(document).ready(function() {
  $('#submit').click(function(e) {
    e.preventDefault();

    var data = new FormData();
    var form_data = $('#myform').serializeArray();

    $.each(form_data, function(key, input) {
      data.append(input.name, input.value);
    });


    var image = $('#image').val();
    if (image != '') {
      var file_data = $('input[name="image"]')[0].files;

      for (var i = 0; i < file_data.length; i++) {
        data.append('image[]', file_data[i]);
      }
    }

    var request = $.ajax({
      url: 'upload.php',
      type: 'post',
      processData: false,
      contentType: false,
      data: data,
    });
    request.done(function(response, textStatus, jqXHR) {
      console.log('done!');
      console.log(response);
    });
    request.fail(function(jqXHR, textStatus, errorThrown) {
      console.log(textStatus);
      console.log(errorThrown);
    })
  })
})
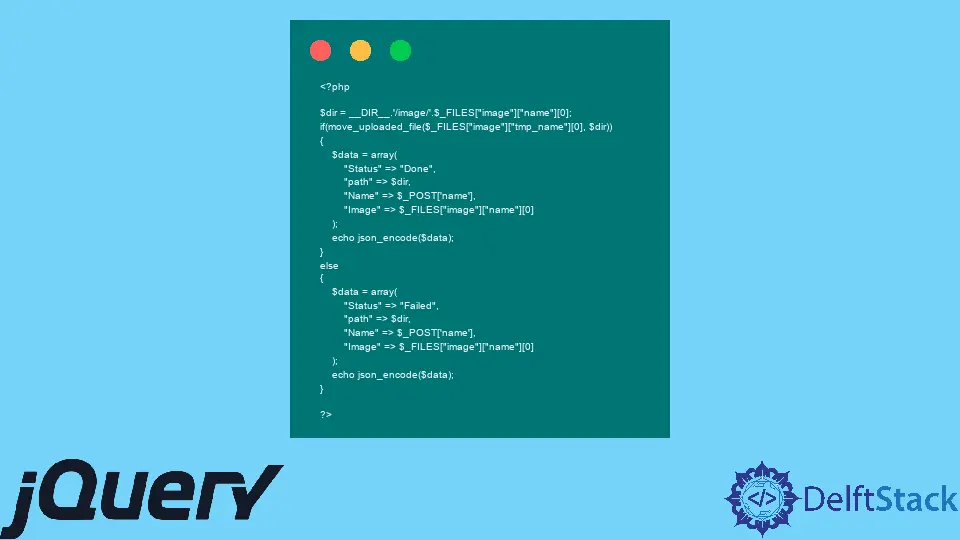
upload.php:
<?php

$dir = __DIR__.'/image/'.$_FILES["image"]["name"][0];
if(move_uploaded_file($_FILES["image"]["tmp_name"][0], $dir))
{
    $data = array(
        "Status" => "Done",
        "path" => $dir,
        "Name" => $_POST['name'],
        "Image" => $_FILES["image"]["name"][0]
    );
    echo json_encode($data);
}
else
{
    $data = array(
        "Status" => "Failed",
        "path" => $dir,
        "Name" => $_POST['name'],
        "Image" => $_FILES["image"]["name"][0]
    );
    echo json_encode($data);
}

?>
Output:

Next, after all those installations and preparation, we set the Bootstrap and jQuery CDNs in our HTML and followed the code. We used the $.each() method to loop through the form inputs.
And lastly, go to your browser and type localhost/"folder_name(inside the htdocs)" and see the UI similar to the example. And as shown in the demonstration, try achieving the details on the console and check the image folder of the project folder, if the files have been uploaded properly.
