How to Submit HTML Form Using jQuery
Submitting HTML forms is a fundamental aspect of web development, and jQuery makes it easier and more efficient.
In this article, we’ll dive into the process of submitting an HTML form using jQuery. Whether you’re a beginner looking to understand the basics or an experienced developer seeking to refine your skills, this guide will provide you with clear examples and explanations. By the end of this article, you’ll be equipped to handle form submissions seamlessly, enhancing user experience on your website. Let’s get started and explore how jQuery can simplify form submissions!
Setting Up Your HTML Form
Before we jump into the jQuery code, let’s create a simple HTML form. This form will collect user information such as name and email. Here’s how you can set it up:
<!DOCTYPE html>
<html lang="en">
<head>
    <meta charset="UTF-8">
    <meta name="viewport" content="width=device-width, initial-scale=1.0">
    <title>jQuery Form Submission</title>
    <script src="https://code.jquery.com/jquery-3.6.0.min.js"></script>
</head>
<body>
    <form id="myForm">
        <label for="name">Name:</label>
        <input type="text" id="name" name="name" required>
        <br>
        <label for="email">Email:</label>
        <input type="email" id="email" name="email" required>
        <br>
        <button type="submit">Submit</button>
    </form>
    <div id="response"></div>
</body>
</html>
This code creates a basic HTML form with fields for name and email, along with a submit button. The #response div will display the server’s response after submission.
Submitting the Form with jQuery
Now, let’s use jQuery to handle the form submission. We will capture the form data and send it to the server without refreshing the page. Here’s how you can do that:
$(document).ready(function() {
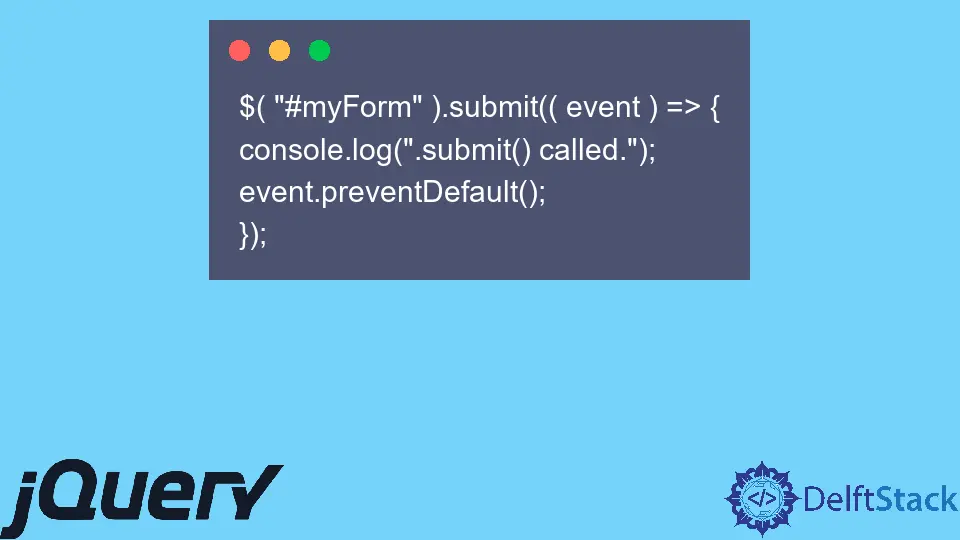
$('#myForm').on('submit', function(event) {
event.preventDefault();
var formData = $(this).serialize();
$.ajax({
type: 'POST',
url: 'your-server-endpoint.php',
data: formData,
success: function(response) {
$('#response').html(response);
},
error: function() {
$('#response').html('An error occurred. Please try again.');
}
});
});
});
In this code, we first prevent the default form submission using event.preventDefault(). Then, we serialize the form data to prepare it for submission. The $.ajax() method sends the data to the server, where your-server-endpoint.php should be replaced with your actual server-side script.
If the submission is successful, the server’s response will be displayed in the #response div. If there’s an error, a message will inform the user.
Handling Server Response
To effectively handle the server’s response, you need to ensure that your server-side script is properly configured to receive the data sent by jQuery. Here’s a simple example of a PHP script that processes the submitted form data:
<?php
if ($_SERVER["REQUEST_METHOD"] == "POST") {
    $name = htmlspecialchars($_POST['name']);
    $email = htmlspecialchars($_POST['email']);

    // Simulate a successful response
    echo "Thank you, $name! Your email $email has been received.";
}
?>
This PHP script checks if the request method is POST, sanitizes the input to prevent XSS attacks, and then echoes a thank you message that includes the user’s name and email.
Output:
Thank you, John! Your email john@example.com has been received.
This message will be displayed in the #response div when the form is successfully submitted. This simple interaction demonstrates how jQuery can streamline the process of submitting forms and handling responses.
Conclusion
In this article, we explored how to submit an HTML form using jQuery. By setting up a simple form and utilizing jQuery’s AJAX capabilities, we can submit data without refreshing the page, providing a smoother user experience. The combination of HTML and jQuery can significantly enhance the interactivity of your web applications. As you continue to develop your skills, consider experimenting with more complex forms and server-side processing to further improve your web projects. Happy coding!
FAQ
-
How do I validate form inputs using jQuery?
You can use jQuery validation plugins or write custom validation functions to ensure users enter valid data before submission. -
Can I submit forms without using jQuery?
Yes, you can use vanilla JavaScript’sfetchorXMLHttpRequestmethods to submit forms without jQuery. -
What if I want to submit the form data as JSON?
You can convert the form data to JSON format usingJSON.stringify()and set the content type in the AJAX request. -
How can I handle file uploads using jQuery?
You can use theFormDataobject in combination with AJAX to handle file uploads seamlessly. -
Is it necessary to use AJAX for form submissions?
No, you can submit forms the traditional way, but AJAX allows for a more dynamic user experience without page reloads.

Shraddha is a JavaScript nerd that utilises it for everything from experimenting to assisting individuals and businesses with day-to-day operations and business growth. She is a writer, chef, and computer programmer. As a senior MEAN/MERN stack developer and project manager with more than 4 years of experience in this sector, she now handles multiple projects. She has been producing technical writing for at least a year and a half. She enjoys coming up with fresh, innovative ideas.
LinkedIn