fillRect() Function in JavaScript
-
What is the
fillRect()Function? - Basic Usage of fillRect()
-
Customizing the
fillRect()Function - Drawing Multiple Rectangles Using fillRect()
- Conclusion
- FAQ
The fillRect() function is a powerful method in JavaScript that allows developers to draw filled rectangles on a canvas. This function is part of the HTML5 Canvas API, which provides a versatile way to create graphics, animations, and interactive content directly in the browser. If you’re new to the world of web development or looking to enhance your skills, understanding how to use fillRect() effectively can greatly improve your projects.
In this article, we will explore the fillRect() method, its syntax, and practical examples to help you grasp its capabilities and applications.
What is the fillRect() Function?
The fillRect() function is used to draw a filled rectangle on a specified canvas element. This method is part of the 2D rendering context of the canvas, which provides various functions for drawing shapes, text, images, and other objects. The fillRect() function takes four parameters: the x and y coordinates of the rectangle’s top-left corner, along with its width and height.
Syntax
The syntax for the fillRect() function is as follows:
context.fillRect(x, y, width, height);
- x: The x-coordinate of the rectangle’s starting point.
- y: The y-coordinate of the rectangle’s starting point.
- width: The width of the rectangle.
- height: The height of the rectangle.
Basic Usage of fillRect()
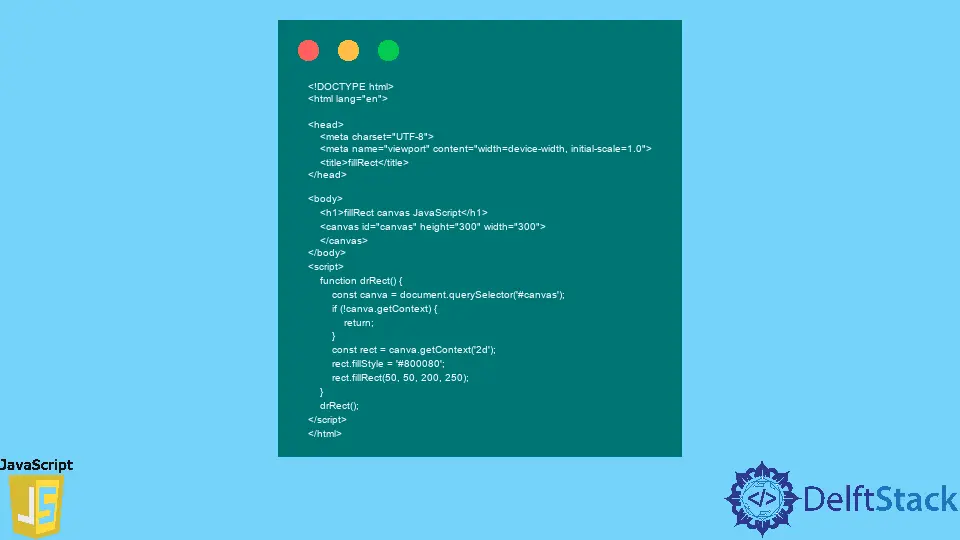
To use the fillRect() function, you first need to create a canvas element in your HTML and obtain its 2D rendering context. Here’s a simple example to demonstrate how to use fillRect() to draw a rectangle on the canvas.
<canvas id="myCanvas" width="400" height="400" style="border:1px solid #000000;"></canvas>
<script>
    var canvas = document.getElementById("myCanvas");
    var context = canvas.getContext("2d");
    context.fillStyle = "#FF0000";
    context.fillRect(20, 20, 150, 100);
</script>
In this example, we create a canvas with a width and height of 400 pixels. We then get the 2D rendering context and set the fill color to red. The fillRect() function is called with parameters that define the rectangle’s position and size.
Customizing the fillRect() Function
One of the strengths of the fillRect() function is its ability to customize the appearance of the rectangles you draw. You can change the fill color, stroke color, and even add transparency. Below is an example that demonstrates how to customize the fill color and add an outline to the rectangle.
<canvas id="myCanvas" width="400" height="400" style="border:1px solid #000000;"></canvas>
<script>
    var canvas = document.getElementById("myCanvas");
    var context = canvas.getContext("2d");

    context.fillStyle = "rgba(0, 255, 0, 0.5)";
    context.fillRect(50, 50, 200, 150);

    context.strokeStyle = "#000000";
    context.lineWidth = 5;
    context.strokeRect(50, 50, 200, 150);
</script>
In this example, we set the fill color to a semi-transparent green using RGBA values. After drawing the filled rectangle, we use the strokeRect() function to add a black outline around it. This customization allows for more visually appealing designs.
Drawing Multiple Rectangles Using fillRect()
The fillRect() function can also be used to draw multiple rectangles in a loop. This is particularly useful when creating patterns or filling a grid. Here’s an example of how to draw a series of rectangles in a grid format.
<canvas id="myCanvas" width="400" height="400" style="border:1px solid #000000;"></canvas>
<script>
    var canvas = document.getElementById("myCanvas");
    var context = canvas.getContext("2d");

    for (var x = 0; x < 400; x += 50) {
        for (var y = 0; y < 400; y += 50) {
            context.fillStyle = (x + y) % 100 === 0 ? "#FF0000" : "#00FF00";
            context.fillRect(x, y, 50, 50);
        }
    }
</script>
In this example, we use nested loops to draw a grid of rectangles. The fill color alternates between red and green based on the sum of the x and y coordinates. This demonstrates how fillRect() can be utilized to create complex designs with relative ease.
Conclusion
The fillRect() function in JavaScript is a fundamental method for drawing filled rectangles on a canvas. By understanding its syntax and capabilities, you can create visually stunning graphics and interactive content for your web applications. Whether you are building simple shapes or complex patterns, mastering fillRect() will enhance your web development skills. Start experimenting with different colors, sizes, and layouts to see what you can create!
FAQ
-
what is the
fillRect()function used for?
fillRect() is used to draw filled rectangles on an HTML5 canvas. -
how do I change the color of the rectangle drawn with fillRect()?
You can change the rectangle’s color by setting the fillStyle property of the canvas context before calling fillRect(). -
can I draw multiple rectangles at once using fillRect()?
Yes, you can use loops to draw multiple rectangles in various patterns on the canvas. -
what parameters does fillRect() accept?
fillRect() accepts four parameters: x and y coordinates for the rectangle’s position, along with its width and height. -
does fillRect() support transparency?
Yes, you can use RGBA color values to set transparent colors when using fillRect().

Shiv is a self-driven and passionate Machine learning Learner who is innovative in application design, development, testing, and deployment and provides program requirements into sustainable advanced technical solutions through JavaScript, Python, and other programs for continuous improvement of AI technologies.
LinkedIn