How to Display Image With JavaScript
- Method 1: Changing an Existing Image
- Method 2: Creating a New Image Element
- Method 3: Displaying Images Based on User Input
- Conclusion
- FAQ

Displaying images on a webpage using JavaScript is a fundamental skill for web developers. Whether you’re creating a simple project or a complex application, understanding how to manipulate images dynamically can enhance user experience and interactivity.
In this tutorial, we’ll explore different methods to display images using JavaScript. You’ll learn how to change existing images, add new images to the DOM, and respond to user actions, all while keeping your code clean and efficient. By the end of this guide, you’ll have a solid grasp of how to display images with JavaScript, making your web projects more visually appealing and engaging.
Method 1: Changing an Existing Image
One of the simplest ways to display an image with JavaScript is by changing the source of an existing image element. This method is particularly useful when you want to update the image based on user actions, like clicking a button.
Here’s a straightforward example:
<!DOCTYPE html>
<html lang="en">
<head>
    <meta charset="UTF-8">
    <meta name="viewport" content="width=device-width, initial-scale=1.0">
    <title>Change Image Example</title>
</head>
<body>
    <img id="myImage" src="image1.jpg" alt="Image" width="300">
    <button onclick="changeImage()">Change Image</button>

    <script>
        function changeImage() {
            document.getElementById('myImage').src = 'image2.jpg';
        }
    </script>
</body>
</html>
Output:

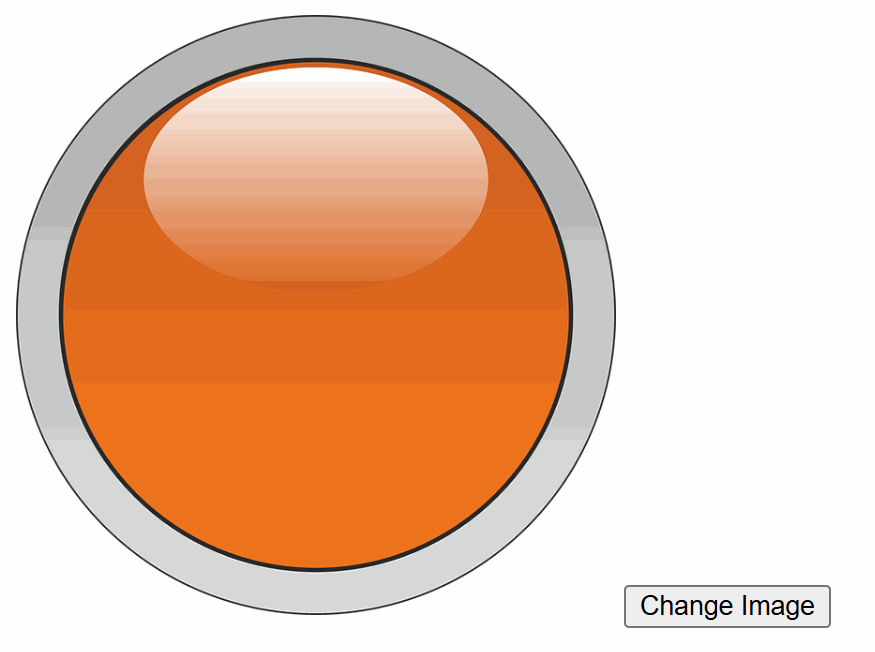
In this example, we have an image element with an initial source of “image1.jpg”. When the button is clicked, the changeImage function is triggered, changing the image source to “image2.jpg”. This method is efficient and allows for quick updates to the displayed image without needing to reload the entire page.
Method 2: Creating a New Image Element
In some cases, you may want to add a new image to the webpage dynamically. This can be achieved by creating a new image element using JavaScript and appending it to the DOM. This method is useful for galleries or when you want to display images based on user interactions.
Here’s how you can do it:
<!DOCTYPE html>
<html lang="en">
<head>
    <meta charset="UTF-8">
    <meta name="viewport" content="width=device-width, initial-scale=1.0">
    <title>Add Image Example</title>
</head>
<body>
    <button onclick="addImage()">Add Image</button>
    <div id="imageContainer"></div>

    <script>
        function addImage() {
            const img = document.createElement('img');
            img.src = 'image3.jpg';
            img.alt = 'New Image';
            img.width = 300;
            document.getElementById('imageContainer').appendChild(img);
        }
    </script>
</body>
</html>
Output:

In this example, when the “Add Image” button is clicked, a new image element is created with the source set to “image3.jpg”. The addImage function appends this newly created element to the imageContainer div. This method allows for dynamic content generation, enhancing the interactivity of your web application.
Method 3: Displaying Images Based on User Input
Another engaging way to display images with JavaScript is to respond to user input. This method can be used in various scenarios, such as selecting an image from a list or uploading an image file.
Here’s an example where users can select an image from a dropdown menu:
<!DOCTYPE html>
<html lang="en">
<head>
    <meta charset="UTF-8">
    <meta name="viewport" content="width=device-width, initial-scale=1.0">
    <title>Select Image Example</title>
</head>
<body>
    <select id="imageSelector" onchange="displaySelectedImage()">
        <option value="image1.jpg">Image 1</option>
        <option value="image2.jpg">Image 2</option>
        <option value="image3.jpg">Image 3</option>
    </select>
    <img id="selectedImage" src="image1.jpg" alt="Selected Image" width="300">

    <script>
        function displaySelectedImage() {
            const selector = document.getElementById('imageSelector');
            const img = document.getElementById('selectedImage');
            img.src = selector.value;
        }
    </script>
</body>
</html>
Output:

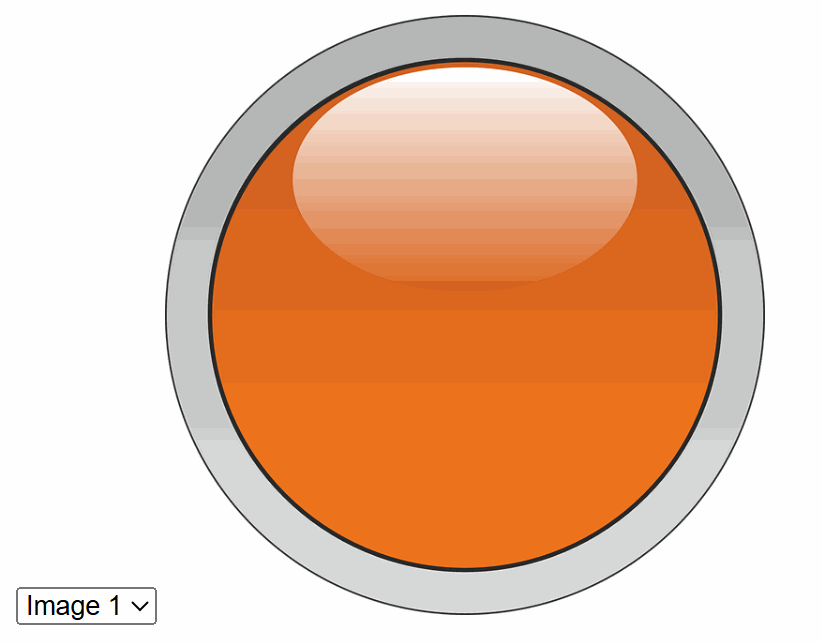
In this example, a dropdown menu allows users to select an image. When a selection is made, the displaySelectedImage function updates the src attribute of the selectedImage element based on the selected value. This method provides a user-friendly way to display images, making the experience more interactive.
Conclusion
Displaying images with JavaScript is a vital skill for web developers. Whether you’re changing existing images, adding new ones, or responding to user inputs, JavaScript provides flexible methods to manipulate images on your webpage. By mastering these techniques, you can create more dynamic and engaging web applications that enhance user experience. Remember to experiment with different methods and see how they can fit into your projects. Happy coding!
FAQ
-
How do I change an image using JavaScript?
You can change an image by updating thesrcattribute of an existing image element using JavaScript. -
Can I add multiple images dynamically?
Yes, you can create multiple image elements and append them to the DOM using JavaScript. -
How can I display an image based on user input?
You can use a dropdown or other input elements to allow users to select images, then update the displayed image accordingly. -
Is it possible to load images from an external source?
Yes, you can load images from external URLs by setting thesrcattribute to the image’s URL. -
What are some common issues when displaying images with JavaScript?
Common issues include incorrect file paths, not loading images due to CORS restrictions, and browser compatibility. Always check your image paths and ensure your server settings allow for image loading.