How to Set JAVA_HOME Variable in Java

In this tutorial, we learn how to set the JAVA_HOME variable in windows.
The Java_Home is a reference variable that refers to the location of Java Runtime Environment and Java Development Kit, also called JDK. It helps access development tools such as Java compiler and interpreter to easily compile our Java source code.
Let’s start to set the Java_Home variable in Windows.
-
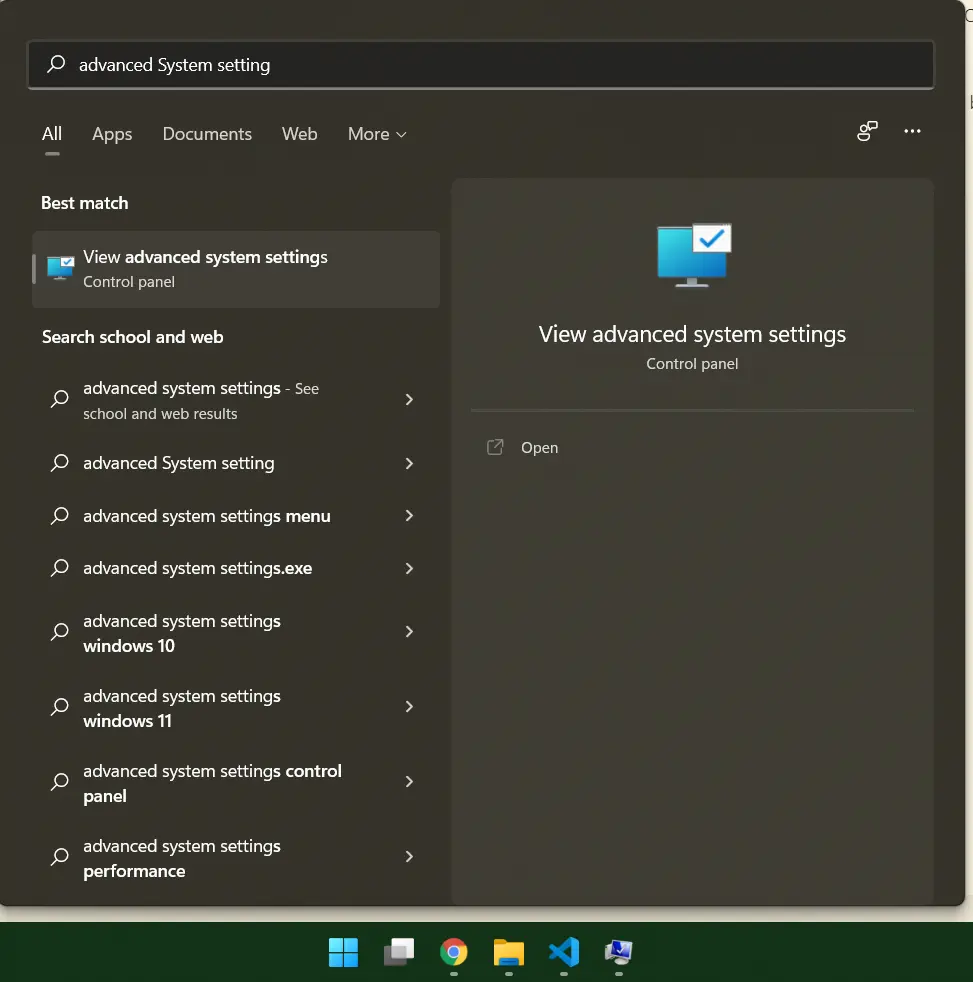
Go to Advanced Settings
First, find and select Advanced System Settings in the search box (in the start menu) in Windows. That will look like the below screenshot.

-
Select Advanced Tab from the Tabs
Click on view advanced System Settings; then a new window opens up that looks like the screenshot below.

-
Click on Environment Variables
In the Advanced tab, click on Environment variables to set the
Java_Homevariable. It will look like the below screenshot.

-
Select System Variables
Find the System Variables section in the Environment variable window and click on the new button. That will look like the below screenshot.

-
Add New Variable
Now, add a new
JAVA_HOMEvariable, point it to the JDK installed folder, and click OK. That will look like the below screenshot.
 Note
NoteDon't include the `\bin` folder into the path.-
Update the Path Variable
Now, we will update the path variable. Look for the path entry in the System variables and then click on the edit button.
That will look like the below screenshot.

A new dialog box will open. Clicks on the New button, and add%JAVA_HOME%\binto it, and then click on OK. That will look like the below screenshot.

-
Test the
Java_HomeVariable in WindowsWe will now test the settings by running some commands to the command prompt. Open the command prompt and type the following commands.
java -versioncommandjavac -versioncommandecho %JAVA_HOME%command
The output should look like below.
Note that the output can vary depending upon the JDK version installed. That will look like the below screenshot.

-