GitLab CI Variables

GitLab has provided us with a handy repository hosting control tool through which we can establish well-organized software workflows for our software development process to work expedited.
It has numerous tools that enable us to work over a modernized collaborative process by which we can end our software development cycle smoothly. It also helps us import repositories from other platforms, for example, Bitbucket, Google Code, etc.
It also creates and performs scripts that are used to deploy applications, self-operates some uninterested and dull tasks cleverly, and tracks changes and actions. In this article, we will see the use of continuous integration variables in the gitlab-ci.yml file.
GitLab CI Variables
GitLab CI stands for continuous integration. These variables are known as environmental variables used for concluding the entire project globally and then ready the project for deployment.
We can use these variables to manage and perform jobs in pipelines. It also stores values that are used by the script later.
It helps us stop the iteration of identical values for all the branches. It also keeps us away from hard coding in our gitlab-ci.yml file every time.
Create CI Variable in the .gitlab-ci.yml File
Let’s start creating our variable in the .gitlab-ci.yml by specifying the variable and its value with the help of the variables keyword by placing it at the top of our .gitlab-ci.yml file or in any job and on a stage level.
In some cases, we can explain the variable at the top level, and this variable scope can be found globally, and any job can apply it easily. But this should be kept in mind that it could be used by only that job that has defined it.
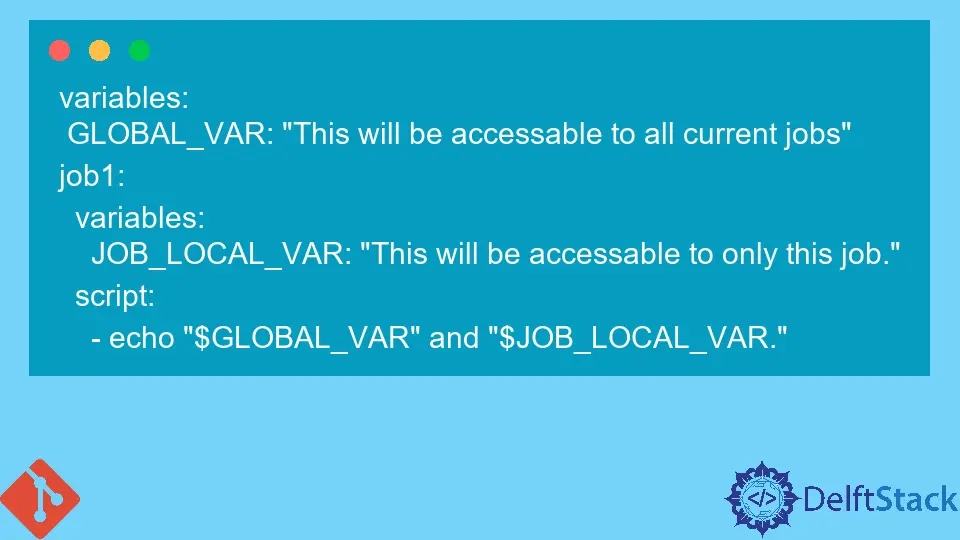
Its example is as follows:
variables:
 GLOBAL_VAR: "This will be accessable to all current jobs"
job1:
  variables:
    JOB_LOCAL_VAR: "This will be accessable to only this job."
  script:
    - echo "$GLOBAL_VAR" and "$JOB_LOCAL_VAR."
The variables deposited in the .gitlab-ci.yml file must keep impractical project configuration, same as JAVA_HOME, or JDBC_URL variables.
These variables that are used should be distinguishable in the repository. These stored delicate variables have some secrets and keys in CI variables for every project.
Project CI Variables
Depending on the requirements, we can also develop CI variables for some project settings. Keeping in mind the security purpose, only project mates with full authority can make or edit project CI variables.
Designing a CI variable should be set in the project settings rather than in the .gitlab-ci.yml file, depending on the project requirements and needs.
For creating or editing CI variables in the project, we will navigate to the settings from that project as follows:
- Go on the project’s
Settings > CI, then enlarge theVariable'ssection. - Once it’s open, we can create or edit the variable value according to the project needs and requirements.
Group CI Variables
If we want to set a group CD variable, then we have to make a CI variable and apply it to all projects in a group. Group variables are used to put passwords, credentials, and SSH public/private keys for security reasons.
We will follow the steps below to create and edit the group CI variable.
- Navigate to the group, and go to
Settings > CI/CD. - Once it’s open, we can create or edit the variable value according to the project needs and requirements.
Instance CI Variables
For inserting an Instance CI variable, we have to create a CI variable that must be observable to all the projects and groups in the GitLab instance, and for this purpose, one should be the Administrator.
This can be executed by directly navigating to this address, https://<your-gitlab>/admin/application_settings/ci_cd.
Abdul is a software engineer with an architect background and a passion for full-stack web development with eight years of professional experience in analysis, design, development, implementation, performance tuning, and implementation of business applications.
LinkedIn