How to Show Diff Details for Uncommitted Changes in Git
- Using git diff to Show Uncommitted Changes
- Viewing Changes in a Specific File
- Using git diff with Staged Changes
- Viewing Changes with a Graphical Interface
- Conclusion
- FAQ
When working with Git, it’s essential to keep track of your changes. Understanding how to show diff details for uncommitted changes can make a significant difference in your workflow. Whether you’re a seasoned developer or a beginner, knowing how to visualize what you’ve modified, added, or deleted can help you maintain the integrity of your codebase.
In this article, we will explore different methods to display the diff details for uncommitted changes in Git. From basic commands to more advanced techniques, we’ll cover everything you need to enhance your Git experience. Let’s dive in!
Using git diff to Show Uncommitted Changes
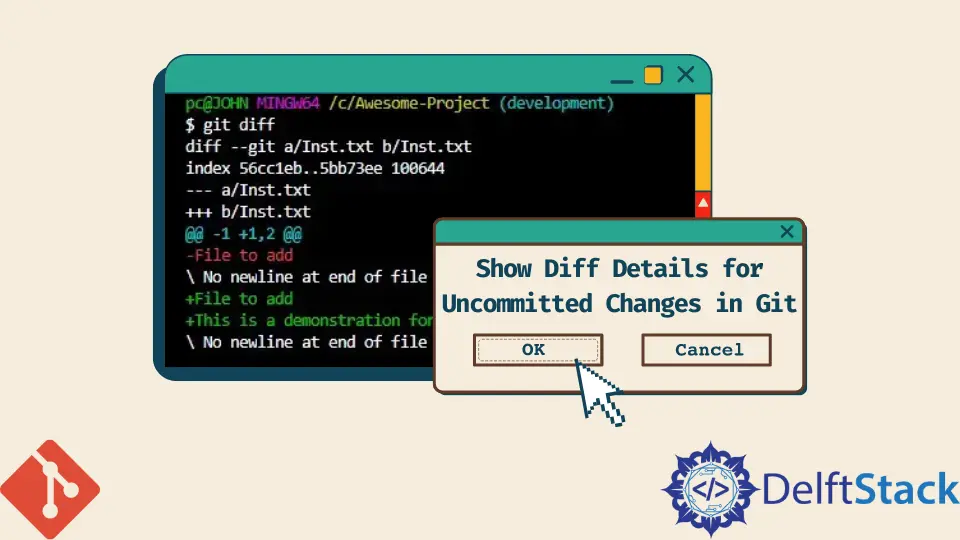
The most straightforward way to see your uncommitted changes is by using the git diff command. This command allows you to view the differences between your working directory and the index (staging area). It’s a powerful tool for identifying what you’ve changed before committing your code.
To use this command, simply type:
git diff
Output:
diff --git a/example.txt b/example.txt
index e69de29..d95f3ad 100644
--- a/example.txt
+++ b/example.txt
@@ -0,0 +1 @@
+This is a new line added to the file.
This output shows the changes made in example.txt. Lines prefixed with a + indicate additions, while lines prefixed with a - indicate deletions. This command is particularly useful when you want to get a quick overview of what you’re about to commit.
Understanding the output can help you quickly identify errors or unnecessary changes before finalizing your commit. By regularly using git diff, you can ensure that you are only committing the changes you intend to make.
Viewing Changes in a Specific File
Sometimes, you may want to view the diff details for a specific file rather than all uncommitted changes. Git makes this easy with the same git diff command. You can specify the filename as an argument to focus on a particular file.
To do this, use:
git diff <filename>
For example:
git diff example.txt
Output:
diff --git a/example.txt b/example.txt
index e69de29..d95f3ad 100644
--- a/example.txt
+++ b/example.txt
@@ -0,0 +1 @@
+This is a new line added to the file.
This command will return the differences for example.txt only. It’s incredibly useful when you’re working on multiple files and want to concentrate on one at a time. This focused approach can help you streamline your workflow and minimize distractions.
By narrowing down your view, you can also better understand the context of your changes. This can be particularly beneficial when debugging or collaborating with others, as it allows you to communicate specific changes more effectively.
Using git diff with Staged Changes
If you’ve already staged some changes and want to see the differences between the staged changes and the last commit, you can use the --cached option with the git diff command. This allows you to review what you’ve staged before hitting that commit button.
To see the staged changes, use:
git diff --cached
Output:
diff --git a/example.txt b/example.txt
index e69de29..d95f3ad 100644
--- a/example.txt
+++ b/example.txt
@@ -0,0 +1 @@
+This is a new line added to the file.
This command will show you the differences that are currently staged for the next commit. It’s an excellent way to double-check your work before finalizing your changes.
Using git diff --cached can help prevent accidental commits of incomplete work or changes that were not intended to be included. It encourages a more thoughtful approach to committing changes, ensuring that only the most relevant updates are recorded in your project history.
Viewing Changes with a Graphical Interface
If you prefer a graphical representation of your changes, Git also offers several GUI tools that can help you visualize diffs. Tools like GitKraken, SourceTree, or even integrated development environments (IDEs) like Visual Studio Code provide built-in diff viewers.
For example, if you are using Visual Studio Code, you can simply open the Source Control panel, where you will see a list of modified files. Clicking on a file will display a side-by-side comparison of the changes made.
This visual approach can be particularly helpful for those who find it easier to understand changes when they can see them laid out graphically. It allows for quicker identification of changes and helps in understanding the context better, especially for larger files with numerous modifications.
Conclusion
Understanding how to show diff details for uncommitted changes in Git is crucial for maintaining a clean and efficient workflow. From using the basic git diff command to viewing staged changes and even utilizing graphical interfaces, there are multiple methods to keep track of your modifications. By incorporating these techniques into your routine, you can ensure that you are always aware of what changes you are making, leading to better collaboration and a more organized codebase.
FAQ
-
what is git diff?
git diff is a command that shows the differences between the working directory and the index or the last commit, allowing you to see what changes have been made. -
how can I view changes in a specific file using git?
you can view changes in a specific file by using the command git diff, which will show the differences only for that file. -
what does the –cached option do in git diff?
the –cached option shows the differences between the staged changes and the last commit, allowing you to review what is ready to be committed. -
are there graphical tools available for viewing git diffs?
yes, tools like GitKraken, SourceTree, and IDEs like Visual Studio Code offer graphical interfaces for viewing diffs, making it easier to visualize changes. -
why is it important to check diffs before committing?
checking diffs before committing helps ensure that only the intended changes are recorded, preventing accidental commits of incomplete or incorrect work.

John is a Git and PowerShell geek. He uses his expertise in the version control system to help businesses manage their source code. According to him, Shell scripting is the number one choice for automating the management of systems.
LinkedIn