How to Remove Directory in Git
- Using Git Command Line to Remove a Directory
- Removing a Directory Without Deleting Its Contents
- Deleting a Directory with Git GUI Tools
- Conclusion
- FAQ
Git is an essential tool for developers, allowing them to manage their code efficiently. However, there may come a time when you need to remove a directory from your Git repository. Whether it’s because the directory is no longer needed or you want to restructure your project, knowing how to do this is crucial.
In this tutorial, we’ll explore the different methods to remove a directory in Git, ensuring you can keep your repository clean and organized. By the end, you’ll be equipped with the knowledge to handle directory removals with confidence.
Using Git Command Line to Remove a Directory
The most straightforward method to remove a directory in Git is through the command line. This method is efficient and allows you to remove directories and their contents in one go. Here’s how you can do it.
First, navigate to your Git repository in the terminal. Once you’re in the correct directory, you can use the following command to remove a directory:
git rm -r directory_name
Output:
rm 'directory_name/file1'
rm 'directory_name/file2'
In this command, git rm is the command used to remove files or directories from the working directory and the index. The -r option stands for “recursive,” which means that Git will remove the directory and all its contents, including subdirectories and files. After executing this command, the specified directory will be marked for deletion in the next commit.
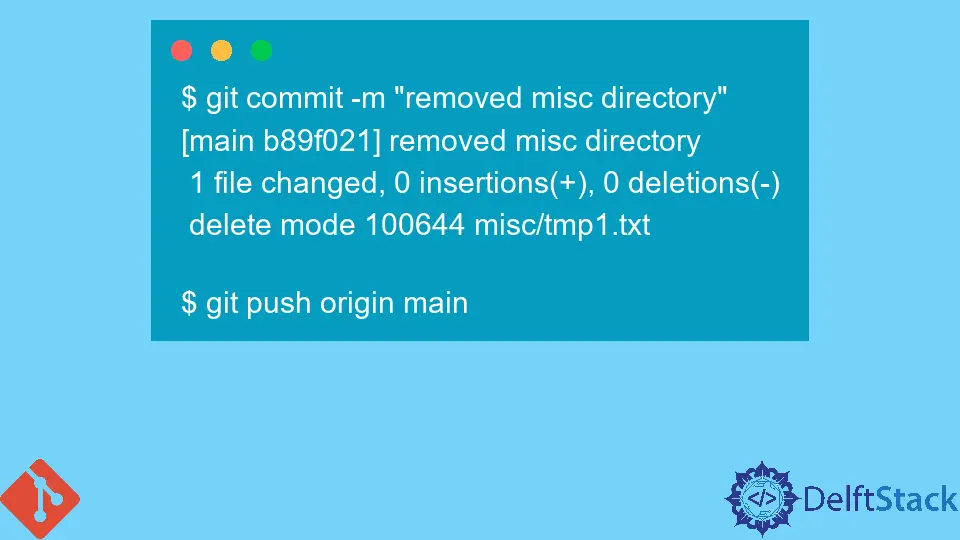
Once you have removed the directory, you can commit these changes to your repository using:
git commit -m "Removed directory_name"
Output:
[main 1a2b3c4] Removed directory_name
 2 files changed, 0 insertions(+), 2 deletions(-)
 delete mode 100644 directory_name/file1
 delete mode 100644 directory_name/file2
The commit message should clearly describe the changes made, which is a good practice for maintaining a clear project history. This method is efficient for removing directories in your Git repository and is widely used among developers.
Removing a Directory Without Deleting Its Contents
Sometimes, you might want to remove a directory from your Git repository but keep its contents intact locally. This can be done using the --cached option with the git rm command. Here’s how to do it:
Navigate to your Git repository in the terminal and run the following command:
git rm -r --cached directory_name
Output:
rm 'directory_name/file1'
rm 'directory_name/file2'
By using the --cached option, you are telling Git to remove the directory from the index (staging area) but keep it in your working directory. This is particularly useful if you want to stop tracking a directory but still need the files for reference or backup.
After executing this command, you should commit your changes:
git commit -m "Stopped tracking directory_name"
Output:
[main 5d6e7f8] Stopped tracking directory_name
 2 files changed, 0 insertions(+), 2 deletions(-)
 delete mode 100644 directory_name/file1
 delete mode 100644 directory_name/file2
This method is handy when you want to keep certain files or directories in your local environment without cluttering your Git repository. It allows for better organization without losing any important data.
Deleting a Directory with Git GUI Tools
If you prefer a graphical interface over the command line, many Git GUI tools can assist in removing directories. Tools like GitKraken, SourceTree, and GitHub Desktop offer user-friendly ways to manage your repositories.
To remove a directory using a GUI tool, follow these general steps:
- Open your Git GUI tool and navigate to your repository.
- Locate the directory you want to remove in the file tree.
- Right-click on the directory and select the option to delete or remove.
- Confirm the deletion when prompted.
After you remove the directory, don’t forget to commit your changes. Most GUI tools will prompt you to enter a commit message, allowing you to document why the directory was removed.
Using Git GUI tools can simplify the process, especially for those who may not be comfortable with command-line operations. They provide a visual representation of your repository, making it easier to manage files and directories.
Conclusion
Removing directories in Git is a fundamental skill for any developer. Whether you choose to use the command line, stop tracking a directory while keeping its contents, or opt for a graphical interface, understanding these methods will help you maintain a clean and organized repository. Remember to commit your changes after removing directories to ensure your project history remains clear and accurate. With these techniques in your toolkit, you’ll be well-prepared to manage your Git repositories effectively.
FAQ
-
How do I remove a directory in Git?
You can use the commandgit rm -r directory_nameto remove a directory and its contents. -
Can I remove a directory without deleting its contents?
Yes, usegit rm -r --cached directory_nameto stop tracking the directory while keeping its contents intact. -
What happens if I accidentally delete a directory in Git?
If you delete a directory and haven’t committed the changes yet, you can recover it usinggit checkout -- directory_name. If it’s already committed, you can usegit revertorgit resetto restore it. -
Are there any GUI tools for removing directories in Git?
Yes, tools like GitKraken, SourceTree, and GitHub Desktop allow you to remove directories through a graphical interface. -
Do I need to commit after removing a directory?
Yes, always commit your changes after removing a directory to keep your project history up to date.