How to Create Pull Request From Command Line in Git

Git is recognized as an effective and popular appropriate version control system that helps us make software programs more feasible. Most of the task have their files in their Git repository; moreover, many platforms like Git provides vast services to their developers by offering accessible sharing of their code that is very beneficial and precious.
Git offers open-source projects that present their repositories publicly and get assisted from supplements developed by the immense developer community that deals over pull requests, which appeals to a developer for a project to acquire changes we have done to its code repository. This feature of Git allows its users to interact with each other in a better way together.
This article will teach us to create a pull request to a Git repository with the help of the command line so that we can add up our contribution to open-source software projects.
Create Pull Request From the Command Line in Git
Pull Request feature belongs to the Git family, but mainly it depends on the Git feature called request-pull. Pull request is supported by Git, enabling us to request a pull from one working area to another through various repositories or branches.
The command checks the changes and commits we will do in the feature branch.
We can say that a pull request is a procedure through which a developer informs its workmates that their feature is completed, and once their feature is all set to go, the developer enrolls a pull request so that every member should be informed that now is the time to have a look on the code and finally merge it to the master branch officially.
- The command line used for this purpose will let us check the changes and commits we will do in the feature branch.
- The command line
request-pullis not so smooth. - The command
git request-pull --helpwill display the complete usage and description for the command below.
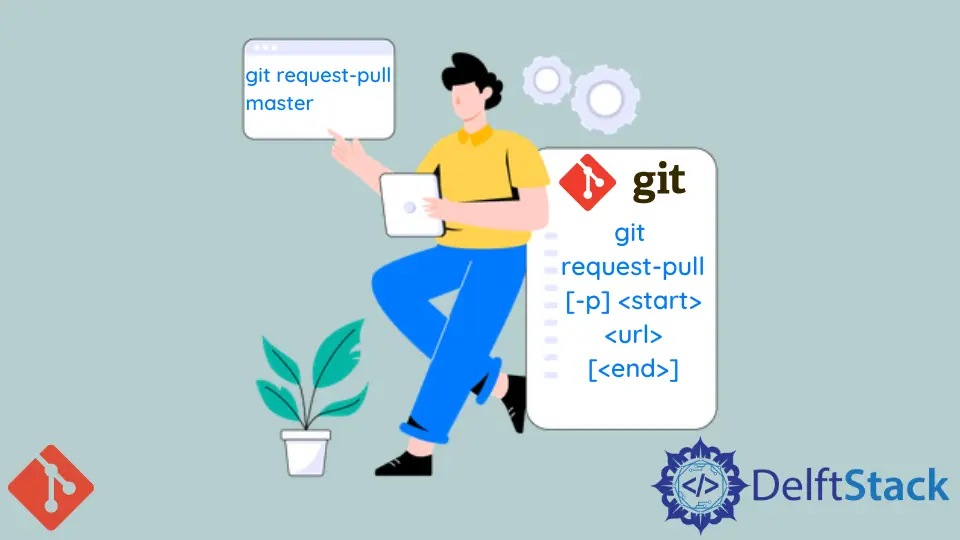
git request-pull [-p] <start> <url> [<end>]
The argument’s description is as follows:
-
[-p]- Run request; pulling without this alias will give us an output with encapsulating changed files. -
<start>- indicates the initial point we want to merge to. Mostly we’ll provide it to themasterbranch, and it will figure out the initial commit on its own.The initial commit belongs to the common ancestor the feature branch cracked from.
-
<url>- indicates the repository to compare to. May it be local or remote. -
<end>- indicates the endpoint where we want to terminate our comparison. The end commit is not usually mentioned because we want to merge entire recent commits.
Before we merge our feature branch into the master one, we should ensure that we are on the feature branch because it’s the request procedure that the feature branch will make so that it can be merged into the master.
We can go to the feature branch by executing the command below.
git checkout -b [branch-name]
After that, we will run the following command to make a comparison from the feature to the master branch.
git request-pull master
master as the start and <url> as the local repository to compare, so we get perfect results that we have to be pulled from the recent master.Abdul is a software engineer with an architect background and a passion for full-stack web development with eight years of professional experience in analysis, design, development, implementation, performance tuning, and implementation of business applications.
LinkedIn