How to Understand the Volume Instruction in Docker
- What Are Docker Volumes?
- Creating and Mounting Volumes in Dockerfile
- Managing Docker Volumes with Commands
- Best Practices for Using Docker Volumes
- Conclusion
- FAQ
In the world of containerization, Docker stands out as a powerful tool that simplifies the deployment and management of applications. One key feature that enhances Docker’s functionality is the Volume instruction. Understanding how to build, create, and mount volumes via a Dockerfile can significantly improve your workflow, especially when it comes to data persistence and sharing between containers.
In this article, we will explore the intricacies of Docker volumes, providing practical examples and clear explanations to help you grasp this essential concept. Whether you’re a beginner or looking to refine your Docker skills, this guide will equip you with the knowledge needed to effectively use volumes in your Docker projects.
What Are Docker Volumes?
Docker volumes are a mechanism for persisting data generated by and used by Docker containers. Unlike storing data in the container’s writable layer, which is ephemeral, volumes are stored outside the container’s filesystem. This ensures that data remains intact even if the container is removed. Volumes can also be shared among multiple containers, making them a versatile solution for data management.
To create a volume, you can use the Docker command line or define it directly in your Dockerfile. This flexibility allows you to manage data with ease, whether you’re developing locally or deploying in a production environment.
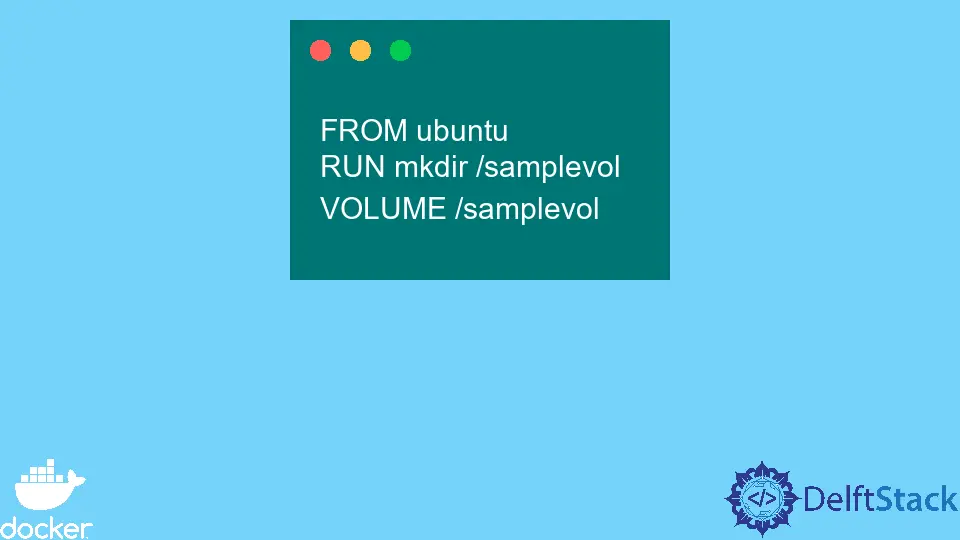
Creating and Mounting Volumes in Dockerfile
To create and mount volumes in a Dockerfile, you can use the VOLUME instruction. This instruction allows you to specify a mount point for the volume inside the container. Here’s how you can do it:
FROM ubuntu:latest

VOLUME /data

CMD ["echo", "Data volume created at /data"]
When you build this Dockerfile, the VOLUME instruction creates a mount point at /data. This means that when you run a container from this image, Docker will manage the volume for you.
Output:
Data volume created at /data
In this example, we start with an Ubuntu base image and specify that we want a volume at the /data directory. When the container runs, it will echo a message indicating that the volume has been created. The beauty of this approach is that the data stored in /data will persist even if the container is stopped or deleted. You can later mount this volume to other containers, allowing for data sharing and collaboration between different parts of your application.
Managing Docker Volumes with Commands
While you can define volumes in a Dockerfile, managing them via command line can offer greater control. Here are some common Git commands used in conjunction with Docker for volume management:
- Create a Volume: You can create a volume using the following command:
docker volume create my_volume
Output:
my_volume
This command creates a volume named my_volume. You can use this volume in your Docker containers to persist data.
- Run a Container with a Volume: To run a container and mount the created volume, use:
docker run -d -v my_volume:/data ubuntu
Output:
<container_id>
This command starts a new container from the Ubuntu image, mounting the my_volume to the /data directory inside the container.
- List Volumes: To see all your Docker volumes, run:
docker volume ls
Output:
DRIVER              VOLUME NAME
local               my_volume
This command lists all volumes, showing you which ones are currently available.
Managing volumes through these commands allows you to easily create, mount, and share data between containers, enhancing your development workflow.
Best Practices for Using Docker Volumes
When working with Docker volumes, following best practices can help you maintain a clean and efficient environment. Here are some tips:
-
Use Named Volumes: Instead of relying on anonymous volumes, always use named volumes. This makes it easier to manage and identify your data.
-
Backup Your Volumes: Regularly back up your volume data. You can do this by creating a tar archive of the volume or using Docker’s built-in backup tools.
-
Clean Up Unused Volumes: Over time, unused volumes can accumulate. Use the command
docker volume pruneto remove all unused volumes and free up space. -
Document Your Volumes: Keep a record of what data is stored in each volume and which containers use them. This practice will help you manage dependencies and avoid data loss.
By adhering to these best practices, you can ensure that your Docker volumes are managed effectively, leading to a more streamlined development process.
Conclusion
Understanding how to build, create, and mount volumes in Docker is crucial for effective data management in containerized environments. By leveraging the VOLUME instruction in your Dockerfile and utilizing command-line tools for volume management, you can ensure data persistence and facilitate collaboration between containers. With the right approach, Docker volumes can significantly enhance your workflow, making your applications more robust and easier to manage. Whether you’re new to Docker or looking to refine your skills, mastering volumes will undoubtedly elevate your containerization game.
FAQ
-
What is a Docker volume?
A Docker volume is a persistent storage mechanism that allows data to be stored outside of a container’s filesystem, ensuring data remains intact even if the container is removed. -
How do I create a volume in Docker?
You can create a volume using the commanddocker volume create <volume_name>. -
Can I share a volume between containers?
Yes, Docker volumes can be shared among multiple containers, making it easy to manage data collaboratively. -
What happens to data in a volume when a container is deleted?
Data in a volume persists even if the container using it is deleted, allowing you to reuse the data in other containers. -
How can I list all Docker volumes?
You can list all Docker volumes by running the commanddocker volume ls.

Marion specializes in anything Microsoft-related and always tries to work and apply code in an IT infrastructure.
LinkedIn