Django Bootstrap

The main goal of this brief explanation is to learn how to add Bootstrap to the project in Django, and we also look at some configurations about static asserts.
Set Up Bootstrap in Django
Let’s get started. We have a project called demosite and a single app called a blog, but the single project can have multiple apps. Now we will see how to connect static assets to our project, and we will add static that is app-specific.
We will add a static directory in the blog app so that they will be visible and accessible only from this app. Sometimes you want to add some global styles or global assets, pictures that must be accessible for all your apps.
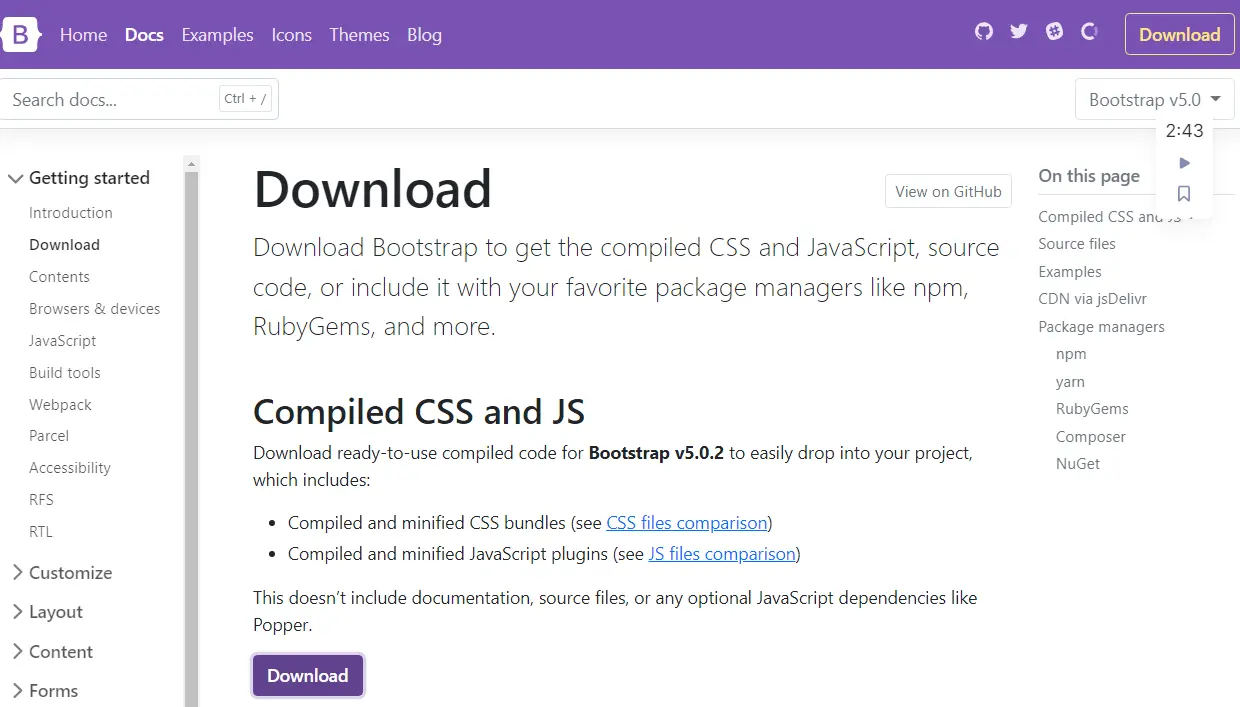
The first step is adding Bootstrap to our blog application; open the browser, navigate to Bootstrap 5 docs, and hit the download button. After downloading, we need to extract the file and copy these JS and CSS folders from the extracted folder.

We have created a static folder inside the app, and we will add another folder within this static folder called blog. We can see that we have a /static/blog directory, and you do not have to put your files directly into static because this is recommended to add an extra folder inside it.
If you wonder why this is, although technically, we could put all our styles directly under this static folder rather than creating another blog folder, that would be a bad idea. Django will choose the first static file.
Now we will paste the copied folders inside the blog folder. It finds whose name matches, and if we have the static file with the same name in a different application, Django would be unable to distinguish between them.

In simpler words, if we have files such as style CSS and we put this under static, and we also have this file in other apps or projects, Django will not be able to recognize which style CSS we would like to load. This is good to add an extra name to distinguish which one we want to load.
Let’s create a folder called template inside the app, and inside this folder, we create an index.html file. In this file, we have to tell Django to load our static variable using this Jinja code {% load static %} and let’s use the <link/> tag to link our CSS files from Bootstrap and write the following code.

Before running the project, please make sure you have created a function for the index page and set the URL in the urls.py file. These codes are for demonstration, and in your project, the code may be changed.

Let’s run the server; if you open Developer Tools, navigate to Network, choose CSS, and refresh the page, we see that Bootstrap has been loaded.

Let’s add the card component, copy its code from Bootstrap, and paste it inside our index.html file.

We have our card here, and we are missing an image, so now we will add this image, but we will show you how to add global static assets this time.

If we want to make an image available for other apps, we create a static folder in our root directory and create an image folder inside the static folder. Let’s save an image inside the image folder.
Now we have to go to our settings.py file, scroll down, and see that we already have STATIC_URL and add one more variable, STATICFILES_DIRS. This command allows us to specify more static directories, we are using just one, but sometimes you want to have more.

We will pass an image path to the src attribute inside the index.html file.

Let’s refresh the page, and we can see our image has been loaded. This image is loaded from our root static folder, and we have the CSS styles that are loaded from our application.

Hello! I am Salman Bin Mehmood(Baum), a software developer and I help organizations, address complex problems. My expertise lies within back-end, data science and machine learning. I am a lifelong learner, currently working on metaverse, and enrolled in a course building an AI application with python. I love solving problems and developing bug-free software for people. I write content related to python and hot Technologies.
LinkedIn