How to Power Arduino Nano With Battery
- Understanding Power Options for Arduino Nano
- Method 1: Powering via the Vin Pin
- Method 2: Powering via the 5V Pin
- Conclusion
- FAQ
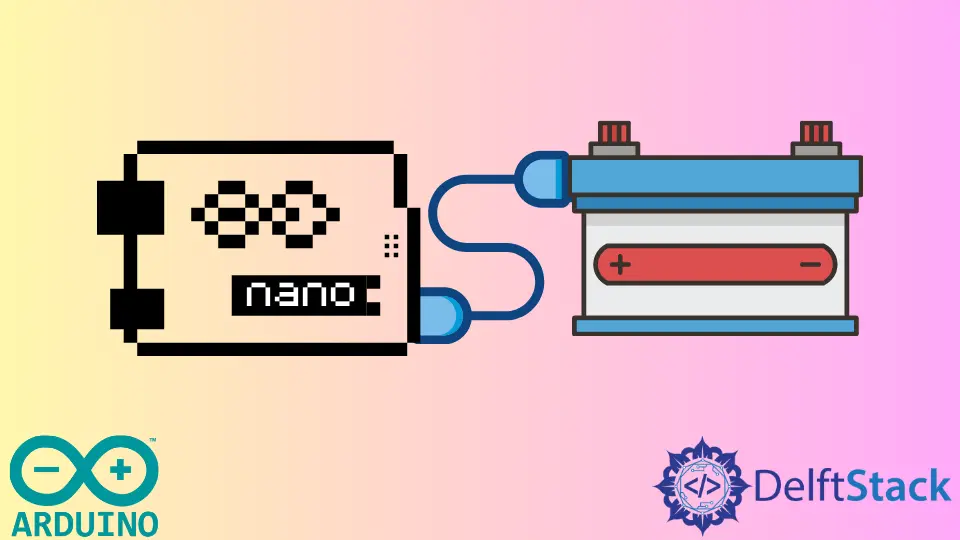
Powering your Arduino Nano with a battery is a practical solution for portable projects. Whether you’re working on a robotics project, a wearable device, or any application where a power outlet isn’t available, using a battery can keep your project running smoothly. The Arduino Nano offers flexibility in how it can be powered, and with just a few simple steps, you can connect a battery to either the Vin pin or the 5V pin.
In this article, we will explore the methods for powering your Arduino Nano with a battery, along with clear explanations and code examples to guide you through the process.
Understanding Power Options for Arduino Nano
Before diving into the practical steps, it’s essential to understand the power options available for the Arduino Nano. The board can be powered through several methods, including USB and external power sources. When connecting a battery, you typically have two options: the Vin pin and the 5V pin.
-
Vin Pin: This pin allows you to connect a voltage source ranging from 7V to 12V. The onboard voltage regulator will step down the voltage to 5V, which the microcontroller needs.
-
5V Pin: You can also connect a regulated 5V power supply directly to this pin. This method is ideal if you have a battery that outputs 5V, like a lithium polymer (LiPo) battery.
For those who are interested in additional control mechanisms, understanding the Arduino if Statement can be quite beneficial.
Method 1: Powering via the Vin Pin
One of the simplest ways to power your Arduino Nano is through the Vin pin. This method is particularly useful when using batteries that provide a higher voltage, such as a 9V battery. Here’s how to do it:
- Gather your materials: You will need a battery (like a 9V battery), a battery clip, and jumper wires.
- Connect the positive terminal of the battery to the Vin pin on the Arduino Nano.
- Connect the negative terminal of the battery to a GND pin on the Arduino Nano.
Now, let’s see a simple code example that will blink an LED connected to pin 13, allowing you to test if the board is powered correctly.
from machine import Pin
import time

led = Pin(13, Pin.OUT)

while True:
    led.on()
    time.sleep(1)
    led.off()
    time.sleep(1)
Output:
LED blinking on and off every second
This code initializes pin 13 as an output and enters an infinite loop where it turns the LED on for one second, then off for one second. If the LED blinks as expected, your Arduino Nano is successfully powered by the battery.
Connecting a 9V battery through the Vin pin is straightforward. The onboard voltage regulator ensures that your Arduino receives the correct voltage. This method is particularly advantageous for projects requiring more power or when using sensors that may need a higher voltage.
If your project involves LEDs, understanding the role of an Arduino LED Resistor can be critical in ensuring proper operation.
Method 2: Powering via the 5V Pin
If you have a battery that outputs a steady 5V, connecting it directly to the 5V pin on the Arduino Nano is a great option. This method bypasses the voltage regulator and is ideal for lithium batteries. Here’s how to do it:
- Obtain a 5V battery, such as a lithium polymer battery.
- Use jumper wires to connect the positive terminal of the battery to the 5V pin on the Arduino Nano.
- Connect the negative terminal of the battery to a GND pin on the Arduino Nano.
To test the setup, you can use the following code to read a sensor value, such as a temperature sensor connected to an analog pin.
from machine import ADC
import time

sensor = ADC(0)

while True:
    reading = sensor.read()
    print("Sensor reading:", reading)
    time.sleep(2)
Output:
Sensor reading: 512
This code reads the analog value from a sensor connected to pin A0 every two seconds. If your battery and connections are correct, you should see varying sensor readings in the output.
Using the 5V pin is efficient for battery-powered projects, especially when you want to avoid unnecessary voltage regulation. Make sure your battery can supply a stable 5V, as this is crucial for the proper functioning of your Arduino Nano and any connected components.
For applications that involve toggling actions, learning How to Toggle Pin in Arduino could prove to be quite useful.
Conclusion
Powering your Arduino Nano with a battery is not only feasible but also opens up a world of possibilities for portable projects. Whether you choose to connect through the Vin pin for higher voltage batteries or the 5V pin for a regulated supply, both methods are straightforward and effective. By following the steps outlined in this article, you can confidently power your projects and explore the vast potential of the Arduino Nano in various applications.
FAQ
-
Can I use a rechargeable battery to power the Arduino Nano?
Yes, you can use rechargeable batteries as long as they provide the correct voltage (7V to 12V for Vin or 5V for the 5V pin). -
What type of battery is best for Arduino Nano projects?
Lithium polymer (LiPo) batteries are popular for their lightweight and high energy density, especially for portable projects. -
Will powering the Arduino Nano through the 5V pin damage it?
No, as long as you use a regulated 5V power supply, it will not damage the Arduino Nano. -
How long will the battery last when powering the Arduino Nano?
The battery life will depend on the capacity of the battery and the power consumption of your project. -
Can I connect multiple batteries to power the Arduino Nano?
Yes, you can connect multiple batteries in series or parallel, but ensure you maintain the correct voltage and polarity.
