How to Create New Component in Angular
- Understanding Angular Components
- Creating a Component Using Angular CLI
- Manually Creating a Component
- Best Practices for Angular Components
- Conclusion
- FAQ
Creating components is one of the fundamental building blocks of Angular applications. If you’re just starting out or looking to deepen your understanding of Angular, knowing how to create new components is essential.
This tutorial will guide you through the process step by step, ensuring that you not only understand how to create components but also why they are important in building modular and maintainable applications. By the end of this article, you’ll be equipped with the knowledge to create your own components, enhancing your Angular skills and enabling you to build more complex applications.
Understanding Angular Components
Before diving into the creation process, let’s clarify what an Angular component is. Components are the basic UI building blocks in Angular applications. They encapsulate the logic, template, and styles for a specific part of the user interface. Each component is a self-contained unit, making it easy to manage and reuse throughout your application.
To create a new component, you can use Angular CLI, a powerful command-line interface that streamlines the development process. Let’s explore how to do this effectively.
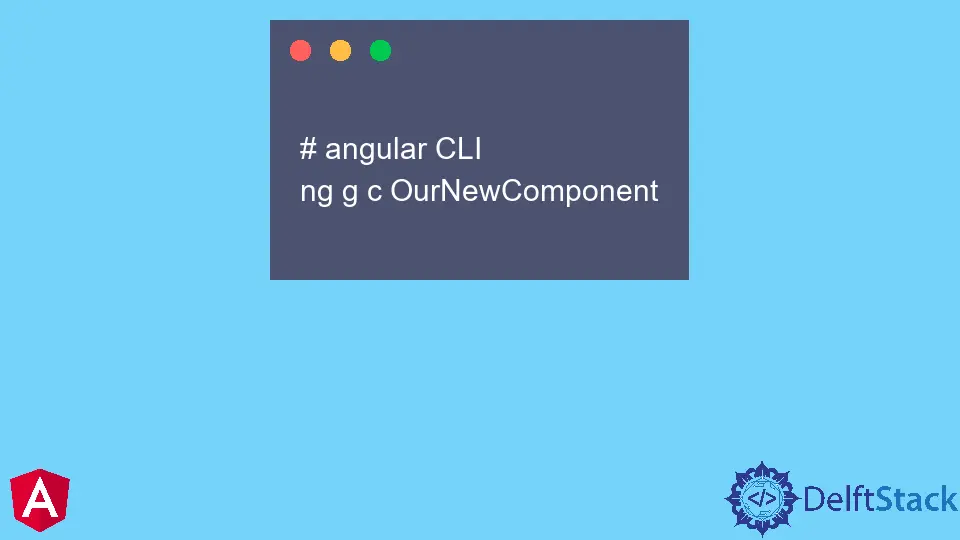
Creating a Component Using Angular CLI
One of the easiest ways to create a new component in Angular is by using the Angular CLI. If you haven’t installed Angular CLI yet, you can do so with the following command:
npm install -g @angular/cli
Once you have Angular CLI installed, navigate to your Angular project directory in your terminal and run the following command to generate a new component:
ng generate component my-new-component
This command does several things:
- It creates a new folder named
my-new-componentin thesrc/appdirectory. - Inside this folder, it generates four files:
my-new-component.component.ts: The TypeScript file containing the component class.my-new-component.component.html: The HTML file for the component’s template.my-new-component.component.css: The CSS file for the component’s styles.my-new-component.component.spec.ts: A file for unit testing the component.
After running the command, you will see an output confirming the creation of the component.
Output:
CREATE src/app/my-new-component/my-new-component.component.ts (269 bytes)
CREATE src/app/my-new-component/my-new-component.component.html (22 bytes)
CREATE src/app/my-new-component/my-new-component.component.css (0 bytes)
CREATE src/app/my-new-component/my-new-component.component.spec.ts (642 bytes)
The generated files provide a solid foundation for your component. The TypeScript file contains a class definition with a decorator that defines the component’s metadata. You can customize the HTML and CSS files to fit your design requirements.
Manually Creating a Component
If you prefer to create a component manually, you can do so without using Angular CLI. This method gives you complete control over the process. Here’s how to create a basic component from scratch.
-
First, create a new folder for your component inside the
src/appdirectory, for example,my-manual-component. -
Inside this folder, create three files:
my-manual-component.component.tsmy-manual-component.component.htmlmy-manual-component.component.css
Now, let’s add the necessary code to these files.
In my-manual-component.component.ts, add the following code:
import { Component } from '@angular/core';

@Component({
  selector: 'app-my-manual-component',
  templateUrl: './my-manual-component.component.html',
  styleUrls: ['./my-manual-component.component.css']
})
export class MyManualComponent {
  title = 'Hello from My Manual Component!';
}
In my-manual-component.component.html, you can add:
<h1>{{ title }}</h1>
<p>This is a manually created component.</p>
And in my-manual-component.component.css, you might include:
h1 {
  color: blue;
}
After creating these files, don’t forget to declare your new component in the app.module.ts file:
import { NgModule } from '@angular/core';
import { BrowserModule } from '@angular/platform-browser';
import { AppComponent } from './app.component';
import { MyManualComponent } from './my-manual-component/my-manual-component.component';

@NgModule({
  declarations: [
    AppComponent,
    MyManualComponent
  ],
  imports: [
    BrowserModule
  ],
  providers: [],
  bootstrap: [AppComponent]
})
export class AppModule { }
Output:
Component created successfully
By following these steps, you’ve created a new component manually. This method allows you to understand the underlying structure of Angular components better. You can now customize your component as needed.
Best Practices for Angular Components
When creating components in Angular, adhering to best practices can significantly enhance your application’s maintainability and scalability. Here are some important guidelines to follow:
-
Single Responsibility Principle: Each component should have a single responsibility. This means that a component should ideally handle one specific feature or part of the UI. This makes your components easier to test and maintain.
-
Reusable Components: Design components to be reusable. This involves using inputs and outputs effectively. Components should receive data through inputs and emit events through outputs, allowing them to communicate with parent components.
-
Use Angular Lifecycle Hooks: Angular provides lifecycle hooks that allow you to tap into key events in a component’s lifecycle. Familiarize yourself with hooks like
ngOnInit,ngOnChanges, andngOnDestroyto manage your component’s behavior effectively. -
Organize Your Code: Keep your component code organized. Use separate files for templates, styles, and tests. This not only improves readability but also adheres to Angular’s conventions.
-
Optimize Performance: Be mindful of performance. Use change detection strategies and trackBy functions in ngFor to optimize rendering. This can significantly improve the performance of larger applications.
By following these best practices, you’ll ensure that your Angular components are not only functional but also efficient and easy to manage.
Conclusion
Creating new components in Angular is a straightforward process, whether you choose to use Angular CLI or do it manually. Understanding how to build and manage components is crucial for developing scalable and maintainable applications. As you become more familiar with Angular, you’ll find that components play a vital role in structuring your application and enhancing the user experience. Keep practicing, and soon you’ll be building complex applications with ease.
FAQ
-
How do I create a component in Angular without using Angular CLI?
You can manually create a component by creating the necessary files and declaring it in your app module. -
What are the benefits of using Angular components?
Angular components promote reusability, encapsulation, and modularity, making it easier to manage complex applications. -
Can I pass data to an Angular component?
Yes, you can use @Input decorators to pass data from a parent component to a child component. -
How do I style an Angular component?
You can style an Angular component using the component’s CSS file or by using global styles. -
What are lifecycle hooks in Angular?
Lifecycle hooks are methods that allow you to tap into key events in a component’s lifecycle, such as creation, changes, and destruction.

Rana is a computer science graduate passionate about helping people to build and diagnose scalable web application problems and problems developers face across the full-stack.
LinkedIn