How to Use ngSwitch in Angular
- What is ngSwitch?
- Setting Up ngSwitch in Your Angular Application
- Example of ngSwitch Usage
- Styling with ngSwitch
- Conclusion
- FAQ
Angular is a powerful framework that simplifies building dynamic web applications. One of its useful features is ngSwitch, which allows developers to conditionally display different templates based on a given expression.
In this tutorial, we will dive into what ngSwitch is and how to effectively use it in your Angular applications. Whether you’re a beginner or an experienced developer, understanding ngSwitch can enhance your ability to create flexible and responsive user interfaces. Let’s explore the ins and outs of ngSwitch, including practical examples that will help you implement it seamlessly in your projects.
What is ngSwitch?
ngSwitch is a structural directive in Angular that enables you to display or hide elements based on a specific condition. It works similarly to a switch statement in programming, where different cases can be evaluated to determine which block of code to execute. By using ngSwitch, you can streamline your code and improve readability when dealing with multiple conditional displays.
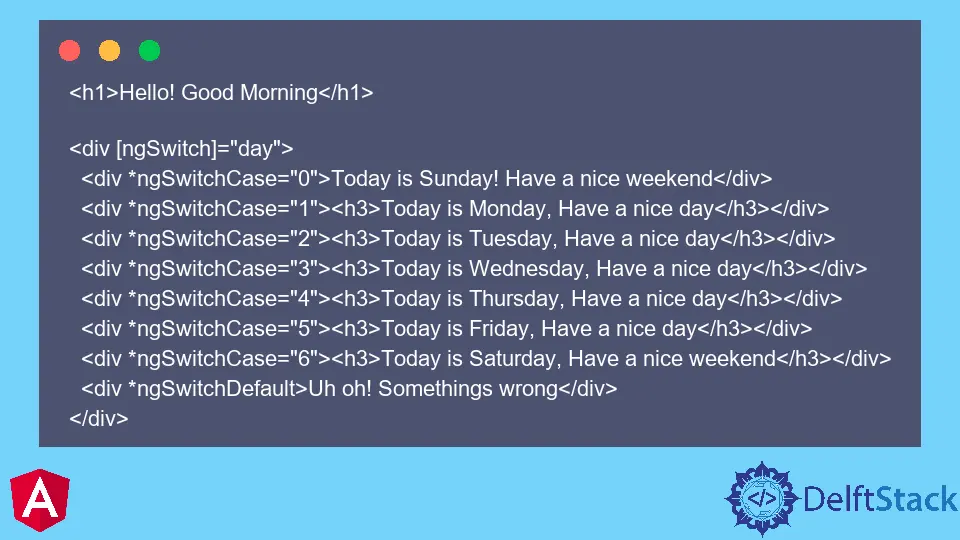
The basic syntax of ngSwitch involves using three key directives: ngSwitch, ngSwitchCase, and ngSwitchDefault. The ngSwitch directive is applied to the parent element, while ngSwitchCase is used for the possible cases, and ngSwitchDefault serves as a fallback when none of the cases match.
Setting Up ngSwitch in Your Angular Application
Before you can use ngSwitch, ensure you have an Angular application set up. If you haven’t created one yet, you can easily do so using the Angular CLI. Here’s how you can create a new Angular project:
ng new my-angular-app
cd my-angular-app
ng serve
Once your application is running, you can start using ngSwitch in your components. First, open your component’s HTML file and follow the steps below.
Example of ngSwitch Usage
Let’s say you want to display different messages based on the user’s role in your application. You can implement ngSwitch as follows:
<div [ngSwitch]="userRole">
  <p *ngSwitchCase="'admin'">Welcome, Admin! You have full access.</p>
  <p *ngSwitchCase="'editor'">Hello, Editor! You can edit content.</p>
  <p *ngSwitchCase="'viewer'">Hi, Viewer! You can view content.</p>
  <p *ngSwitchDefault>Role not recognized. Please contact support.</p>
</div>
In this example, the userRole variable determines which message to display. If the userRole is ‘admin’, the first message appears. If it’s ’editor’, the second message shows up, and so forth. If none of the defined roles match, the default message is displayed.
Output:
Welcome, Admin! You have full access.
This setup allows for a clean and organized way to handle multiple conditions without cluttering your code with numerous if-else statements. The use of ngSwitch enhances code readability and maintainability.
Styling with ngSwitch
Another great feature of ngSwitch is its ability to work well with CSS classes and styles. You can easily apply specific styles to your elements based on the condition. For instance, let’s say you want to highlight the user role with different colors. You can modify the previous example as follows:
<div [ngSwitch]="userRole">
  <p *ngSwitchCase="'admin'" class="admin">Welcome, Admin! You have full access.</p>
  <p *ngSwitchCase="'editor'" class="editor">Hello, Editor! You can edit content.</p>
  <p *ngSwitchCase="'viewer'" class="viewer">Hi, Viewer! You can view content.</p>
  <p *ngSwitchDefault class="unknown">Role not recognized. Please contact support.</p>
</div>
In this code, different CSS classes are applied to each case. You can then define these classes in your CSS file to style them accordingly:
.admin {
  color: green;
}

.editor {
  color: blue;
}

.viewer {
  color: orange;
}

.unknown {
  color: red;
}
Output:
Hello, Editor! You can edit content.
This approach not only improves the user experience but also allows for a visually appealing interface. By combining ngSwitch with CSS, you can create a dynamic and engaging application that responds to user roles in real-time.
Conclusion
In this tutorial, we explored how to use ngSwitch in Angular to manage conditional displays effectively. We discussed its syntax, practical examples, and how to enhance your application’s styling with CSS. By implementing ngSwitch, you can streamline your code and improve the user experience in your Angular applications. As you continue to develop your skills, remember that mastering directives like ngSwitch is essential for building dynamic and responsive user interfaces.
FAQ
-
what is ngSwitch in Angular?
ngSwitch is a structural directive that allows you to conditionally display different templates based on a given expression. -
how do I use ngSwitch?
You use ngSwitch by applying it to a parent element, and then using ngSwitchCase for each condition and ngSwitchDefault for fallback content. -
can I style elements with ngSwitch?
Yes, you can apply CSS classes to elements within ngSwitch cases to style them differently based on the condition. -
is ngSwitch the same as ngIf?
No, ngSwitch is used for multiple conditions, while ngIf is for a single condition. Use ngSwitch when you have several cases to evaluate. -
how can I debug ngSwitch in my application?
You can use Angular’s built-in debugging tools in the browser’s developer console to inspect the values of variables used in ngSwitch.

Rana is a computer science graduate passionate about helping people to build and diagnose scalable web application problems and problems developers face across the full-stack.
LinkedIn