How to Implement Angular 2 Checkbox Two Way Data Binding
- Understanding Two-Way Data Binding in Angular 2
- Implementing Checkbox Two-Way Data Binding
- Conclusion
- FAQ
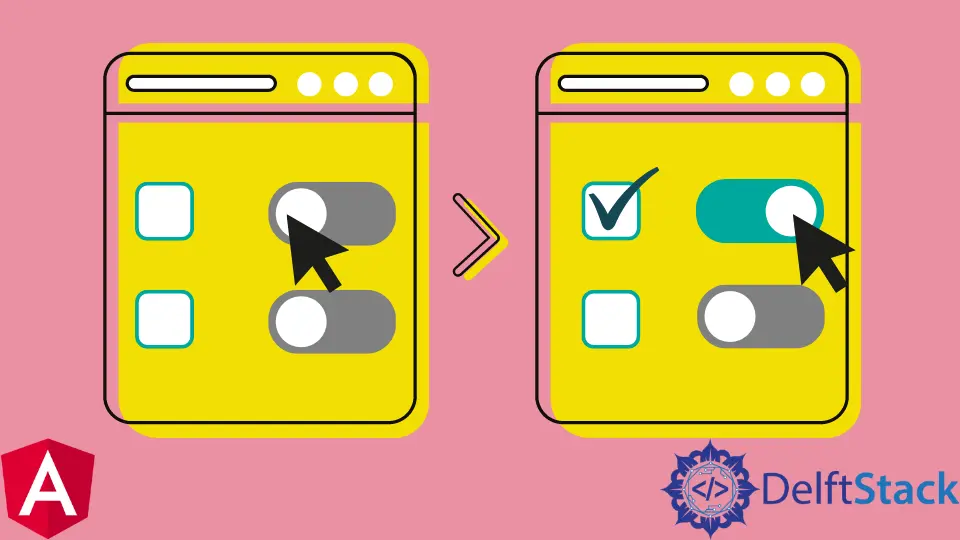
In today’s web development landscape, Angular 2 continues to be a powerful framework for building dynamic applications. One common feature developers often need is the ability to implement two-way data binding, especially when it comes to checkboxes. Imagine a scenario where you want to mark two checkboxes with a single click.
This tutorial will guide you through the process of achieving this functionality in Angular 2, ensuring a smooth user experience while keeping your code clean and efficient. Let’s dive into the world of Angular 2 and explore how to make checkbox interactions seamless.
Understanding Two-Way Data Binding in Angular 2
Before we jump into the implementation, it’s essential to understand what two-way data binding is. In Angular, two-way data binding allows for automatic synchronization between the model and the view. When a user interacts with the checkbox, the model updates, and any changes in the model reflect in the view. This feature is particularly useful for checkboxes, where you might want to control multiple options with ease.
Setting Up Your Angular Environment
To get started, ensure you have Angular 2 installed in your development environment. You can create a new Angular project using Angular CLI with the following command:
ng new checkbox-demo
This command sets up a new Angular project named checkbox-demo. Once your project is created, navigate into the project directory:
cd checkbox-demo
Now, you can start the Angular development server:
ng serve
Open your browser and navigate to http://localhost:4200 to see your Angular application running.
Implementing Checkbox Two-Way Data Binding
Now that your environment is set up, let’s implement the checkbox functionality. We will create a simple component that includes two checkboxes. When one checkbox is checked or unchecked, the other will reflect the same state.
Creating the Checkbox Component
First, generate a new component called checkbox:
ng generate component checkbox
This command will create a new folder with the necessary files for the checkbox component. Open the checkbox.component.ts file and modify it as follows:
import { Component } from '@angular/core';

@Component({
  selector: 'app-checkbox',
  templateUrl: './checkbox.component.html',
  styleUrls: ['./checkbox.component.css']
})
export class CheckboxComponent {
  isChecked: boolean = false;

  toggleCheckbox() {
    this.isChecked = !this.isChecked;
  }
}
Here, we define a boolean property isChecked to track the state of the checkboxes. The toggleCheckbox method toggles this state whenever it is called.
Output:
Checkbox component created with toggle functionality
Designing the HTML Template
Next, let’s create the HTML template for our checkboxes. Open the checkbox.component.html file and add the following code:
<label>
  <input type="checkbox" [(ngModel)]="isChecked" (change)="toggleCheckbox()" />
  Checkbox 1
</label>
<label>
  <input type="checkbox" [(ngModel)]="isChecked" />
  Checkbox 2
</label>
In this template, we use Angular’s two-way data binding syntax [(ngModel)] to bind the checkboxes to the isChecked property. The first checkbox also has an (change) event that calls the toggleCheckbox method.
Output:
Two checkboxes created with two-way data binding
Explanation of the Implementation
In this implementation, we have two checkboxes linked to the same property, isChecked. When the first checkbox is clicked, the toggleCheckbox method toggles the value of isChecked. The second checkbox automatically reflects this change due to the two-way data binding. This means that checking or unchecking the first checkbox will also update the state of the second checkbox seamlessly.
Conclusion
Implementing two-way data binding for checkboxes in Angular 2 is a straightforward process that enhances user interaction. By following the steps outlined in this tutorial, you can easily create a feature that allows for the simultaneous control of multiple checkboxes. This not only improves the user experience but also simplifies the management of form states within your application. Remember to leverage Angular’s powerful data binding capabilities to create dynamic and responsive applications.
FAQ
-
What is two-way data binding in Angular 2?
Two-way data binding in Angular 2 allows the synchronization of data between the model and the view, meaning changes in one will reflect in the other. -
How do I set up an Angular project?
You can set up an Angular project using the Angular CLI with the commandng new project-name. -
Can I bind multiple checkboxes to the same model?
Yes, you can bind multiple checkboxes to the same model using Angular’s two-way data binding syntax. -
What is the purpose of the toggleCheckbox method?
The toggleCheckbox method is used to toggle the state of the checkbox when it is clicked. -
How can I style my checkboxes in Angular?
You can style your checkboxes using CSS in the component’s CSS file or by applying styles directly in the HTML template.

Fisayo is a tech expert and enthusiast who loves to solve problems, seek new challenges and aim to spread the knowledge of what she has learned across the globe.
LinkedIn