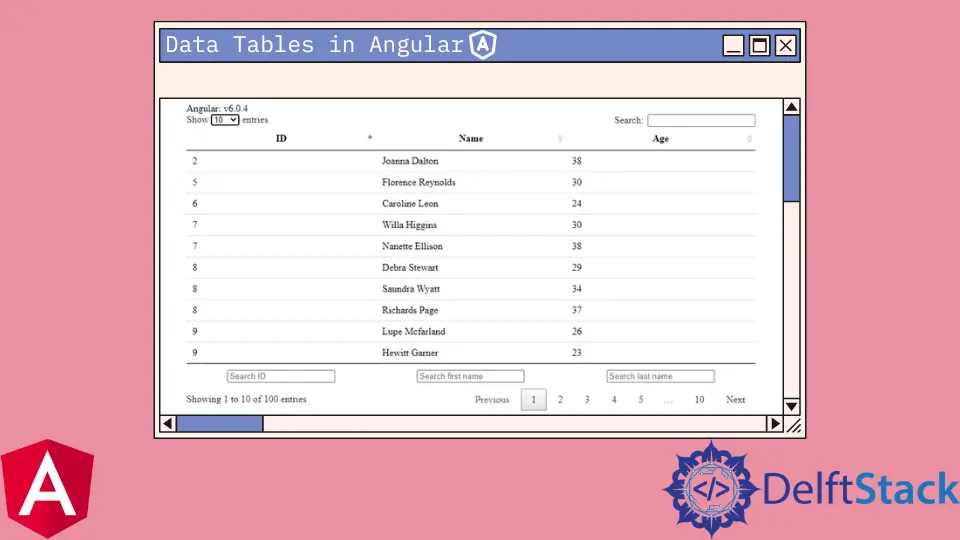
Tableaux de données en Angular

Nous présenterons comment utiliser les tables de données et convertir les réponses JSON en tables de données dans Angular.
Tableaux de données en Angular
Il existe une bibliothèque prédéfinie de angular-datatables que nous pouvons utiliser pour afficher des tableaux de données complexes dans Angular.
Nous pouvons facilement l’installer en utilisant la commande suivante :
# terminal
ng add angular-datatables
Ou nous pouvons l’installer manuellement en utilisant npm :
# terminal
npm install jquery --save
npm install datatables.net --save
npm install datatables.net-dt --save
npm install angular-datatables --save
npm install @types/jquery --save-dev
npm install @types/datatables.net --save-dev
Et après cela, nous devons ajouter les dépendances dans les attributs scripts et styles au fichier angular.json.
# angular
"projects": {
    "your-app-name": {
      "architect": {
        "build": {
          "options": {
            "styles": [
              "node_modules/datatables.net-dt/css/jquery.dataTables.css"
            ],
            "scripts": [
              "node_modules/jquery/dist/jquery.js",
              "node_modules/datatables.net/js/jquery.dataTables.js"
            ],
            ...
          }
}
Maintenant, nous devons importer DataTablesModule au niveau approprié de notre application.
# angular
import { NgModule } from "@angular/core";
import { BrowserModule } from "@angular/platform-browser";

import { DataTablesModule } from "angular-datatables";

import { AppComponent } from "./app.component";

@NgModule({
  declarations: [AppComponent],
  imports: [BrowserModule, DataTablesModule],
  providers: [],
  bootstrap: [AppComponent],
})
export class AppModule {}
Convertir JSON en tableaux de données dans Angular
Nous pouvons utiliser l’exemple suivant si nous voulons convertir une réponse JSON en DataTables.
Nous devons ajouter le code suivant à app.component.ts.
# angular
import { AfterViewInit, VERSION, Component, OnInit, ViewChild } from '@angular/core';
import { DataTableDirective } from 'angular-datatables';
import { Subject } from 'rxjs';
import 'rxjs/add/operator/map';
import { HttpParams, HttpClient, HttpHeaders } from '@angular/common/http';

@Component({
  selector: 'app-root',
  templateUrl: './app.component.html',
})
export class AppComponent implements OnInit, AfterViewInit {
  version = 'Angular: v' + VERSION.full;
  @ViewChild(DataTableDirective)
  datatableElement: DataTableDirective;
  dtOptions: DataTables.Settings = {};
  persons: any = [];
  // We use this trigger because fetching the list of persons can be quite long,
  // thus we make sure the data gets fetched before rendering
  dtTrigger: Subject<any> = new Subject();

  constructor(private http: HttpClient) { }

  ngOnInit(): void {
    const dataUrl = 'https://raw.githubusercontent.com/Inventico-Sol/test-json/main/data.json';

    this.http.get(dataUrl)
      .subscribe(response => {
        setTimeout(() => {
          this.persons = response.data;
          console.log(response);
          // Calling the DT trigger to manually render the table
          this.dtTrigger.next();
        });
      });

  }

  ngAfterViewInit(): void {

    this.datatableElement.dtInstance.then((dtInstance: DataTables.Api) => {
      dtInstance.columns().every(function () {
        const that = this;
        $('input', this.footer()).on('keyup change', function () {
          if (that.search() !== this['value']) {
            that
              .search(this['value'])
              .draw();
          }
        });
      });
    });

  }
}
Ensuite, il faut ajouter le code suivant à app.component.html.
# angular
{{ version }}
<table
  datatable
  [dtOptions]="dtOptions"
  [dtTrigger]="dtTrigger"
  class="row-border hover"
>
  <thead>
    <tr>
      <th>ID</th>
      <th>Name</th>
      <th>Age</th>
    </tr>
  </thead>
  <tbody>
    <tr *ngFor="let person of persons">
      <td>{{ person.id }}</td>
      <td>{{ person.name }}</td>
      <td>{{ person.age }}</td>
    </tr>
  </tbody>
  <tfoot>
    <tr>
      <th><input type="text" placeholder="Search ID" name="search-id" /></th>
      <th>
        <input
          type="text"
          placeholder="Search first name"
          name="search-first-name"
        />
      </th>
      <th>
        <input
          type="text"
          placeholder="Search last name"
          name="search-last-name"
        />
      </th>
    </tr>
  </tfoot>
</table>
Production :

Rana is a computer science graduate passionate about helping people to build and diagnose scalable web application problems and problems developers face across the full-stack.
LinkedIn