How to Fix Exit Code 13 Error in Java
- Reasons for the Exit Code 13 Error
- Fix the Exit Code 13 Error Using Command Line
-
Fix the Exit Code 13 Error Using
eclipse.iniConfiguration File

This article will look at the solutions for the error thrown with the Exit Code 13 when we open the Eclipse IDE on Windows. We will follow a few steps to resolve the issue.
Reasons for the Exit Code 13 Error
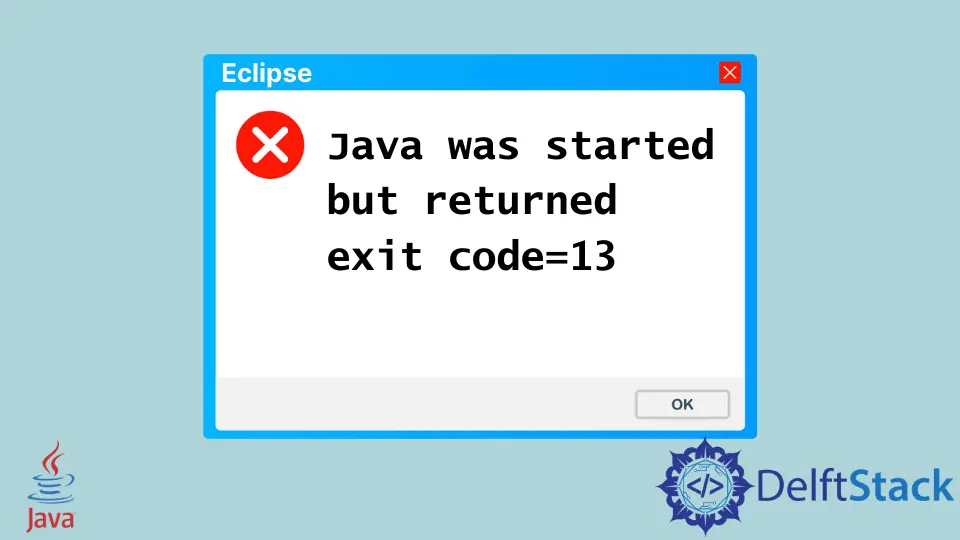
Before we dive into the solution, we need to determine why the exit code 13 error is thrown at us in a pop-up like this.

The most common reason for the error is when we use an incorrect version of the Java Virtual Machine in the Eclipse IDE. Though there may be other reasons, we often get exit code 13 because of the incompatible Java versions.
Now we know the reason why the error occurs. Java Runtime supports both 32-bit and 64-bit architecture, but we should always use the JDK package that supports our architecture.
Let’s see how we can fix this in the following sections.
Fix the Exit Code 13 Error Using Command Line
The first solution is a temporary one, and we have to repeat this step every time we want to run the IDE without the error. It includes a command that is stated below.
eclipse -vm path-to-the-jvm-dll-file
The command above has three values; the first is the main command that runs our Eclipse IDE, the second argument is -vm, an acronym for a virtual machine and uses the virtual machine specified with it.
The last argument of the whole command is the path to the jvm.dll file usually located in C:\Program Files\Java\jre\bin\server. We copy this path, use it in the command, and press enter. If the JVM has the right version, for example, if our Eclipse IDE is 64-bit, then the JVM that we are using in this command should be 64-bit also.
Fix the Exit Code 13 Error Using eclipse.ini Configuration File
The second solution to the exit code 13 problem involves modifying the configuration file eclipse.ini beside the eclipse.exe file. This is the file where we can specify the virtual machine that we want to use instead of the IDE’s JVM.
First, we open the file eclipse.ini in a text editor and paste the following.
-vm
path-to-the-jvm-dll-file
Note that we use the path of the JVM that matches the bit version with the Eclipse IDE one. Another thing is that the JVM path should come on the next line of -vm.
Save the changes in the file and run the Eclipse IDE, and it should run fine as we now use the correct version of Java Virtual Machine.
Rupam Saini is an android developer, who also works sometimes as a web developer., He likes to read books and write about various things.
LinkedIn